|


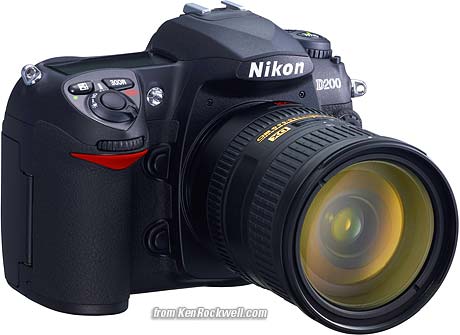
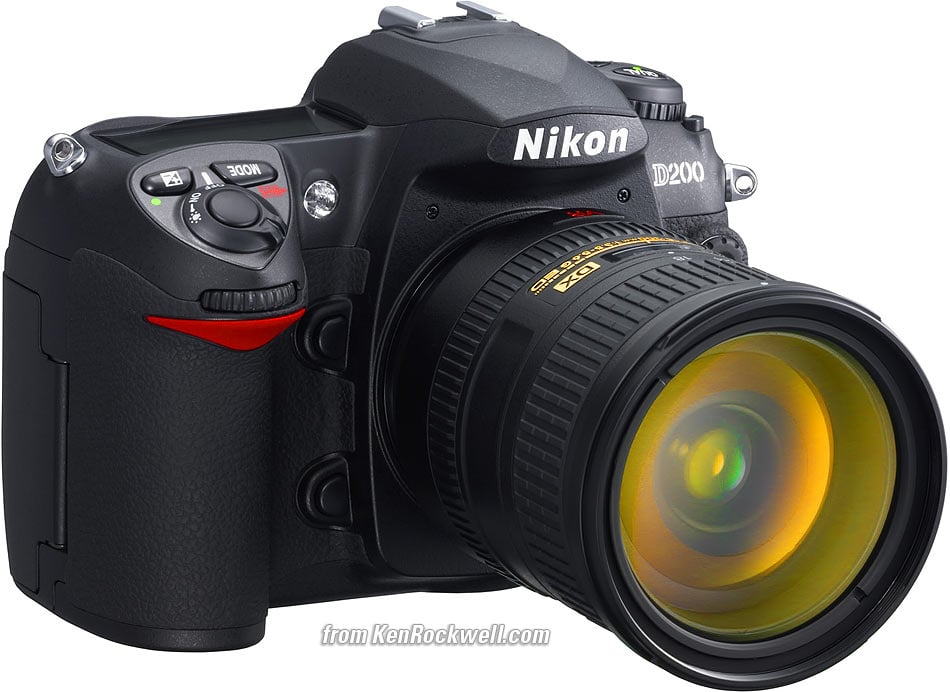
Nikon
D200 User's Guide
© 2006 KenRockwell.com

I bought mine from Ritz here. I bought another D200 from Adorama here. Also try Amazon here. Adorama usually has D200/18-70 kits in stock here. It helps me keep adding to this site when you click these links to get yours.
CUSTOM SETTING MENU
Want free live phone support? In the USA, call (800) NIKON-UX, 24 hours a day, 365 days a year.
b1 - b7 METERING/EXPOSURE
How to Get Here
Press MENU, go to the left and select up and down to the pencil icon. You'll then see CUSTOM SETTING MENU on the color LCD. Click down to b METERING/EXPOSURE and click to the right.
What it Does
Here we set important metering and ISO options.
What I Change
I change b1 and b2. I leave the rest alone.
b1 ISO Auto Increases sensitivity (ISO) in dim light automatically to prevent blur from low shutter speeds.
I use this all of the time, unless I'm using manual exposure mode.
You can choose the highest ISO to which the Auto ISO will go. I let my D200 go all the way to to ISO 1,600, since it looks fine at ISO 1,600 and any small amount of grain is better than a blurry photo. If you prefer blur to grain, feel free to limit the D200 to ISO 800 or 400. Try ISO 1,600: the D200 is better at high ISOs than film ever was, and far better than any compact digital camera at these speeds.
You also may set the minimum shutter speed below which the D200 starts raising the ISO. Select the slowest shutter speed at which you'll get sharp images under your present shooting conditions.
I wish this function was smart enough to recognize which lens I'm using and adjust accordingly, but it's not.
Instead of adjusting ISO I adjust the minimum shutter speed as I change lenses and conditions. This is a time-saving step towards the future, just as program exposure was a step ahead of aperture priority in the 1970s.
HINT: I set this a lot. It comes up on the Recent Items menu more easily than looking for it deep inside the Custom Setting Menu.
HINT: If you've selected Auto ISO then you cannot set a manual ISO higher than the maximum ISO set as part of Auto ISO. To get to ISO 3,200 (cryptically called H+1.0 by Nikon) you must turn off Auto ISO.
HINT: You set the lowest ISO used in Auto ISO with the ISO button, of course.
Firmware Defect: Nikon's firmware leaves Auto ISO active even in manual exposure mode. This makes the D200 change the ISO automatically and defeat the purpose of manual exposure. Remember to deactivate Auto ISO when using Manual exposure mode.
More on setting ISO in my ISO section.
b2 ISO Step Value defaults to 1/3 stops. That's silly.
I set mine to change the ISO in full stops. I shoot at 100, 200, 400, 800, 1,600 or 3,200 and don't waste time in between. By not bothering with the in between thirds I can select my ISOs with fewer clicks.
Grain (noise) only becomes significant above ISO 1,600. If you shoot above ISO 1,600 you may want to play with the third stop settings of ISO 2,000 and ISO 2,500 before going to the grainy ISO 3,200.
HINT: Nikon calls ISO 2,000 "H+0.3," ISO 2,500 "H+0.7" and ISO 3,200 "H+1.0."
b3 EV Step Defaults to 1/3 stops. You need this precision in manual exposure.
In the Auto modes I set it to full (1) stops. This lets me make my settings faster, since they take fewer clicks. Depth of field or motion control doesn't need more precision than a full stop.
FIRMWARE WEAKNESS: Ideally Nikon would provide separate settings for manual and auto exposure. I'd set 1/3 stops for manual exposure and full stops in auto exposure (P, S and A modes). You need the precision in manual mode, but not in the auto modes, because the values chosen by the D200 are set steplessly regardless of how they are displayed.
b4 Exp Comp/Fine Tune Leave this at 1/3. It's silly to fine tune in full stops. I tune in thirds.
b5 Exposure Comp. If you turn this on you can alter your exposure by turning the front dial without having to press the Exposure Compensation (lighten/darken) button.
I love "Easy," which is the name of this feature, but it's too easy. I hit the dial too often by accident, so I don't use it. I leave it at its default of OFF.
RESET is a great idea if you use the EASY setting. RESET automatically resets the exposure compensation to zero every time you turn the camera back on. This is a very good idea. Otherwise you may lose a lot of shots from having a wrong value set from yesterday's last shot.
b6 Center-Weighted sets the diameter of the center weighted circle. These settings only take effect when you've selected center weighted metering.
I never use center weighted metering, so I certainly never play with this.
You also have the option of metering from the entire image, called "Average."
These modes went out in 1986 when the Matrix Meter was invented. I always use Matrix.
b7 Fine Tune Exposure Don't do this!
This is a service adjustment that allows you to make semi-permanent tweaks to the exposure meter calibrations. These settings do not show up on the control panels!
You'd use this if your camera were defective, or if you did something weird like convert it to infra-red.
If you dare do this, you can tweak the meters in sixth-stop increments, with different adjustments for each of the Matrix, Center-Weighted and Spot meters.
Don't do this. This should be hidden as a service facility tweak. If your shots are too dark or light you should have your camera repaired, or use the regular Exposure Compensation button.
PLUG
My D200 User's Guide continues below.
It took me two months to write this D200 User's Guide. No one pays me anything. If you find it as helpful as a book you might have had to buy or a workshop you may have had to take, feel free to help me share more.
Thanks!
Ken
Back to Top of D200 User's Guide
KNOBS and BUTTONS
MENUS
c Timers/AE&AF Lock < < NEXT