|


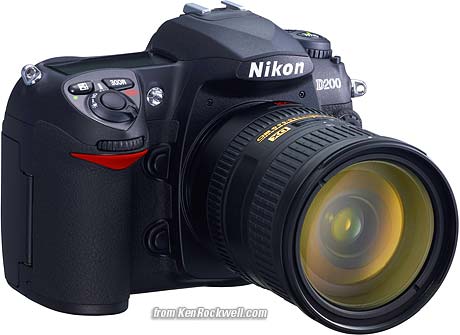
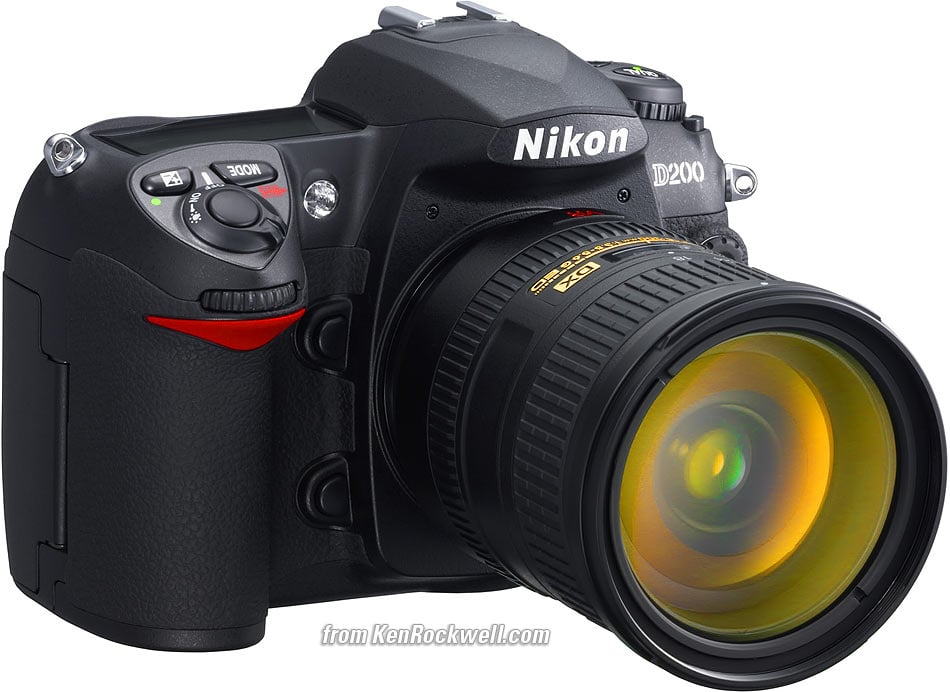
Nikon
D200 User's Guide
© 2006 KenRockwell.com

I bought mine from Ritz here. I bought another D200 from Adorama here. Also try Amazon here. Adorama usually has D200/18-70 kits in stock here. It helps me keep adding to this site when you click these links to get yours.
PLAYBACK MENU ("[ > ]" icon)
Want free live phone support? In the USA, call (800) NIKON-UX, 24 hours a day, 365 days a year.
How to Get Here
Press MENU, click to the left and then up to select the top "[ > ] " (play) icon. You'll then see PLAYBACK MENU on the color LCD.
What it Does
It sets various playback options, including what data you see on playback.
What I Change
I activate the correct color histograms and set the image to show after every shot.
Delete: This is helpful if you want to delete all images while saving those for which you pressed the "? / Key" button to lock. I don't use this. I do all my editing and selection in my computer and I do my in-camera deletions one-by-one with the trash can key.
Playback Folder: The camera can record to and play back from different folders.
ALL shows you everything on the card. I leave my D200 set to ALL.
CURRENT ignores photos in folders other than the one to which you're recording. If you create new folders for different scenes as you shoot by holding the "?" key as you power-on then you wouldn't see the other shots on the card!
D200 plays all the shots made on the D200 but ignores shots made on other cameras. You shouldn't be using cards with data from other cameras since that might lead to errors. Always format a card anytime it's put into a camera.
Slide Show lets you amaze your friends with an exciting slide show on the tiny screen. I don't bother with this. I guess it's popular in Japan. Whoo hoo! Let's all watch a show on a 2.5" screen! You could plug the D200 into a TV or video projector, but video resolution is so bad everything will look awful.
Hide Image: This is used to hide embarrassing photos of your friends from playing back before you get to download them. The images are on the D200, however when marked this way they will be skipped on playback as if you deleted them.
Move the cursor left and right to select images, press the center to mark as Hide or Unhide, and press ENTER to save. Now the camera won't play these images, even though it still tallies them in it's counter on the top right that reads "34/284." You can detect a hidden image because this counter will skip.
Print Set: I never use this. I guess it's popular in Japan. This lets you mark images for printing if you sorted and then printed directly from your D200, and had a lab which could read this data.
Display Mode: This lets you select which data screens come up in rotation when you look at each image. You can choose or refuse:
Data: this is three pages of f/stop, white balance, etc.
Histogram: don't check this. This is the worse-than-useless green-only histogram which can cause you to overexpose your shots and not know it. See my Color Histogram page for an explanation.
Highlight: Equally useless, this only reads one channel. Unfortunately the "RGB" selection is defective because it's reading only the luma channel, a single channel which is a mixture of some red, a lot of green and almost no blue. It's not reading what it should, which is any peak in any of these three channels independently. That would take more computing power than Nikon chose to devote to it, or possibly Nikon's engineers haven't figured this out yet (I used to earn my living 15 years ago teaching digital imaging gear makers these fine points). You can blow out your reds, blues or anything other than gray or green and never notice. You can select which channel to read while in the RGB histogram page. If you work at Nikon I'd love to help you get this right: just ask me.
RGB Histogram: Yes, use this! See my Color Histogram page.
Focus Area: This shows which focus area was active. It shows the area you set, or the area(s) chosen by the D200 in it's clever dynamic modes. It shows them as little red rectangles on the LCD as you play back.
Image Review: This sets the LCD to show each image after you shot it. Nikon hid this well!
It defaults to OFF to save the battery.
I leave mine ON; the whole point of having a digital camera.
After Delete: This is an odd one. You may choose to see the next or the previous image after you delete one. The third choice, "continue" keeps going in the same direction as you were going.
Rotate Tall: Who translates these? I leave this off. If you set it ON, your vertical shots, if shot with Auto Rotate ON, will playback as tiny little vertical images. Luckily the D200 is smart enough to magnify using the whole screen if you choose this mode.
The D200 is not smart enough to use the rotation sensor during playback. Canon's point-and-shoots are. Many Canon point-and-shoots expand these images to full screen if you rotate the camera during playback! The D200 doesn't.
I don't use Autorotate.
PLUG
My D200 User's Guide continues below.
It took me two months to write this D200 User's Guide. No one pays me anything. If you find it as helpful as a book you might have had to buy or a workshop you may have had to take, feel free to help me share more.
Thanks!
Ken
Back to Top of D200 User's Guide
KNOBS and BUTTONS
MENUS
SHOOTING MENU < < NEXT