© 2009 KenRockwell.com. All rights reserved.

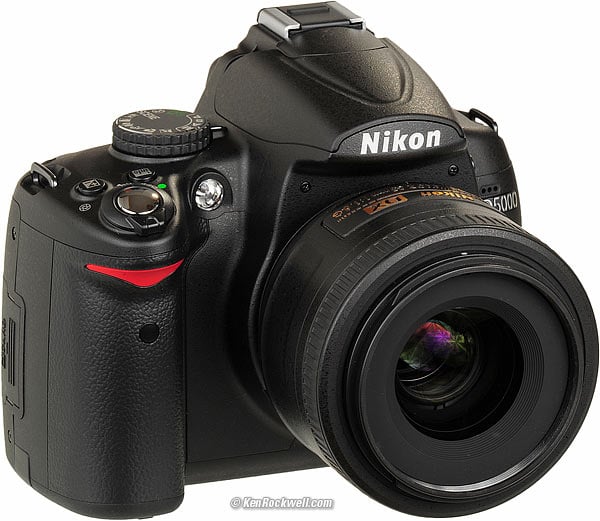
June 2009 Top of D5000 Users Guide D5000 Review More Nikon Reviews
NEW: Nikon D5000 Users Guide for iPhone and iPod 23 December 2009
Want free live phone support? In the USA, call (800) NIKON-UX, 24 hours a day, 365 days a year.
f1 - f5: Controls
How to Get Here
Press MENU, go to the left and select up and down to the pencil icon. You'll then see CUSTOM SETTING MENU on the color LCD. Click down to f CONTROLS and click to the right.
What it Does
Here lies how you program the Fn button to let you set white balance directly, heh heh.
What I Change
I set my Fn button (f1) and leave the rest alone.
f1 Assign ( \ ) Fn button top
This selects what the magic Function Button does. Most of these settings are available and explained in my descriptions of the menu system.
I prefer setting it to WB to give me a direct white balance button.
By default, it's the self timer.
Once you choose what you want your Fn button to do below, hold the Fn button and spin the rear dial to change that setting.
( \ ) Self-timer
Self timer.
Release mode
Lets you select among the release and advance modes.
QUAL
Lets you select among all the quality and file settings.
ISO
Lets you set ISO manually.
Presuming you're using Auto ISO, it sets the default ISO used in good light.
WB
Lets you select among the white balance settings.
You still need to get into the menus to make precise adjustments to each setting
Active D-Lighting (ADR)
Lets you select among the ADR modes.
+ [RAW]
Set this, and pressing Fn will let you shoot in JPG + NEF for each shot you make.
Press Fn again, and you 're back to getting only JPGs.
BKT
Set this, and the Fn button lets you turn whatever kind bracketing you've selected elsewhere on and off.
f2 Assign AE-L/AF-L button top
This sets the function of the AE-L/AF-L button on the rear of the D5000. It also can be set to many of the same functions as the other buttons.
I set mine to AE lock only. This way I point the camera where I want my exposure, and hold the button until I recompose and make my exposure.
AE/AF lock
Locks exposure and focus.
AE lock only
Locks exposure, but not focus.
AF lock only
Locks focus, but not exposure.
AE lock (Hold)
Locks exposure and holds it until the meter turns off, or until you press AE-L/AF-L again.
AF-ON
Focuses while you press the AE-L/AF-L button.
f3 Reverse dial rotation top
So what?
f4 No memory card? top
By default, the D5000 won't shoot without a card.
Don't touch this setting, or you could happily shoot an entire wedding, look at each shot on the LCD in every display mode and zoom setting, and not realize until the end of the day that you had no card in the camera!
If you're a salesman at Best Buy, set this to OK Enable Release so people can play with the D5000 with no memory card, otherwise, don't touch this.
f5 Reverse indicators top
Nikon's exposure meters have always read backwards. More exposure goes to the left, and less exposure goes to the right. Huh?
Nikon's rangefinder cameras of the 1940s had shutter dials and aperture rings which rotated in one direction. No big deal, but when Nikon added meters to cameras in the 1960s, the meters had to read to make sense as you moved the dials, so Nikon's meter needles and bar graphs have always gone in the wrong direction. (The superior vertical bar graphs of the D3, D2 and F6 don't have this problem: up is more.)
Thankfully Nikon has never changed this, since in whatever decade they do, there will be massive confusion among all Nikon users familiar with the (wrong) way it's been forever.
For newcomers, you can use this menu to flip things back to normal, as Canon has done it since their EOS cameras of the 1980s. If you do, more goes to the right.
My D5000 User's Guide continues below.
I support my growing family through this website.
This guide is free to read online, but copyrighted and registered. If you haven't helped yet and would like to save or make a printed copy of this article for your camera bag, please send me $5.00 for each complete or partial copy that you print or save, for personal use only. Others charge $29.99 for crappier information, and with your honesty I can continue to offer these guides online for less.
If you bought your D5000 by clicking through my links, then you've saved money and also helped me write this guide. Thank you and please enjoy it. It's great people like you, and those who help me otherwise, who allow me to keep adding to this site for everyone's benefit.
The biggest help is to use these links to Adorama, Amazon, B&H, Ritz and J&R when you get your goodies. It costs you nothing and is a huge help to me. These places have the best prices and service, which is why I've used them since before this website existed. I recommend them all personally.
Thanks for reading!
Ken
Back to Top of D5000 User's Guide or Top of Nikon D5000 Review
KNOBS and BUTTONS
MENUS
SET UP MENU < < NEXT
RECENT ITEMS (or MY MENU) MENU
Home Donate New Search Gallery How-To Books Links Workshops About Contact