Home Donate New Search Gallery Reviews How-To Books Links Workshops About Contact
California's Eastern Sierra
17 18 19 20 21 22 23 October 2013
These are snaps I made on Dave Wyman's photo trip to the Eastern Sierra. We were going to go to Yosemite, but the US Federal Government wasn't competant even to supervise itself, so it closed the park. No problem, we found plenty of other things to photograph that the government hadn't screwed up.
I brought my 1996 Nikon 35Ti, 1999 Nikon 28Ti, 2012 Canon 5D Mark III, 2013 LEICA M typ 240, 2013 Fuji X100S and of course my 2012 iPhone 5.
For my 5D Mark III I brought my Canon EF 16-35mm f/2.8 L II and EF 70-200mm f/4 L IS, which are more than enough lenses for everything.
For the LEICA M typ 240, I brought my 2012 LEICA SUPER-ELMAR-M 21mm f/3.4 ASPH, 1974 LEICA SUMMICRON-C 40mm f/2 and 2003 LEICA MACRO-ELMAR-M 90mm f/4. The 40mm and 21mm must be used with external finders, so I brought them to take advantage of the typ 240's new electronic TTL finder. The 40mm SUMMICRON-C replaces both 50mm and 35mm SUMMICRONs, leaving us with less to carry.
The Nikon 35TI was the most fun to shoot, so I took the best pictures with it. The 35Ti is a solid block of titanium precision that just goes. It's got the matrix metering sensor from the N90S, and incorporates distance information for 3D Matrix metering and gives flawless exposure, especially with flash. The 35Ti has the sharpest lens of all these cameras, a precision wide-angle rangefinder design, devoid of distortion and ultrasharp right out to the edges.
If I wasn't reviewing cameras for all you people, I would only have brought my 35Ti and my iPhone and left the rest of the junk back at the studio.
I shot Fuji Velvia 50 in my Nikons. If you like these pictures, just about any 35mm camera would give the same results with the same film.
I set my 5D Mark III's Standard Picture Style to +4 saturation.
I set my Fuji X100S to +2 for color saturation in its usual mode.
I use no tripods because they encourage boring pictures, and are a pain to carry around and use. People who waste their time with them always shoot from about 5 feet off the ground at predictably easy angles, resulting in predictably boring pictures.
My Fuji Velvia 50 was processed and scanned at North Coast Photo into JPGs on CDs. I loaded these and all the camera JPGs into my 2010 MacPro.
I shot the LEICA in raw, the Fuji X100S in raw+JPG and shot a little of the Canon in raw. I processed those raw files in Apple Aperture 3 and then exported the completed versions as JPGs. All the LEICA shots were from raw, and only one or two Canon shots were from raw since it turns out that Canon's in-camera JPGs at +4 saturation usually look better than the colors I could get from Aperture 3. I couldn't do anything with the Fuji RAF raw files since Aperture wouldn't read them; no problem since the Fuji's JPGs look fantastic right out of the camera.
Since not all the aspens had turned yellow, it was easy to use Aperture's Color adjustment to select the green and shift its Hue about -20 to turn the green leaves back to a nice warm yellow. (Velvia does this for free all by itself.) I put the JPGs created in Aperture into folders next to those shot on the other cameras.
Once I had all my JPGs neatly filed (I file by year, then by month, then by date or trip), I used iView Media Pro 3.1.3 to identify and losslessly rotate all my JPGs from all sources. (I would have rotated the images in Phase One Media Pro, but it's pretty flaky doing rotations, so I've given up and now do it in iView Media Pro 3.1.3 instead.)
I used Phase One Media Pro to select which of these images I wanted to publish. I also used Media Pro to set the capture dates and times of the film scans, which then makes it easy to sort all the shots from all the cameras by Capture Date. I identified the rimes of the film shots from my notes and from looking at the shots from the "digital" cameras for similars.
I dragged each image to be published from Phase One Media Pro into Photoshop CS6 for optimization and formatting. Once in Photoshop, most shots were processed with the Athentech Perfectly Clear plug-in which usually makes them look even better. I cropped each image to perfection and other artistic input as needed. It's not uncommon for me to add edge burning to keep your eyes focused in my image and less likely to wander off, which I do with Photoshop's Lens Correction tool with which I add vignetting. If you're a non-artist are wasting your time looking for light falloff, know that often I've deliberately added it back into the shots made with the "digital" cameras that often remove it electronically! Obviously I crop before adding adding edge burning.
All my black-and-white work was split-tone printed.
I then created and edited these pages from scratch and uploaded it all with Macromedia Dreamweaver 8 from 2006.
As you'll notice, it doesn't really matter what camera I used, be it a LEICA or an iPhone, real photos or "digital." Al the shots pretty much look of the same style — my style. No matter what camera or medium is used, an artist is an artist precisely because he can force the image he is creating to conform to his vision of how it must be. An artist is his vision, not his camera. When we say "f/8 and be there" to answer the eternal idiotic "what camera did you use" questions from non-artists, we mean exactly that: f/8 for sharp photos, and the rest is just showing up at the right place at the right time and putting the camera — any camera — in exactly the correct position and pointing it in the right direction. It doesn't matter what kind of camera an artist uses; he will always force his results to be exactly as he demands.
I program all my cameras to shoot as I want them to in their AUTO modes for everything I can. I usually shot In Pro (a.k.a. Program) mode and set auto-everything for everything else, only coming out of Auto if I need to. I program my cameras to set themselves as I would have manually. An artist must think about his picture, not his camera, so the more generic technical things we can let our cameras do for themselves, the better. The key is knowing how to program your camera to do the same thing you would have done, and then when to take it out of Auto and force something one way or the other manually. For instance, the 35Ti favors fast shutter speeds, so I often shoot it in A mode at f/8 or f/11 instead.
Not that these are fantastic photos, but they're not bad for a day or two of shooting, while if I wasted my time with setting things manually as obsolete photo teachers mislead students, I'd have gotten far fewer pictures.
17 October 2013, Thursday top
Today I drove up Route 355.

Trails Motel, Lone Pine, 4:00 PM. (2013 LEICA M typ 240, 2003 LEICA MACRO-ELMAR-M 90mm f/4, f/9.5 at 1/360 at ISO 200.

Margie's Merry-Go-Round Restaurant, Lone Pine, 4:06 PM. (2013 LEICA M typ 240, 2003 LEICA MACRO-ELMAR-M 90mm f/4, f/9.5 at 1/350 at ISO 200.)
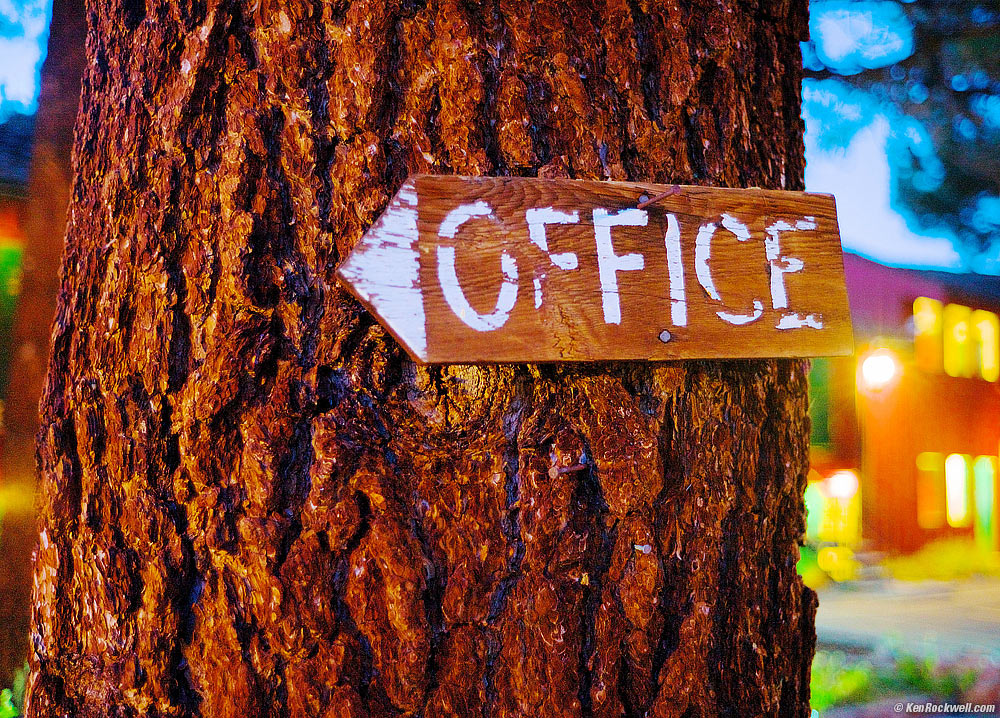
Office Sign on Tree, Boulder Lodge, June Lake, 6:41 PM. (2013 LEICA M typ 240, 1974 LEICA SUMMICRON-C 40mm f/2, f/2 at 1/12 at ISO 3,200.)

Sierra Inn, June Lake, 6:46 PM. (2013 LEICA M typ 240, 1974 LEICA SUMMICRON-C 40mm f/2, f/2 at 1/30 at ISO 320.)

Sierra Inn, June Lake, 6:48 PM. (2013 LEICA M typ 240, 1974 LEICA SUMMICRON-C 40mm f/2, f/2 at 1/90 at ISO 200.)
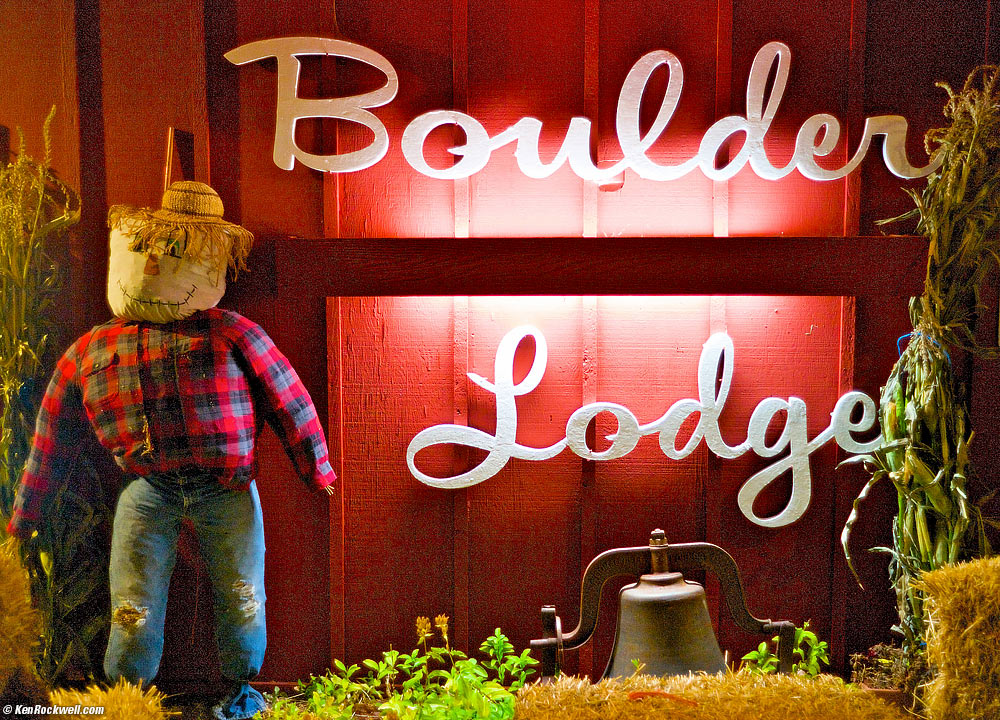
Boulder Lodge Sign, June Lake, 8:25 PM. (2013 LEICA M typ 240, 1974 LEICA SUMMICRON-C 40mm f/2, f/2 at 1/45 at ISO 3,200.)
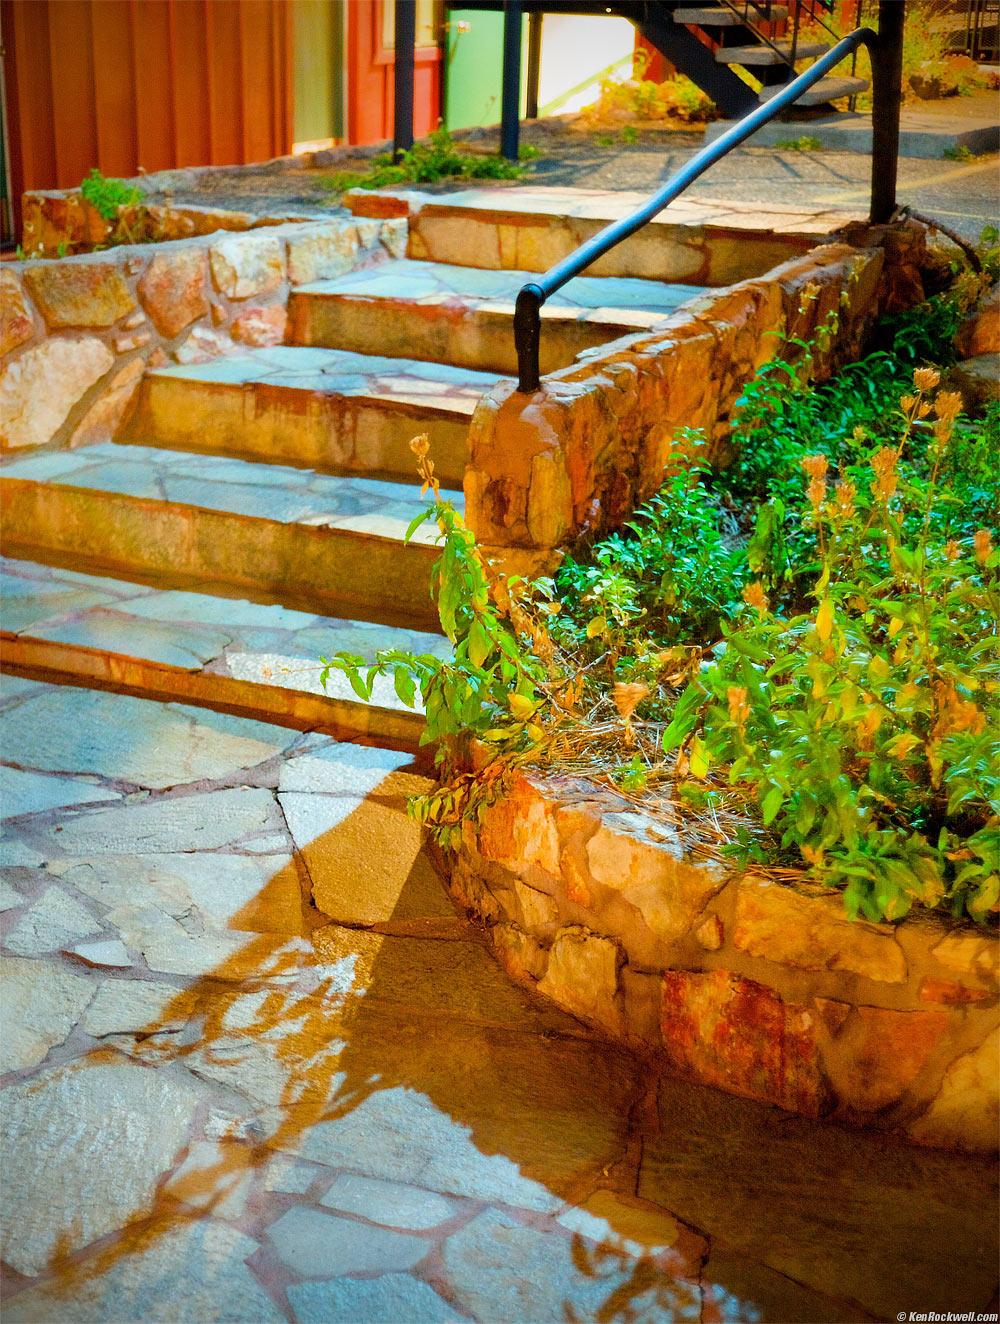
Lighting Around Boulder Lodge Walkway and Confused Plants, June Lake, 9:06 PM. (2013 LEICA M typ 240, 1974 LEICA SUMMICRON-C 40mm f/2, f/2 at 1/4 at ISO 3,200.)
That's all for today. NEXT ->> 18 Oktober, Friday
Home Donate New Search Gallery Reviews How-To Books Links Workshops About Contact