Zone System Film Speed Calibration

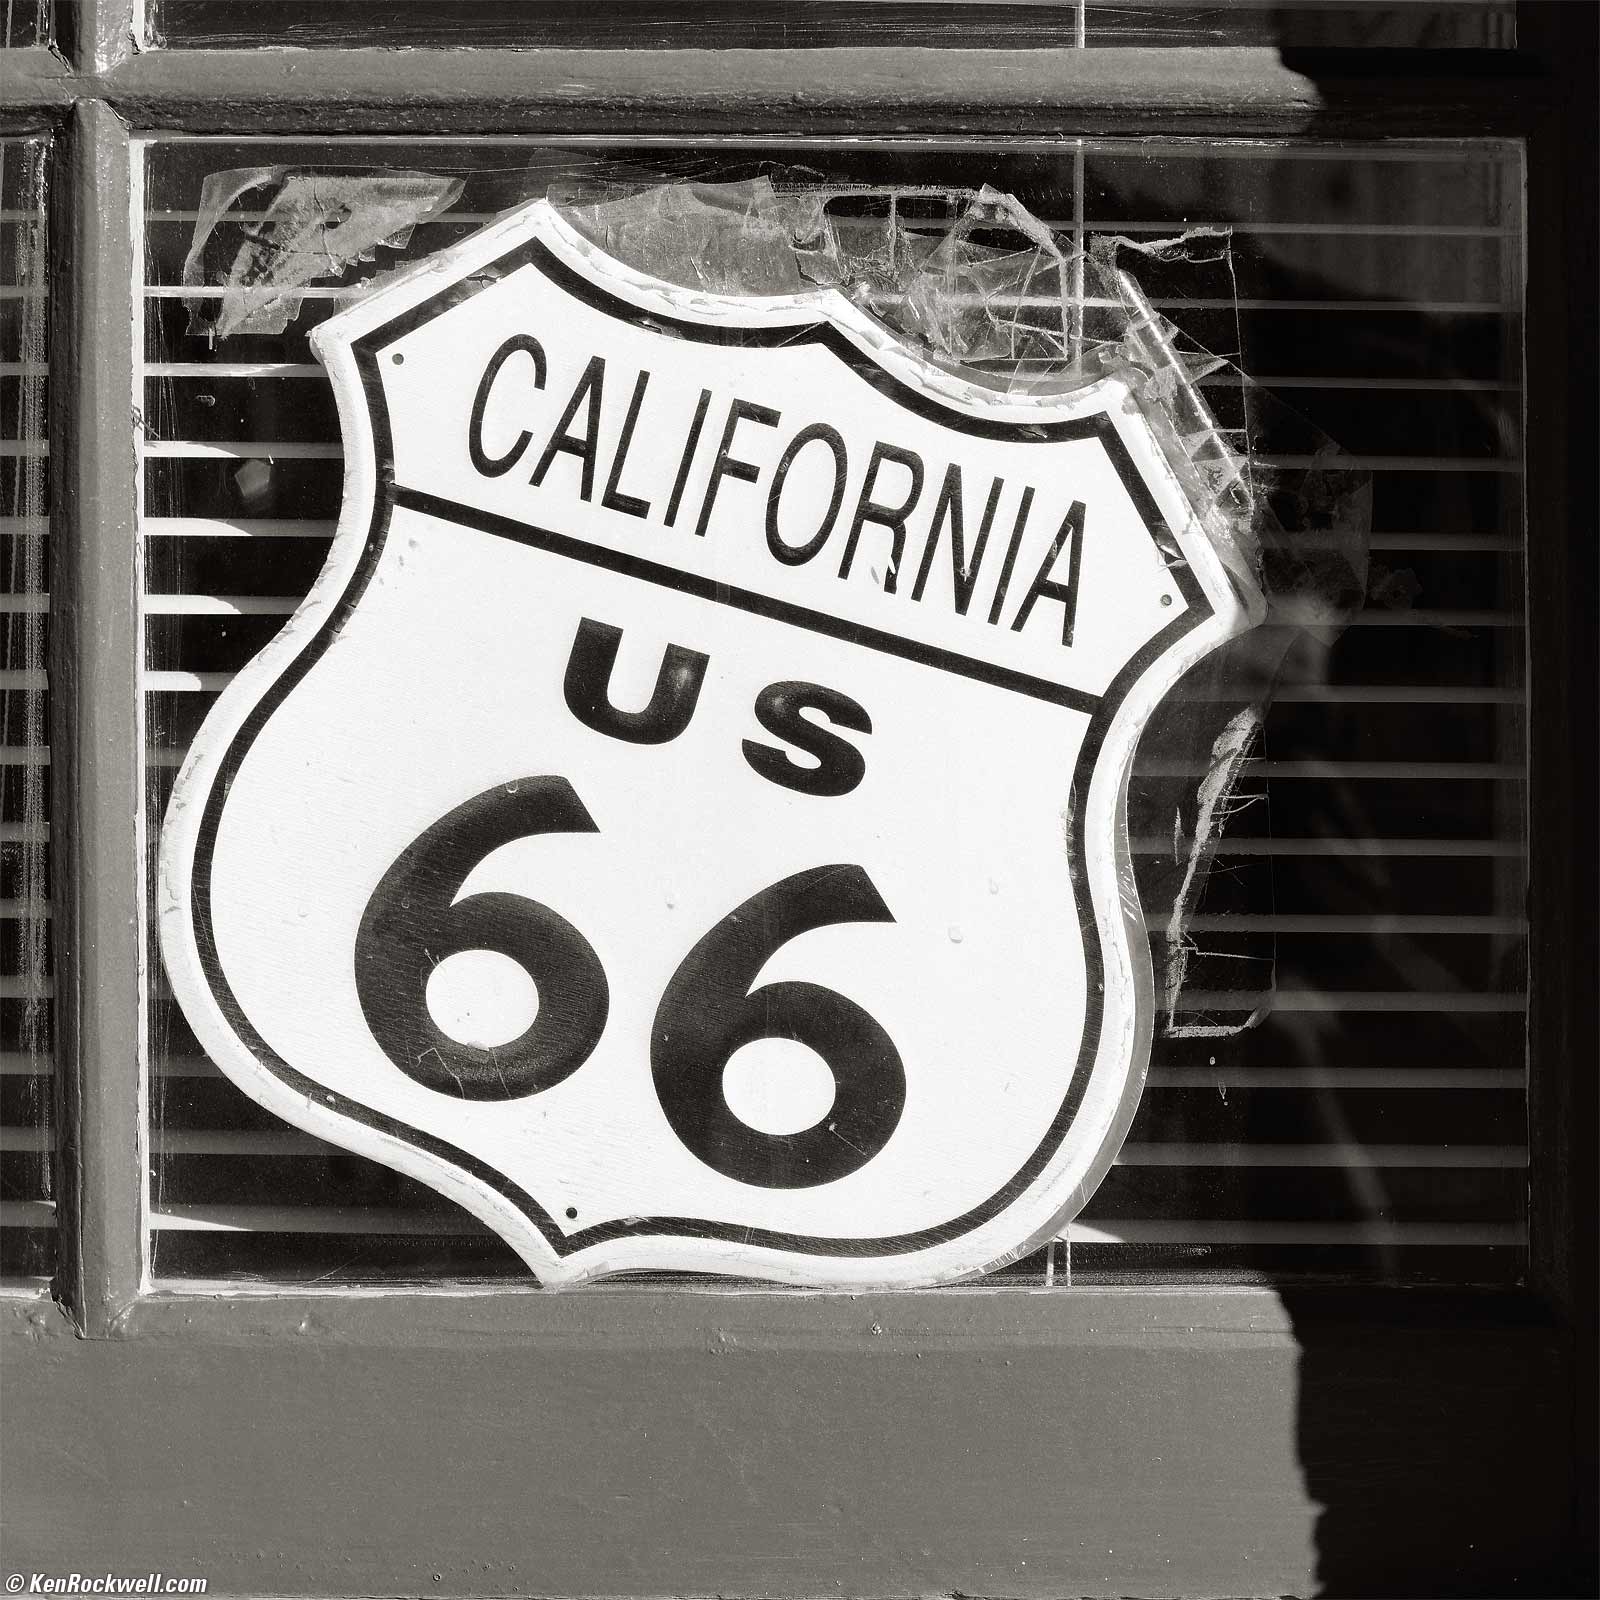
California Route 66, 2:32 P.M. 05 February 2016. 1992 Hasselblad 503 CX with 1985 PME metered prism & 1993 A12 magazine, 1993 Zeiss Planar T✻ 80mm f/2.8 CF, B60 Heliopan Yellow filter, Kodak T-Max 100 at EI 80, 8/8 at 1/125, 3.1' focus distance. bigger.
This all-content, junk-free website's biggest source of support is when you use any of these links to my personally-approved sources when you get anything, regardless of the country in which you live. Buy only from the approved sources I use myself for the best prices, service, return policies and selection. Thanks for helping me help you! Ken.
February 2016 Nikon Canon LEICA Contax Hasselblad Zeiss All
Introduction

Adorama pays top dollar for your used gear.
I buy only from these approved sources. I can't vouch for ads below. |
Great black and white pictures demand accurate exposures.
Accurate exposures require accurate film speeds.
Every light meter and batch of film and shutter and diaphragm and especially every photo lab vary; we can't just believe what's printed on the film box.
Even if your film and camera were perfect, light meters have different sensitivities to different colors. Light meters usually try to match our eye's response — which is too bad because B&W film responds to color differently than our eyes do. Meters and our eyes are more sensitive to red light than film, so red filters usually demand even more exposure than the meter says.
It's easy to calibrate film speeds if you use a commercial lab, since they already have a densitometer and defined exposure times. If you ask very nicely, you'll be able to read your negative densities and figure out your actual film speeds quickly from just a couple of gray-card shots. (Hint: if your lab doesn't have a densitometer that means they never run calibration strips and that means your lab doesn't care about quality. Get a different lab; even the minilabs I've used have densitometers,)
This is going to be much easier than doing a more formal Zone System calibration, since we're going to let the commercial lab run our film at its normal speed, saving you the days of iteration trying to figure out calibrated development times. Use a good lab like North Coast Photo and they've already calibrated their developing times to the correct contrast index of 0.71.
For push and pull processing, use exactly this same process. For instance, if you want more contrast in your negatives, don't try to ask your lab for N+ processing. Instead, ask them to push or pull it a stop or two. Just be sure to run these tests for each kind of processing.
Nomenclature
ASA and ISO
ASA and ISO film speeds are determined by manufacturers.
ASA and ISO are the same thing.
They were called ASA until the American Standards Association decided it could market itself better if it renamed itself the International Standards Organization.
I say ASA, while ISO has been used since the late 1970s.
ISO or ASA takes nothing into effect about the calibration of your developing, camera, lens of meter.
EI
Exposure Index (EI) is the number we set on our meter for the best results, which may or may not match the printed ISO or ASA film speed.
An Exposure Index is something we discover for ourselves, or something we use if pushing or pulling film. For instance, if we push ASA 100 film a stop, we shoot it at EI 200.
When I shoot shoot ASA 100 T-Max through an orange filter, I use an exposure Index (EI) of 64 when metering through an orange filter.
Shoot
Shoot a gray card at what you think is the actual film speed.
If pushing or pulling, start with a meter setting of whatever you expect, like 200 for a one-stop push or 50 for a one-stop pull from 100 speed film.
The actual film speed will probably be close to the rated speed with no filter or a yellow filter, and get closer to a stop slower than the marked speed as you use deeper orange and red filters, as measured with a through-the-lens-meter.
For best results, use through the lens meters, and meter with the filter over the lens. You also can hold the filter over an external meter.
These tests work regardless of how you meter, but know that the results are only valid when you meter the same way for the test as when you shoot (either through the filter or metering without a filter). Of course if you meter without a filter you must set your meter to even slower speeds to compensate for the filter, typically a stop slower for yellow, two stops slower for orange and three stops slower for a red filter. It's much more accurate to calibrate and meter through the filter since it gives more consistent on-film results as the color and lighting changes.
Get close enough to have the gray card fill your picture (not critical), and shoot it in even light.
You don't even need a gray card; a white piece of paper is fine; just be sure that you're working at reasonable shutter speeds and apertures typical of what you usually use. A white card in daylight will be so bright that you won't be at your usual settings. Also be sure you're working in light of about the same color; if you do this in the shade it will be too blue and be less accurate when not shooting in the shade.
Do this for each filter you plan to use, or under each kind of light. Personally I do it with no filter in daylight and with no filter under indoor (tungsten) lighting, and then in daylight with each of a yellow, green, orange and red filter.
Take careful notes of the film speed you set and the filters and exposures you used for each frame. If you forget or mix them up, the results are meaningless.
You don't need to burn a whole roll for this; even one gray-card test frame is enough to get a good data point — but only for one filter color.
Develop & Measure
Develop your film and have your lab measure the densities of both for the clear film edge (base + fog or "B+F") and the gray card for each frame.
You only need to measure the clear film edge once for the roll. For 35mm, measure the film before or after the first or last frame. For 120, you usually can read in-between frames or the start or end of the roll. For sheet film (4x5" etc.) leave the dark slide in a little bit to leave a clear spot. You usually can presume that all sheets will be the same.
Write the numbers down and take them home for calculation.
Calculate

1.) Most labs use a color densitometer and will give you three R, G and B readings for each reading. The R, G and B values will be about the same. If not, just average them.
2.) For each frame, write out the effective density, which is the reading for the card minus the reading of the clear edge.
For example, if the clear edge reads 0.08 and the gray card reads 0.72, the effective density is 0.64.
3.) Ideally the effective density above base + fog (B+F) is 0.75. If it's higher or lower, no worries, just convert per this table:
Zone wanted |
Effective density above B+F |
Actual Zone gotten |
Use a film speed |
If you set EI 100, then use |
V |
0.10 |
I |
4 stops slower |
6 |
V |
0.26 |
II |
3 stops slower |
12 |
V |
0.42 |
III |
2 stops slower |
25 |
V |
0.58 |
IV |
1 stop slower |
50 |
V |
0.64 |
⅔ stop slower |
64 |
|
V |
0.69 |
⅓ stop slower |
80 |
|
V |
0.75 |
V |
Perfect! |
100 |
V |
0.82 |
⅓ stop faster |
125 |
|
V |
0.88 |
⅔ stop faster |
160 |
|
V |
0.95 |
VI |
1 stop faster |
200 |
V |
1.02 |
1⅓ stop faster |
250 |
|
V |
1.08 |
1⅔ stop faster |
320 |
|
V |
1.15 |
VII |
2 stops faster |
400 |
V |
1.22 |
2⅓ stop faster |
500 |
|
V |
1.28 |
2⅔ stop faster |
640 |
|
V |
1.35 |
VIII |
3 stops faster |
800 |
V |
1.55 |
IX |
4 stops faster |
1,600 |
V |
1.75 |
X |
5 stops faster |
3,200 |
V |
1.95 |
XI |
6 stops faster |
6,400 |
In the example where our effective density is 0.64, looking at the table we see that if we set 100 on our meter, our effective film speed (EI) is 64. Set 64 on your meter and you're done.
4.) Repeat this for each filter color.
5.) If you were more than a stop off on your first guess (effective density less than 0.50 or more than 1.00), it's a good idea to retry with your corrected film speed.
My table is based on a "typical" film like TMAX 100, but the shape of your film's curve will mean that this table is less accurate the further away you are from your correct EI (where we're at Zone V for a gray card).
Apply
Write these film speeds on a sticker on your camera or light meter.
If you're clever you can use one speed for each film or development time and put different index marks on your meter for each colored filter, instead of using a plethora of different exposure indices for each film with different filters.
Don't worry about exact numbers; getting within a third of a stop is more than close enough.
Final Check
Once you've calculated your exact film speeds, of course you can rerun the test with your meter at your calculated value and be sure it tests properly at 0.75 effective density
Fine-tuning may be needed if you were more than a stop off the first time, or with pushing or pulling since my chart above applies best to normally processed film.
Example: T-Max 100 in Hasselblad
As an example, I get these values for T-Max 100 as shot in my Hasselblad 503CX with a PME metered prism and processed at North Coast Photo in February 2016:
No filter: EI 100 (EI 64 under tungsten).
Yellow or Green filter (both green 11 and green 58): EI 80.
Orange filter: EI 64.
Red 25A filter: EI 40.
Deep Red 29 filter: EI 20 (set EI 25 and set an aperture a half stop wider on the PME).
© Ken Rockwell. All rights reserved. Tous droits réservés. Alle Rechte vorbehalten.
Help Me Help You
I support my growing family through this website, as crazy as it might seem.
The biggest help is when you use any of these links when you get anything. It costs you nothing, and is this site's, and thus my family's, biggest source of support. eBay is always a gamble, but all the other places always have the best prices and service, which is why I've used them since before this website existed. I recommend them all personally.
If you find this page as helpful as a book you might have had to buy or a workshop you may have had to take, feel free to help me continue helping everyone.
If you've gotten your gear through one of my links or helped otherwise, you're family. It's great people like you who allow me to keep adding to this site full-time. Thanks!
If you haven't helped yet, please do, and consider helping me with a gift of $5.00.
As this page is copyrighted and formally registered, it is unlawful to make copies, especially in the form of printouts for personal use. If you wish to make a printout for personal use, you are granted one-time permission only if you PayPal me $5.00 per printout or part thereof. Thank you!
Thanks for reading!
Mr. & Mrs. Ken Rockwell, Ryan and Katie.