Home Search Gallery How-To Books Links Workshops About Contact
Yosemite Fall 2006
all © 2006 KenRockwell.com
Monday, 23 October, 2006. Return to trip index.
Some of these shots have secret "before Photoshop" versions with them. Roll your mouse over to see the "before" and read the text to learn what I did.
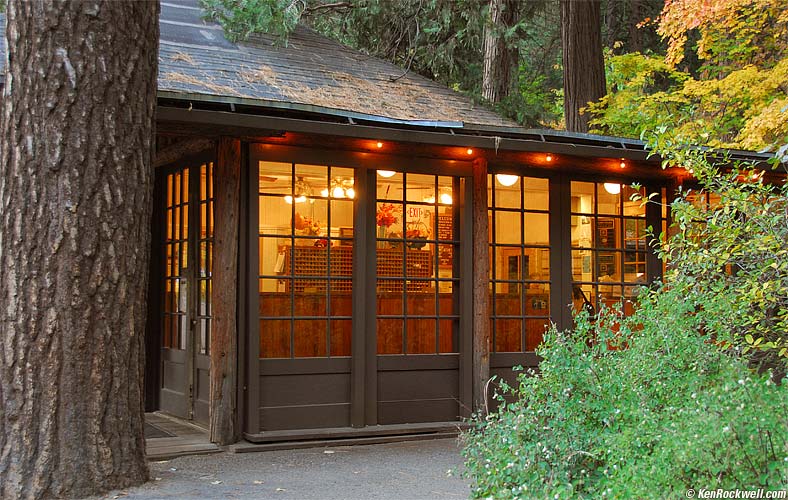
First meeting at Curry Village: 7:32 AM.
Nikon D200, Nikon 18-200mm. This was a grab shot during our first meeting as a group. It was too cool for me (too blue) as shot in Auto WB, so I warmed up the JPG in Photoshop with Image > Adjustments > Color Balance (Apple+B on Mac). I used +24 Cyan/Red and -24 Yellow/Blue and the defaults of "Midtones" and "Preserve Luminosity." By cranking these two sliders the same amount in oposite directions you can warm or cool the white balance with any image; no need to screw with raw. For all these adjustments I make a new adjustment layer first by clicking the half white/black circle icon two one left of the trash icon at the bottom of the Layers pallet. I also straighted it using the Lens Correction filter. Once you get there in Photoshop CS2, use the second tool from the top left. Drag the cursor across anything that needs to be horizontal or vertical, and away it goes! I should have been more careful; this isn't that straight. |
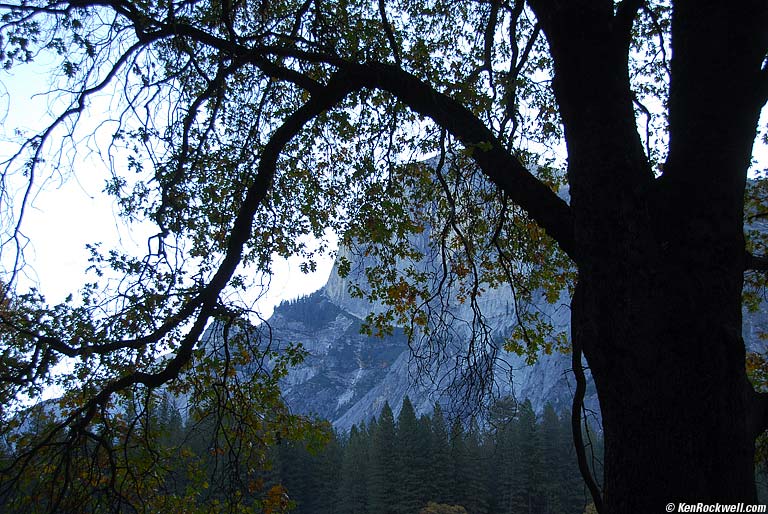
Half Dome, 7:55 AM (too early).
| Here's a sucky image made with bad timing. Everything is all blue and boring (to me anyway) becasue the sun isn't shining yet. Made with Cloudy WB. See The Importance of Timing. |
|
 |
Too light at -2/3 compensation. |
Correct exposure at -1 stop compensation |

Yosemite Valley.
Canon SD700. Here's an example of my usual photo process. The first shot (upper left) was too light. This makes sense since my SD700 was trying to compensate for the dark trees. When I was there, my eyes could see detail in the trees perfectly, but cameras can't see dark and light areas at the same time. The camera tried to compromize, and made the mountain too light annd washed out, and thhe trees too dark and a black shadow. There's no way to get both, so I let the trees stay black and set the lighten/darken +/-control (press FUNC on the Canon P/S cameras to get to the +/- icon) a little darker, and at -1.0 it looked fine, as you see in the upper right image. It was still boring: no color. I set a manual WB off a cloud and sky. (Canon P/S: Press FUNC, go down to to the AWB icon, go sideways to the two ramps and a ball icon, point little square in middle of LCD at what you want to make neutral gray, press MENU.) This tells the camera to make the blue sky neuteral, which makes everything else less blue (warmer). This gave me the nice warm color. It turns out that this image is still a bit overexposed: the lightest parts clipped the red a little bit, which you cna see by the funny hue shifts in the reddish-orange ehighlights. I should have noticed that. It serves me right: after changing the color balance with the WB control I should have realized that the extra reds would have overexposed. It would have been obvious if the SD700 had a color histogram; it only has a useless B/W one. |

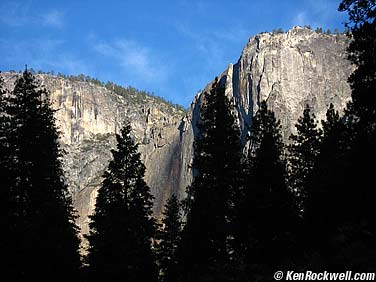
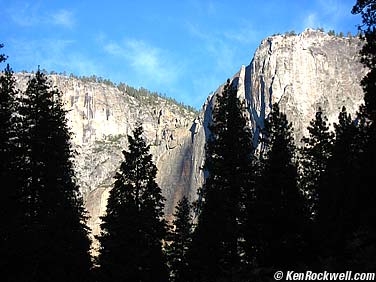
Front light - boring and sucky! 8:40 AM.
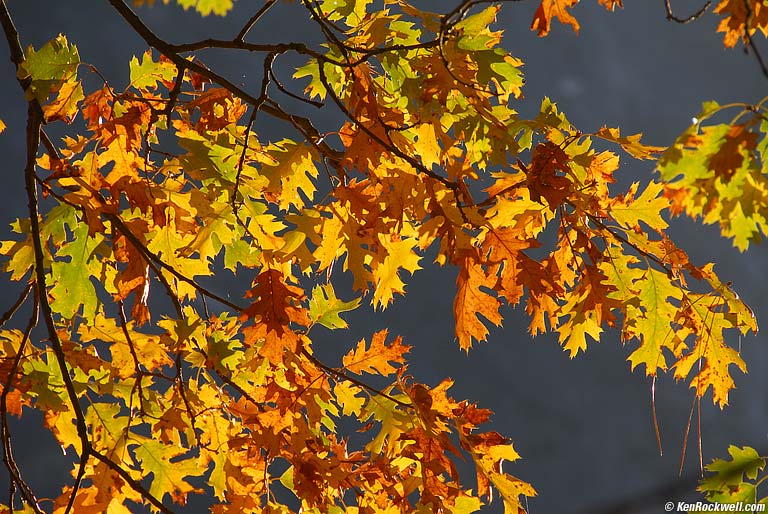
Back light - much better! 8:41 AM.
Nikon D200, Cloudy WB (both) Walk around and shoot from behind. Sun shines through leaves and saturates the color! Instead of bouncing off thhe surface, which has a lot of non-colored glare, when the light passes throgh the object it picks up all the colors without interferance frrom reflections. Get behind the trees. |
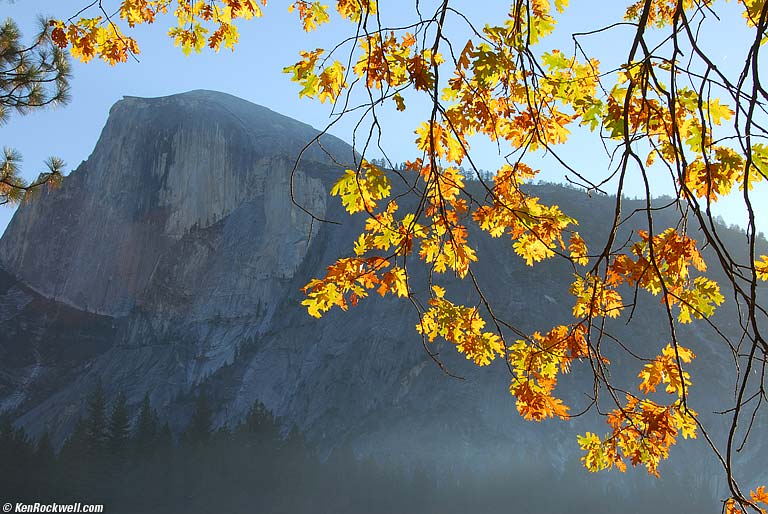
Half Dome. 8:45 AM.
Nikon D200, 18-200mm at 44mm, Cloudy WB. Let's step back and show people where we are. We've even got the valley ground fog! |
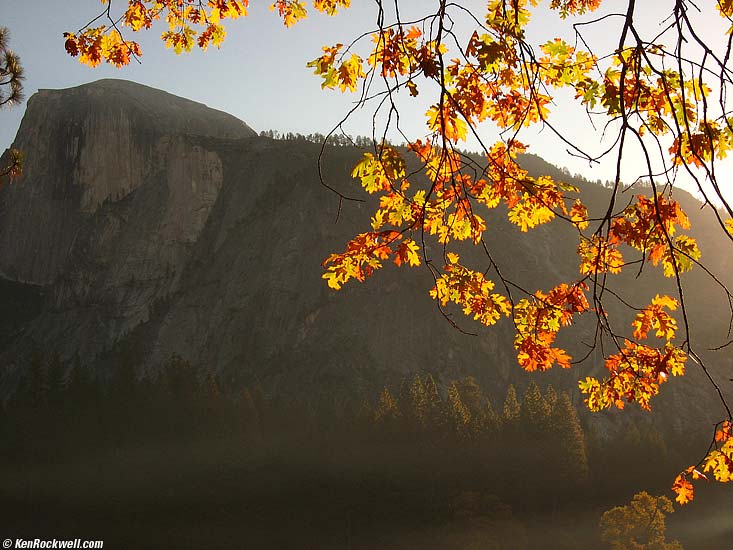
Half Dome, 8:49 AM.
Canon SD700, -1.0 compensation, Manual WB shot off sky. The other shot is too cool (blkue) for me. Here it is shot with my pocket camera with a warmer manual WB. |
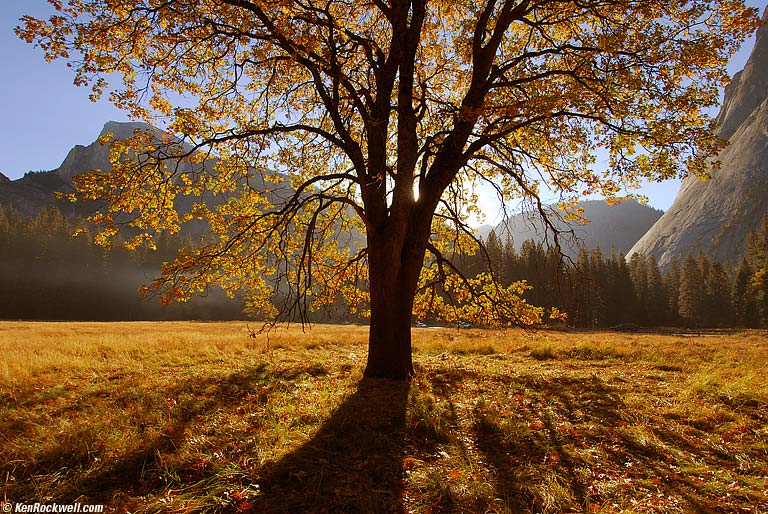
8:59 AM.
Nikon D200. 12-24mm lens at 12mm. A simple snapshot. The ultra-wide lens gives the effect with all the shadows pointing towards the sun. Later I realized I wanted it warmer. I pulled thhe same trick as I did at the top of the page, except this time it looked better with +43 and -43. As a warning to raw shooters, I also have this file as an NEF, since I kicked my D200 over to the Raw + JPG mode for fun. It's still easier and faster to do this trick to the JPG than to dork around with a raw converter and it's WB options. I didn't even bother opening the raw file! Roll your mouse over it to see the original image before I warmed it. This was shot in Auto WB. |
Home Search Gallery How-To Books Links Workshops About Contact