Sony A7 IV User's Guide & Tutorial
<- back to Sony A7 IV Full Review & Sample Images
Sony: A9 III A1 A9 II A9 A7R V A7R IV A7R III A7 IV A7 III A7R II A7S III A7c A7 II A6600 A6400 A6100 A6000 ZV-E10 RX10/4 RX100/7 RX100/6 Flash Lenses
Sony A7 IV (23.2 oz./658g with battery and SD card, other slot takes an SD or an expensive Sony-specific CFexpress type A card (the less-expensive CFexpress type B cards do not fit), $2,498). bigger.
I'd get mine at Adorama, at Amazon, at B&H or at Crutchfield, or eventually used at eBay if you know How to Win at eBay. It also comes as a kit with the crappy FE 28-70mm lens for $2,698 at Adorama, at Amazon, at B&H and at Crutchfield. I'd pass on that kit; I'd get the kit with the superb FE 24-105/4 G instead; the smart money is always spent on better lenses.
This 100% all-content, junk-free website's biggest source of support is when you use those or any of these links to my personally approved sources I've used myself for way over 100 combined years when you get anything, regardless of the country in which you live — but I receive nothing for my efforts if you get it elsewhere. Sony does not seal its boxes in any way, so never buy at retail or any other source not on my personally approved list since you'll have no way of knowing if you're missing accessories, getting a defective, damaged, returned, dropped, incomplete, gray-market, store demo or used camera — and all of my personally approved sources allow for 100% cash-back returns for at least 30 days if you don't love your new camera. I've used many of these sources since the 1970s because I can try it in my own hands and return it if I don't love it, and because they ship from secure remote warehouses where no one gets to touch your new camera before you do. Buy only from the approved sources I've used myself for decades for the best prices, service, return policies and selection.
March 2022 Sony Lenses Zeiss Nikon Canon Fuji LEICA All Reviews
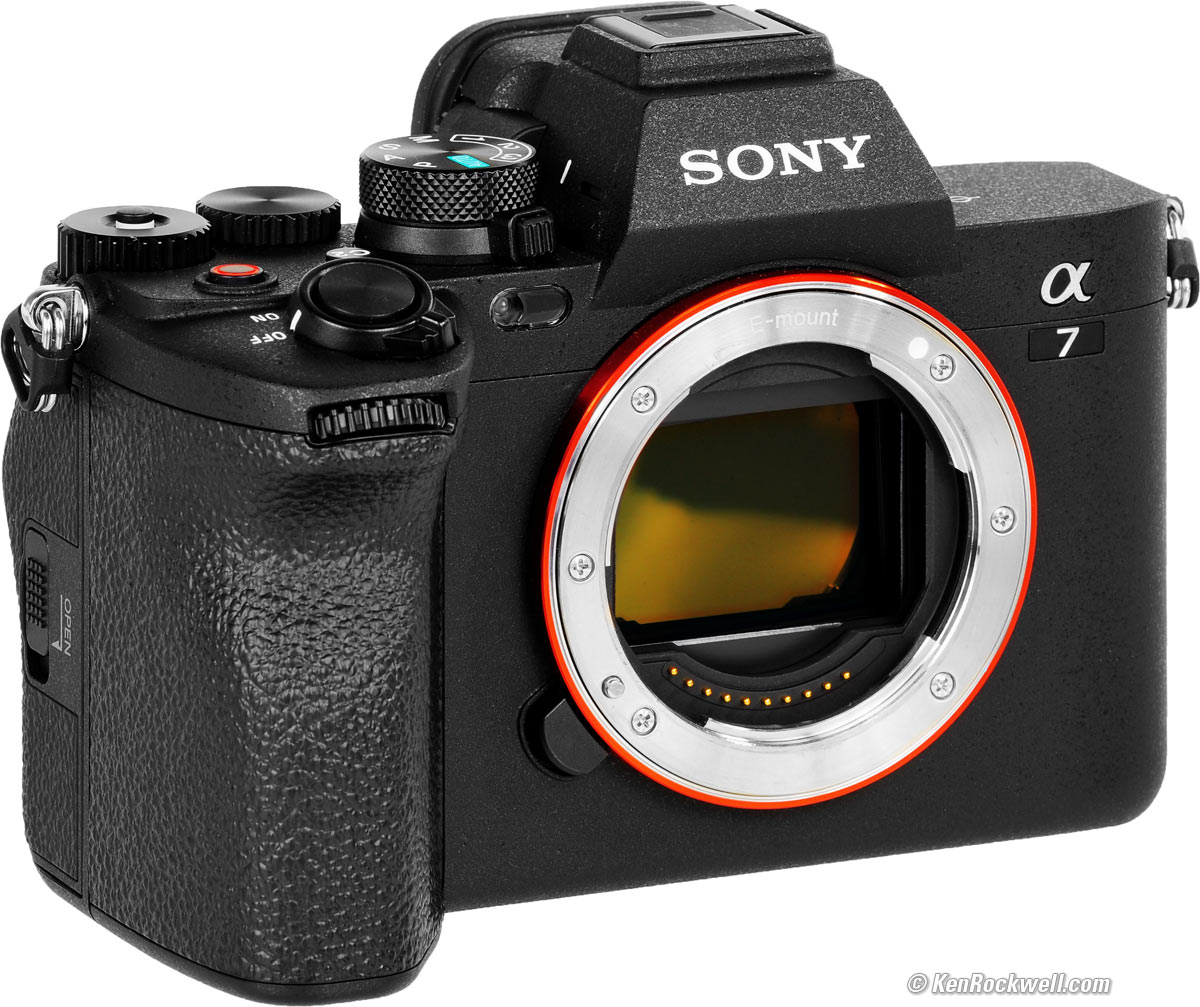
Sony A7 IV. bigger.
Sony A7 IV. bigger.

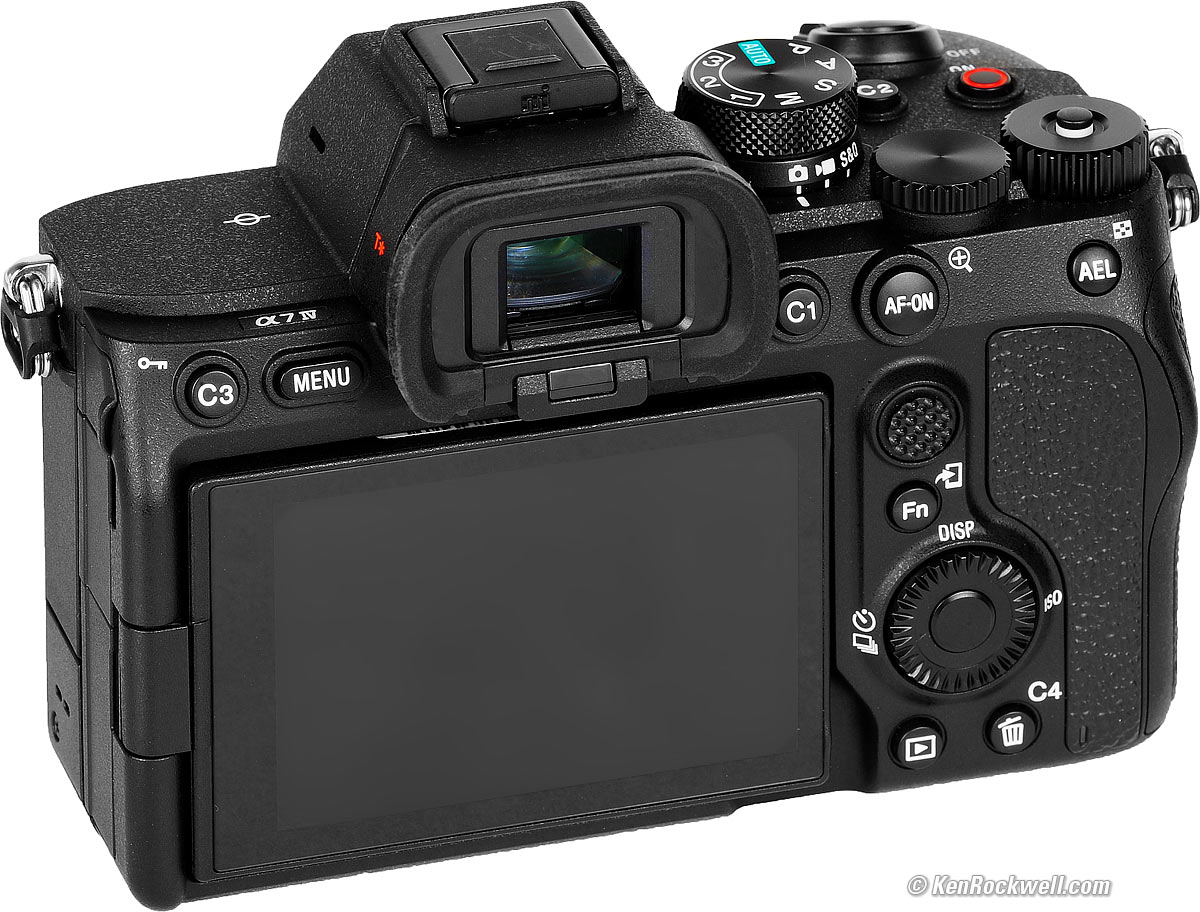
Sony A7 IV. bigger.


I buy only from these approved sources. I can't vouch for ads below. |


Rattles A7 IV review top
The sensor moves around for image stabilization.
With the power off, the sensor is not locked and flops all around if you shake your camera. With the power off, it sounds like something is rattling around loose inside, because it is.
This is normal.
Charging A7 IV review top
The battery charges internally via USB or externally in the optional BC-QZ1 corded charger.
It only charges over USB with the camera's power OFF.
Either charge method lights an amber LED while charging, which simply goes out when done.
It's nearly impossible to see the camera's tiny charge LED hidden between the USB socket and the connector cover; you really have to look for it
USB also can power the camera indefinitely.
It only charges via USB with the power off; you still can't charge and shoot at the same time.
Set the Clock A7 IV review top
Set this at MENU > Setup > 1 Area/Date > 1 Area/Date/Time Setting.
Format the Card A7 IV review top
This is hidden at MENU > Shooting > 2 Media > Format.
File Name Prefixes A7 IV review top
Set this at MENU > Shooting > page 3/10 > File/Folder Settings > File/Folder Settings (again) > Set File Name.
I set mine to "A74."
Automatic New Daily Folders A7 IV review top
This creates a new folder on your card each day. I love this!
I set it at MENU > Shooting > 3 File > File/Folder Settings > Folder Name > Date Form.
Beeps A7 IV review top
To turn off the annoying beeps that are on by default, set MENU > Setup > 10 Sound Option > Audio Signals > Off.
Setting What the Controls Do A7 IV review top
Set these at MENU > Setup > 3 Operation Customize > and at MENU > Setup > 4 Dial Customize > and have at it.
Setting the Fn menu A7 IV review top
The Fn menu is the options you see at the bottom of your screen when you press the rear (Fn) button.
Set this at MENU > Setup > 3 Operation Customize > Fn Menu Settings.
I like to put Auto ISO Minimum Shutter Speed and Image Size, in my Fn menu, for instance, but we're all different.
There is no right or wrong, just what works for you.
Auto ISO A7 IV review top
To set the minimum shutter speed if you don't assign this control to the Fn menu, set it at MENU > Exposure/Color > 1 Exposure > ISO AUTO Min. SS.
If you choose Auto for the slowest shutter speed, it sets it based on focal length. Slow or Fast shift it by one stop, and Slower or Faster shift it by 2 stops from the focal length.
I set 1/125 for people shots and 1/500 for action.
For things that hold still, I set AUTO, or SLOW or SLOWER if it's an optically stabilized lens.
Again, there is no right or wrong; just what works for you as the slowest speed at which you can hand-hold and get sharp results.
 Auto ISO still isn't smart enough to hold your set minimum shutter speed if you shift the exposure program (use Aperture-priority to work around this quickly if you need to stop down in dim light hand-held).
Manual AF point selection with the touch screen A7 IV review top
When you set this you can slide your finger around the touch screen — even if it's off as you use the electronic finder — to position the AF points.
Set:
1.) MENU > Setup > 5 Touch Operation > Touch Operation (again) > On.
2.) MENU > Setup > 5 Touch Operation > Touch Panel/Pad > Both Valid.
3.) MENU > Setup > 5 Touch Operation > Touch Func. in Shooting > Touch Focus.
4.) MENU > AF/MF > 2 Focus Area > Focus Area should be set to anything other than Flexible Spot or Expanded Flexible Spot. I use Wide.
Set all this, and you can just slide your right thumb around the dark LCD to move your AF points wherever you want them.
I don't use this mode since my A7 IV usually selects what I need automatically, and if I set this mode my fingers usually wind up selecting zones at random if I touch the screen by accident.
Manual Focus Override A7 IV review top
Set the DMF focus mode with the Fn button to allow immediate manual focus override with autofocus. It's so smart that it probably will magically zoom into faces as you turn the focus ring!
The gotcha here is that DMF only works in AF-S (single) mode, not AF-C (continuous) mode, so don't use it for sports.
Use a lens with a mechanical focus override ring, like the 70-200/2.8 GM, and you can just grab its focus ring in the AF-C (or any other) mode for instant override. Most lenses, like the 24-105mm f/4 G and 24-70/2.8 GM, won't give manual override unless you're in the DMF mode.
It's great that the A7 IV defaults to showing the focus magnifier as you use manual-focus, but a defect is that you can't program this magnifier to go away the instant you release the focus ring as LEICAs do. There are options to have the magnifier go away after a 2, 5 or infinity seconds (MENU > AF/MF > 4 Focus Assistant > Focus Magnif. Time), but two seconds are way too long to wait until we can see the entire image to compose and shoot any moving subject. Hopefully Sony will add the "0 seconds" option here, and even better they need to add the ability to get instant manual-focus override in the AF-C and AF-A modes. We can't make quick manual touch-ups to what the AF system is doing unless we spend a lot of time monkeying around with our cameras, which leads to missed shots. We need this to happen instantly so the camera gets out of our way.
Focus Magnifier A7 IV review top
I like to have the manual focus magnifier come up when I tap a button when using an adapted manual focus lens. With an adapted old lens, there's nothing to tell the A7 IV when to magnify unless you program something.
Set which button does this at MENU > Setup > 3 Operation Customize > (camera icon) Custom Key/Dial Set. > (choose a button, say Custom Button 3, the C1 button near the finder) > Focus Magnifier.
Silent Mode A7 IV review top
This is one of the best features of the A7 IV, but it's off by default. The only thing you can't do in Silent Mode is use flash.
Set it at MENU > Shooting > 7 Shutter/Silent > Shutter Type > Electronic Shutter.
Shooting under flickering light A7 IV review top
If shooting under fluorescent, dimmed LED, sodium, mercury or other lights that tend to flicker at twice the power line frequency, set MENU > Shooting > 7 Shutter/Silent > Anti-flicker Set. > Anti-flicker Shoot. > ON.
You can't use this mode with the Silent mode; pick one. I skip the flicker mode and just shoot in Silent.
Self Timer A7 IV review top
Select the Self Timer at the Advance Mode after pressing Fn.
Image Review A7 IV review top
To have what you just shot appear on-screen right after you've shot it, turn this on at MENU > Setup > 8 Display Option > Auto Review > and chose 2, 5 or 10 seconds for hold time.
I don't use this; it slows me down.
1, 2, 3, M1, M2, M3 and M4 Preset Memory Modes A7 IV review top
Sony A7 IV. bigger.
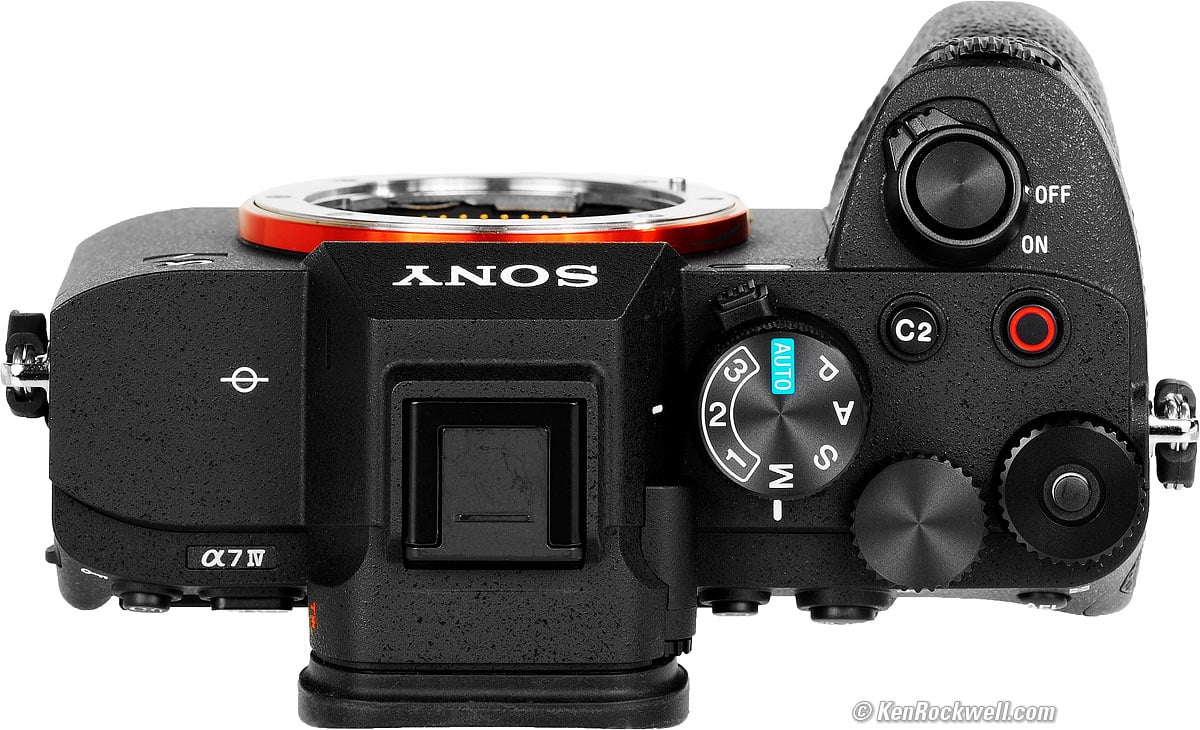
Once you've set the camera as you like, go to MENU > Shooting > 4 Shooting Mode > [MR] Camera Set. Memory > select a location > press the big round center button and all your current settings are saved to that memory address.
1, 2 and 3 are recalled by selecting them on the top dial (shown above set to 2), while M1, M2, M3 and M4 are only recallable via the menu system at MENU > Shooting > 4 Shooting Mode > [MR] Recall Camera Setting > select a location > press the big round center button and voilà, your camera is set as it was when you saved it to that memory location.
Almost everything, like AF modes, frame rates, AF illuminators, shutter type, resolution, image settings, Image Review and white balance are saved and recalled.
If you change any settings while using one of these modes, the A7 IV will wake back up the same way after being turned off. If you want to return to the originally saved settings as opposed to what you've just modified, set it to another preset and then return to other, which will now come back up as saved.
There is no "Auto Update" setting. When you're getting your new camera set, you'll have to save each new iteration manually.
Hint: To update or modify a setting, simply recall the setting, change something, and then save it back to the same location.
I set number 1 for photos of places and things, which I set to high resolution and slower shutter speeds and ultra high color saturation.
I set number 2 for photos of people: moderate resolution and saturation, and set Auto ISO to a slowest speed of 1/125 to stop motion.
I set number 3 for sport and action: moderate resolution and saturation, and set Auto ISO to a slowest speed of 1/500 to stop action.
| Memory setting | 1 |
2 |
3 |
Set at (most of these functions can be assigned to the C buttons or the Fn menu) |
| Used for | Places and Things |
People |
Sports & Action |
|
| Drive Mode | Continuous Low (3 FPS) |
Continuous Low (3 FPS) |
Hi+ (10 FPS) |
Fn, or MENU > Shooting > 6 Drive Mode > Drive Mode (again) |
| AF Mode | AF-A (Auto-selects continuous or single) |
AF-C (continuous) |
AF-C (continuous) |
Fn, or MENU > AF/MF > 1 AF/MF > Focus Mode |
| Exposure Mode | Program |
Program |
Program |
Top mode dial (set this while programming the 1, 2 and 3 positions, then select the 1, 2 or 3 position to recall these settings) |
| Image Size | L: 33 MP |
M: 14 MP |
M: 14 MP |
Fn, or MENU > Shooting > 1 Image Quality > Image Quality Settings |
| JPG Quality | STANDARD |
LIGHT |
LIGHT |
Fn, or MENU > Shooting > 1 Image Quality > Image Quality Settings |
| Creative Style | Vivid (VV) |
Standard |
Standard |
Fn, or MENU > Exposure/Color > 6 Color/Tone > Creative Look |
| Saturation | +9 |
+1 |
+1 |
Fn, or MENU > Exposure/Color > 6 Color/Tone > Creative Look |
| ISO | Auto |
Auto |
Auto |
Fn, ISO button (right side of rear controller), or MENU > Exposure/Color > 1 Exposure > ISO |
| Auto ISO Min & Max | 100 & 102,400 |
100 & 102,400 |
100 & 102,400 |
Fn, ISO button (right side of rear controller), or MENU > Exposure/Color > 1 Exposure > ISO Range Limit |
| ISO Auto Min Shutter Speed | Auto Slower |
1/125 |
1/500 |
MENU > Exposure/Color > 1 Exposure > ISO AUTO Min. SS |
Explanations
Drive Mode
3 FPS lets me make one shot at a time, or several if I hold the shutter down.
10 FPS goes for broke with sports.
AF Mode
AF-C is best for tracking people and action, while the AF-A mode will hold and lock focus if the subject is still.
Image Size
While I often shoot still subjects at the highest resolution, for people and action 14 MP is more than enough for anything, and makes editing, storage and transmission so much faster and easier.
Image Quality
STANDARD gives me great images.
LIGHT gives me the smallest file sizes, and still looks great.
Creative Style
I photograph places and things at extreme saturation, but that makes people look bad.
I photograph people in the standard setting, with a minor +1 saturation boost for a little more pizazz.
ISO
I always use Auto, which I program to set ISO exactly as I'd set it manually:
Auto ISO Min & Max
I set ISO 102,400 as the maximum because 102,400 still looks pretty good - much better than a blurry image shot at 51,200. Of course set this to your own taste.
Auto ISO Minimum Shutter Speed
I set it to AUTO Slow for still subjects because this sets it based on lens focal length. I always get sharp shots at this setting.
I set 1/125 for people shots because that's the slowest speed at which most people shots won't show motion blur from people moving and talking.
I'll set 1/500 for sports and action as 1/500 is the slowest speed that freezes just about any motion. I'll set 1/1,000 for aerial photos shot from light aircraft. Remember, this is the slowest shutter speed it will use before increasing ISO.
Register Custom Shooting Settings A7 IV review top
This is very difficult to figure out how to program, but if you can, it lets you program any of several different buttons to shift your choice of many different camera settings for as long as you hold-down the programmed button.
This is found at MENU > Shooting > 4 Shooting Mode > Reg. Custom Shoot Set.
For instance, you could set it so you shoot in B&W when you hold a button, or that it shoots in RAW+JPG as long as you hold a button or anything else programmable amongst the huge menus of programmable features. Good luck.
Embed Your Contact Information in Every Image A7 IV review top
I set this at MENU > Shooting > 3 File > Copyright info.
This adds whatever text you want in the file's EXIF data; it doesn't draw it on the photo.
Recording to 2 cards at Once as Backup A7 IV review top
I set this at MENU > Shooting > 2 Media > Rec. Media Settings > Recording Media > Simult. Recording (simultaneous recording to both cards).
Now it records everything to both cards at once as backup.
I do this, but if I pull out one card, it won't record at all!
Be sure to have a spare card if one fills, or know where to reset this setting if you run out of a second card because you'll be dead as soon as either of the cards isn't ready.
Seeing the Rear LCD in Daylight A7 IV review top
There is an extra setting called "Sunny Day" in the LCD brightness setting menu.
Use this and it's amazing how good the rear LCD looks in direct sunlight.
Under- and Over-Crank (slow-mo and fast-motion video) A7 IV review top
Sony calls this S&Q, for "Slow and Quick" motion.
Set it on the sub-dial under the Mode Dial, and adjust it at MENU > Shooting > 1 Image Quality > S&Q Settings.
I'd get my A7 IV at Adorama, at Amazon, at B&H or at Crutchfield, or eventually used at eBay if you know How to Win at eBay. It also comes as a kit with the crappy FE 28-70mm lens for $2,698 at Adorama, at Amazon, at B&H and at Crutchfield. I'd pass on that kit; I'd get the kit with the superb FE 24-105/4 G instead; the smart money is always spent on better lenses.
This 100% all-content, junk-free website's biggest source of support is when you use those or any of these links to my personally approved sources I've used myself for way over 100 combined years when you get anything, regardless of the country in which you live — but I receive nothing for my efforts if you get it elsewhere. Sony does not seal its boxes in any way, so never buy at retail or any other source not on my personally approved list since you'll have no way of knowing if you're missing accessories, getting a defective, damaged, returned, dropped, incomplete, gray-market, store demo or used camera — and all of my personally approved sources allow for 100% cash-back returns for at least 30 days if you don't love your new camera. I've used many of these sources since the 1970s because I can try it in my own hands and return it if I don't love it, and because they ship from secure remote warehouses where no one gets to touch your new camera before you do. Buy only from the approved sources I've used myself for decades for the best prices, service, return policies and selection.
Thanks for helping me help you!
Ken Rockwell.
© Ken Rockwell. All rights reserved. Tous droits réservés. Alle Rechte vorbehalten.
Help Me Help You
I support my growing family through this website, as crazy as it might seem.
The biggest help is when you use any of these links when you get anything. It costs you nothing, and is this site's, and thus my family's, biggest source of support. These places always have the best prices and service, which is why I've used them since before this website existed. I recommend them all personally.
If you find this page as helpful as a book you might have had to buy or a workshop you may have had to take, feel free to help me continue helping everyone.
If you've gotten your gear through one of my links or helped otherwise, you're family. It's great people like you who allow me to keep adding to this site full-time. Thanks!
If you haven't helped yet, please do, and consider helping me with a gift of $5.00.
As this page is copyrighted and formally registered, it is unlawful to make copies, especially in the form of printouts for personal use. If you wish to make a printout for personal use, you are granted one-time permission only if you PayPal me $5.00 per printout or part thereof. Thank you!
Thanks for reading!
Ken Rockwell.