Sony A6600 User's Guide
Here's how I set my A6600
Sony: A9 III A1 II A1 A9 II A7R V A7R IV A7 V A7 IV A7 III A7S III A7CR A7C II A7c FX3 FX2 ZV-E1 A6700 A6600 A6400 ZV-E10 II ZV-E10 ZV-1 II RX1R III RX10/4 RX100/7 Flash Lenses
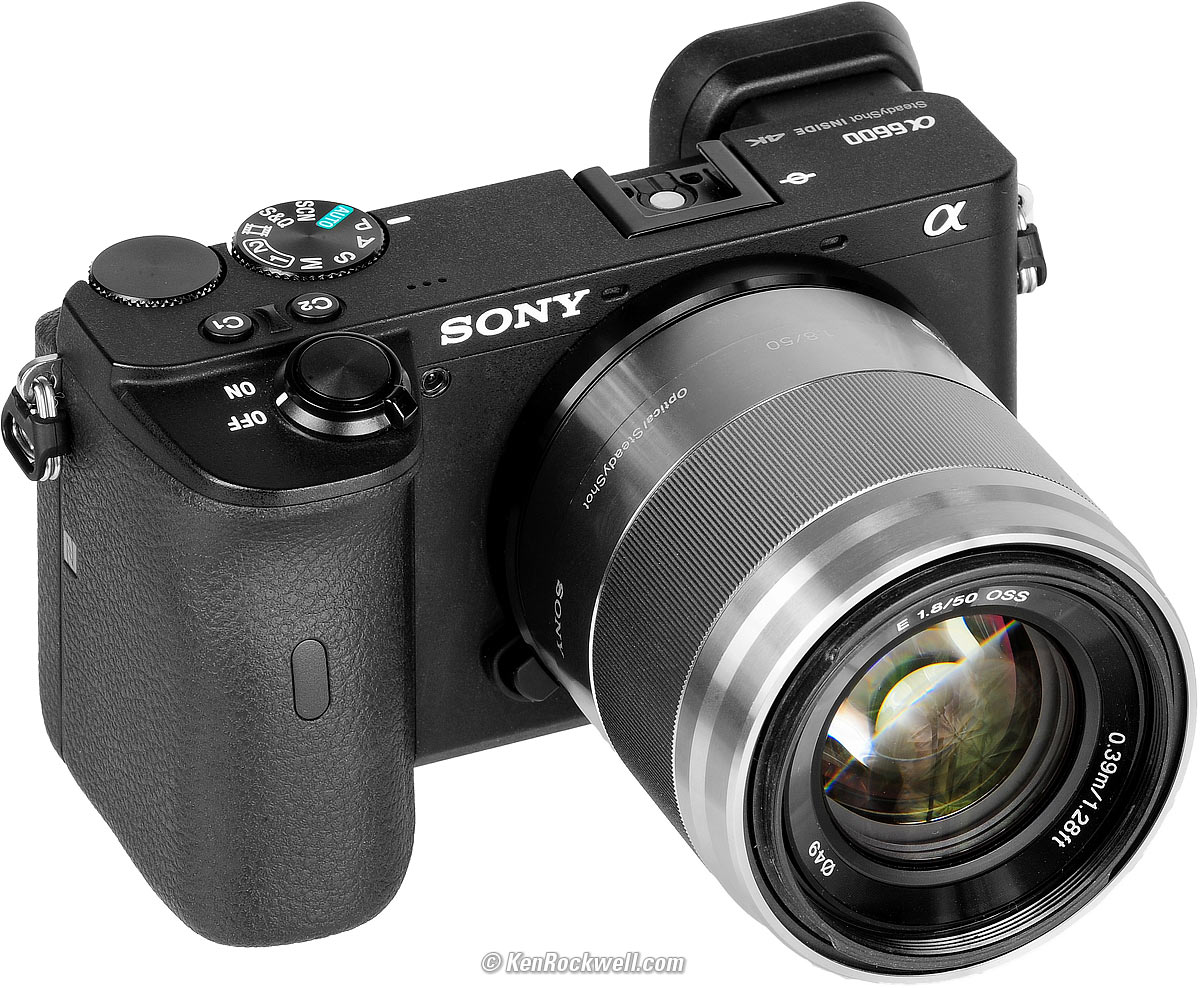
Sony A6600 and Sony E 50mm f/1.8 OSS. bigger. I'd get my A6600 at Adorama, at Amazon, at B&H or at Crutchfield, or get it used if you know How to Win at eBay.
This all-content, junk-free website's biggest source of support is when you use those or any of these links to approved sources when you get anything, regardless of the country in which you live. Thanks for helping me help you! Ken.

Hot, hot, hot December 2019 Sony Zeiss Minolta Nikon Canon Fuji LEICA All

Sony A6600. bigger.

Sony A6600. bigger.

I buy only from these approved sources. I can't vouch for ads below. |

Power & Battery
The A6600 charges its battery inside the camera via a USB cord. Plug the A6600 into any USB source and a yellow LED near the connector lights while charging. It turns off when done.
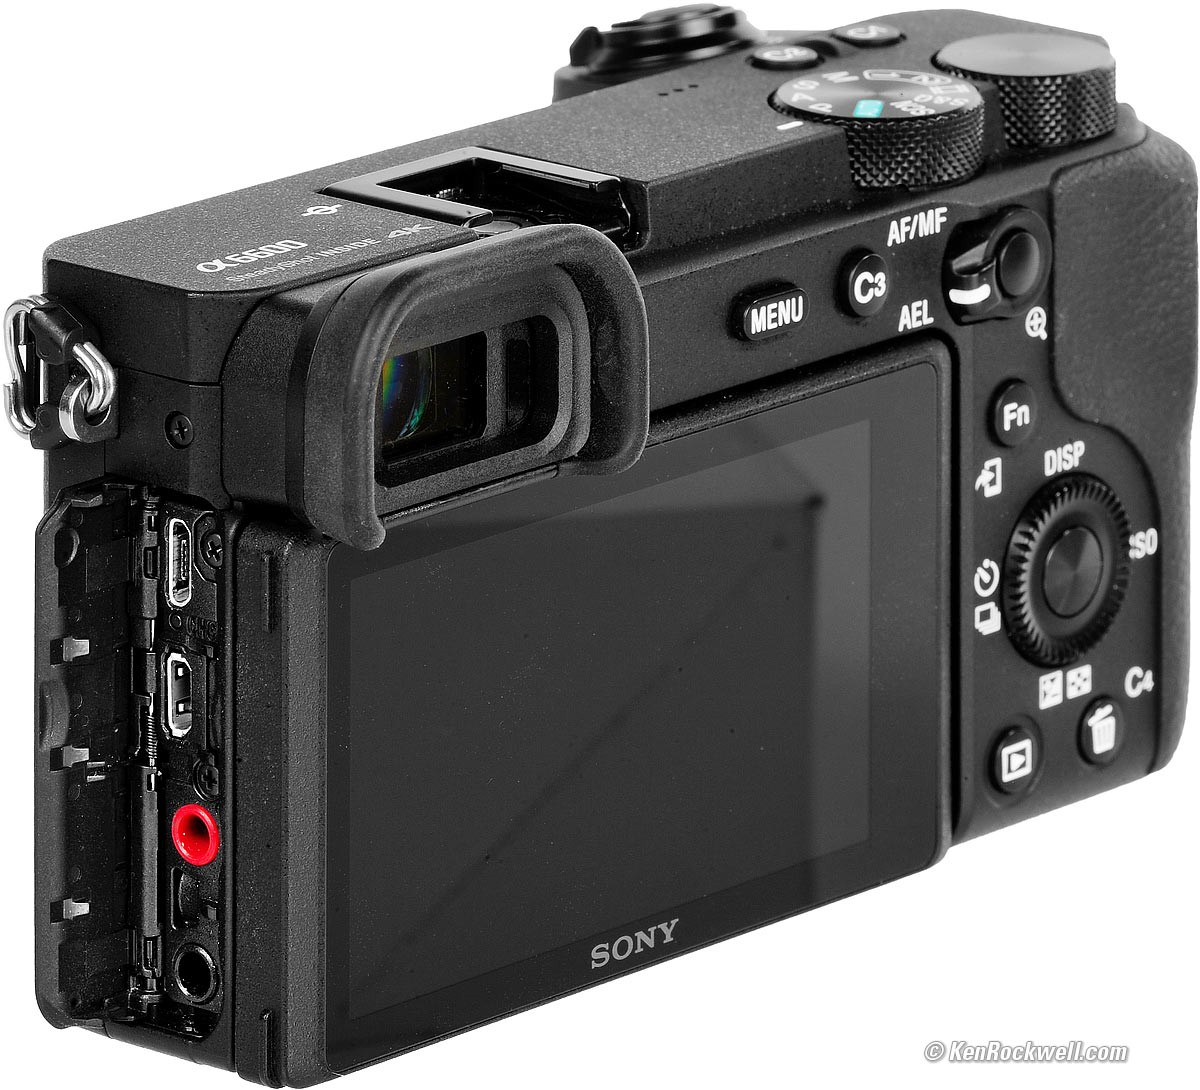
Sony A6600 connectors. bigger.
The top connector on the left is the USB connector.
You can use any USB Micro B cord and any USB source. Try the USB sockets in your car, a solar charger, a USB power bank, a computer or a wall adapter to charge. You can buy an accessory external Sony BC-QZ1 Battery Charger so you can charge a spare at the same time as charging the first battery in the camera body.
Sony graciously includes it's own 1.5 amp USB adapter for use at home if you don't already have a drawer full of these:
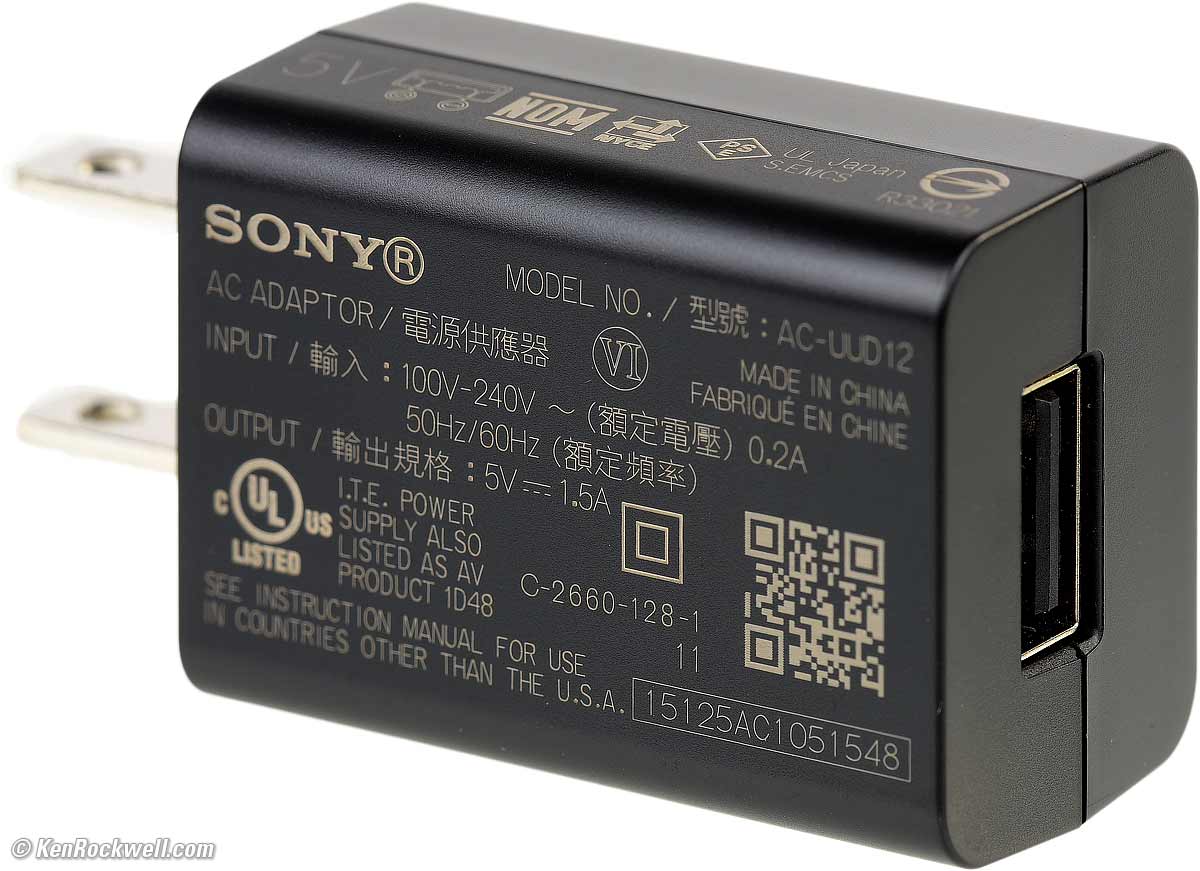
Included Sony AC-UUD12 universal USB AC power adapter. bigger.
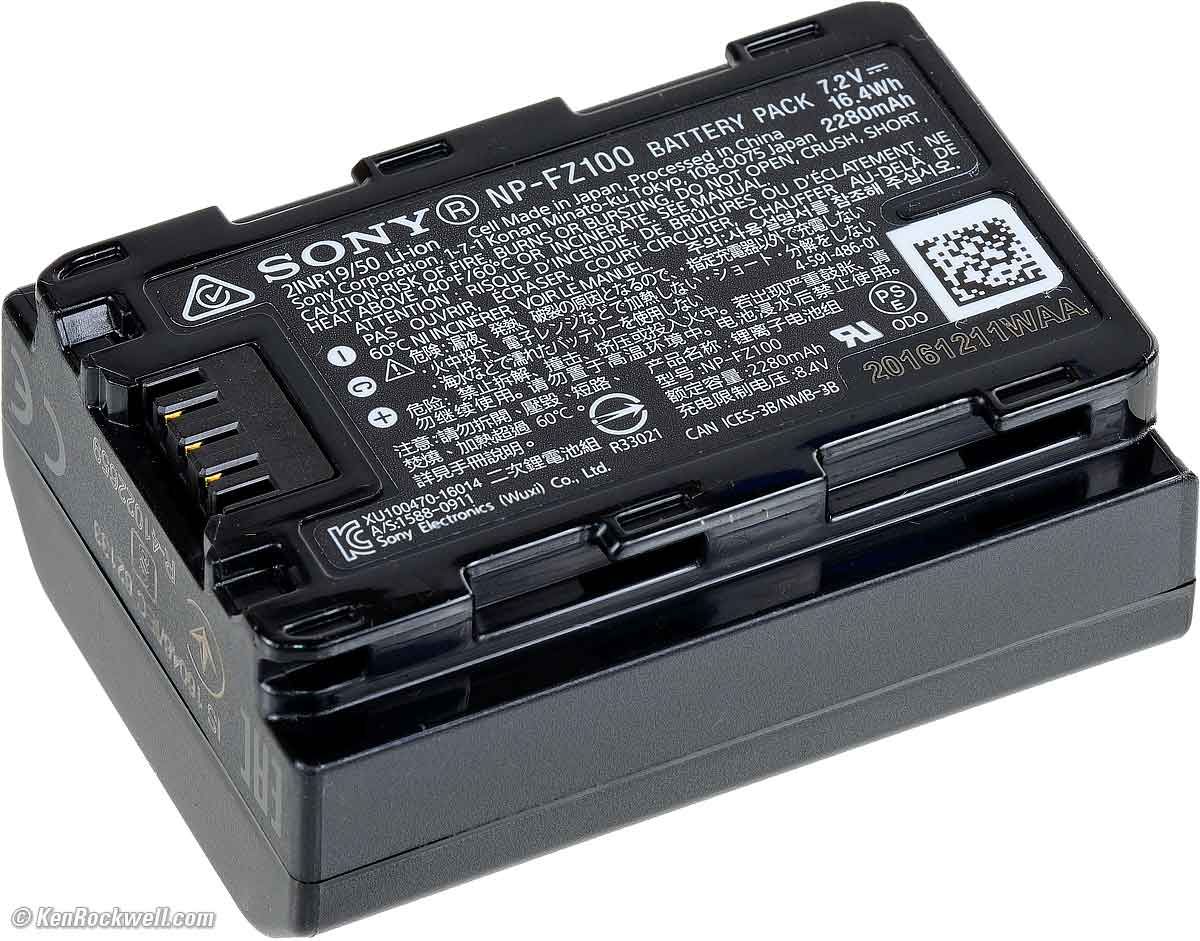
Sony NP-FZ100 battery. enlarge.
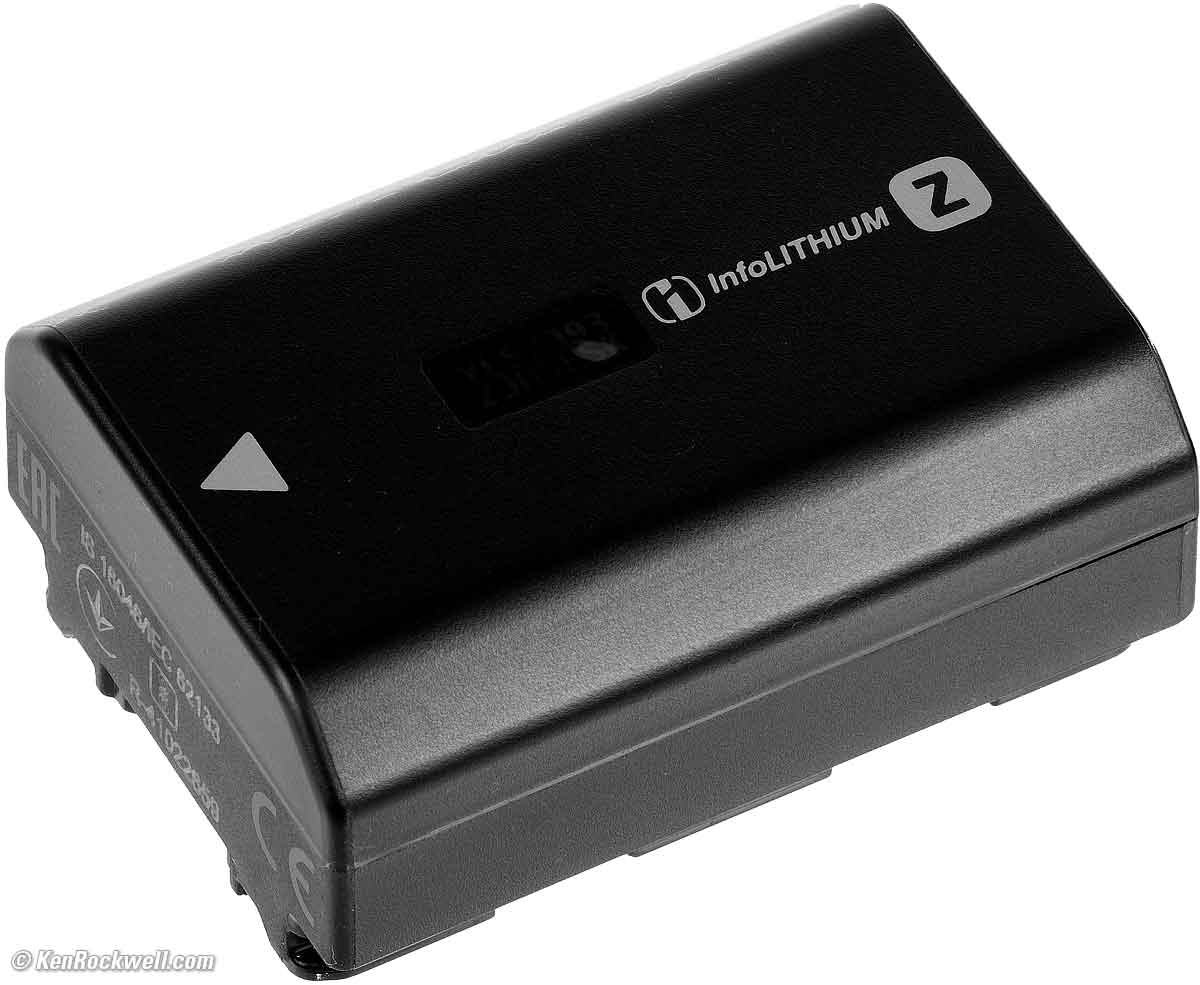
Sony NP-FZ100 battery. enlarge.

Sony A6600. bigger.
AC Adapter
Just plug your camera into any USB source — easy!
Fn Button, Frame Rates & More
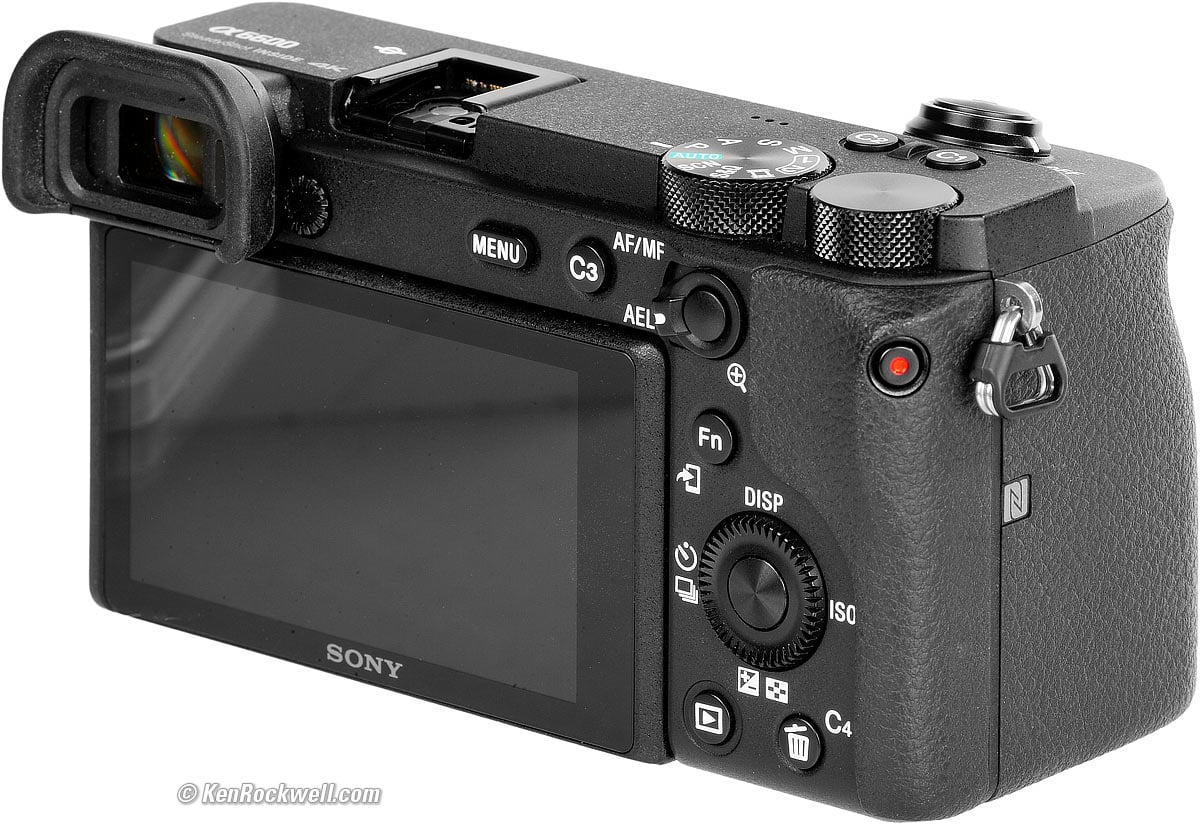
Fn button is above and left of the rear multi-controller. bigger.
We set many things with their own buttons and with the MENU button, however many new users take a while to discover that many other important settings are hidden behind the Fn button.
Press Fn, and 12 settings appear across the bottom of your screen or finder.
You set the advance mode, frame rate, white balance and many other things here.
To change the frame rate, press the Fn button, select the advance mode icon which is usually at the left, select the continuous mode (usually a bearded rectangle icon) and that's where you can select among LO, MID, HI and HI+.
You can customize what options appear at the bottom of the screen. I like to add Auto ISO Minimum Shutter Speed and Silent Mode to these options instead of some of the defaults. (Some of the defaults are so old and defaulted that they are for things now controlled by the top dial, and thus grayed-out!) You assign these at MENU > CAMERA 2 > page 8/9 > Function Menu Set.
General A6600 Settings
Once the battery is in and charged, I set the time zone, time and date.
Then I set these away from their defaults:
What |
Set to |
Set in |
Why |
| Drive Mode | Continuous LO |
Rear Fn button | One press takes one picture, and holding the shutter takes a few. I may set higher Continuous speeds for people if there's action involved, but that runs the risk of always firing a few frames when I only need one. |
| AF Illuminator | Off |
MENU > CAMERA 1 > page 6/14 > AF illuminator | The A6600 is so sensitive that it doesn't need an AF illuminator. |
| Face/Eye Detect | On |
MENU > CAMERA 1 > page 6/14 > Face/Eye AF Set. | In this menu I set: Face/Eye Priority in AF > ON. Subject Detection > Human (or Animal for pets and animals). Right/Left Eye Select > Auto. Face./Eye Frame Display > ON. Animal Eye Display > ON. |
| Release w/o card | Disable |
MENU > CAMERA 2 > page 4/9 > Release w/o Card | I don't want the camera taking pictures when it has no card, which it will do by default. |
| Silent Shooting | On, if you prefer |
MENU > CAMERA 2 > page 4/9 > Silent Shooting | I prefer to shoot unnoticed, but you have to turn this OFF to use flash or Bulb. |
| Display Rotation | Auto |
MENU > PLAY > page 3/3 > Display Rotation | This lets the playback image rotate as you turn the camera, just like an iPhone. This works both in the finder and on the rear LCD. |
| Audio Signals | Off |
MENU > CAMERA 2 > page 9/9 > Audio Signals | Turns off the idiotic beeps. |
| Copyright Info | My name, address and phone number |
MENU > SUITCASE > page 5/7 > Copyright Info | I prefer my images be tagged with my personal information so they are always marked as mine. Also if my camera is stolen and recovered, it's easy to show the police that it's mine by showing them my information in the menu system. |
| Set File Name | A66 |
MENU > SUITCASE > page 5/7 > Set File Name | I prefer my files name the camera instead of being generic. You may prefer to use your own name instead. I like to know what camera shot which images as I sort multi-camera jobs. |
| Folder Name | Date Form |
MENU > SUITCASE > page 6/7 > Folder Name | This option makes the A6600 create a new image folder each day to make my sorting and downloading much easier. |
Auto ISO
Setting and using Auto ISO is important enough to warrant its own section.
If you're on a tripod and the subject holds still, always use ISO 100 and f/8 for everything for the best results.
Setting ISO manually for hand-holding went away ten years ago. Today we program our cameras to do it for us automatically based on our preferences and subjects.
For each kind of shooting, pick the highest ISO to which you'd like your camera to go, and the slowest shutter speed at which you will get a sharp shot, and the camera does the rest.
You set this at MENU > CAMERA 1 > page 8/14 > ISO Setting > ISO and ISO AUTO Min. SS.
I let the camera go to ISO 51,200. You might want to set a lower maximum, like 25,600 or 12,800, for landscape shots.
I set 1/125 as the minimum shutter speed for people photos. At 1/60 and slower often you'll get some blur as people are talking and laughing.
For sports and action, I'll pick 1/500 or above. Remember, in good light it goes to higher speeds; these are the slowest speeds it allows before increasing the ISO so pick a speed at which everything is still sharp for whatever you're shooting.
For nature and landscapes, I let my A6600 pick a minimum speed based on the focal length of my lens. That's the "Standard" option at the top of the Auto ISO Min. SS options.
If my lens has a stabilizer, I set the minimum shutter speed top option to SLOW or SLOWER, since I get sharp shots a stop or two slower than the Standard 1/focal length option.
Subject-Specific A6600 Settings
Sony A6600. bigger.
Once the overall settings above are set, I set my A6600's Memory Recall modes (the big 1 and 2 on the top dial) for my styles of shooting. Now the Memory 1 and Memory 2 positions on the top dial let me recall these in one dial click.
I set 1 for photos of places and things, which I set to high resolution and slower shutter speeds and ultra-high color saturation.
I set 2 for photos of people: moderate resolution and saturation, and set Auto ISO to a slowest speed of 1/125 to stop motion.
To set and save each, I set the A6600 as I like it, and then I save that by going to MENU > CAMERA 1 > page 3/14 > Cam1/Cam2 Memory and selecting the memory location into which I want to save my settings, and then pressing the big rear central ● button.
1 |
2 |
Set in MENU |
|
| Used for | Places and Things |
People |
MENU > CAMERA 1 > page 3/14 > Cam1/Cam2 Memory |
| Exposure Mode | Program |
Program |
Top mode dial |
| Silent Shutter | OFF |
ON |
MENU > CAMERA 2 > page 4/9 > Silent Shooting |
| Image Size | 24 MP |
12 MP |
MENU > CAMERA 1 > page 1/14 > JPEG Image Size |
| Quality | Standard |
Standard |
MENU > CAMERA 1 > page 1/14 > JPEG Quality |
| Creative Style | Vivid |
Standard |
MENU > CAMERA 1 > page 11/14 > Creative Style, or Fn button |
| Saturation | +3 |
+1 |
MENU > CAMERA 1 > page 11/14 > Creative Style, or Fn button |
| Sharpening | +3 |
+3 |
MENU > CAMERA 1 > page 11/14 > Creative Style, or Fn button |
| ISO | Auto |
Auto |
MENU > CAMERA 1 > page 8/14 > ISO Setting |
| ISO Auto Min Shutter Speed | Slower |
1/125 |
MENU > CAMERA 1 > page 8/14 > ISO Setting > ISO AUTO Min. SS |
If you're using the 1 or 2 mode, any changes you make are saved with the power off. It doesn't reset to your saved settings until you reselect M1 or M2 with the power on. This is good; it means you can change things for conditions, and when you return to either 1 or 2 mode that everything is then recalled to your originally saved values.
The A6600 locks up for a moment as you swap the top dial to either of the 1 or 2 memory recall positions. This is bad because the whole point of these settings is to save time.
To make this faster, turn off the power, move the dial, and turn the A6600 back on. It will wake up and bypass the black screen you usually have to wait to clear out of your way.
More Tips & Hints
LCD
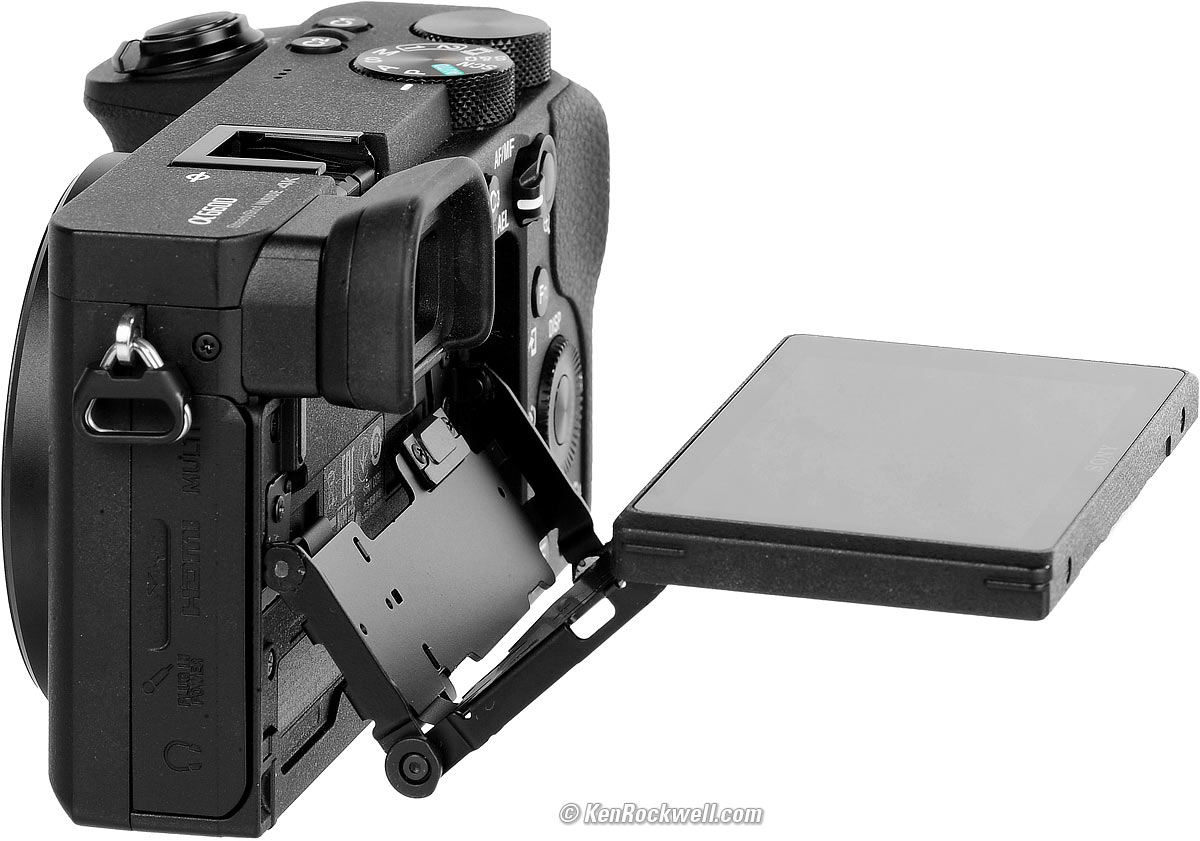
Sony A6600. bigger.
Sony A6600. bigger.
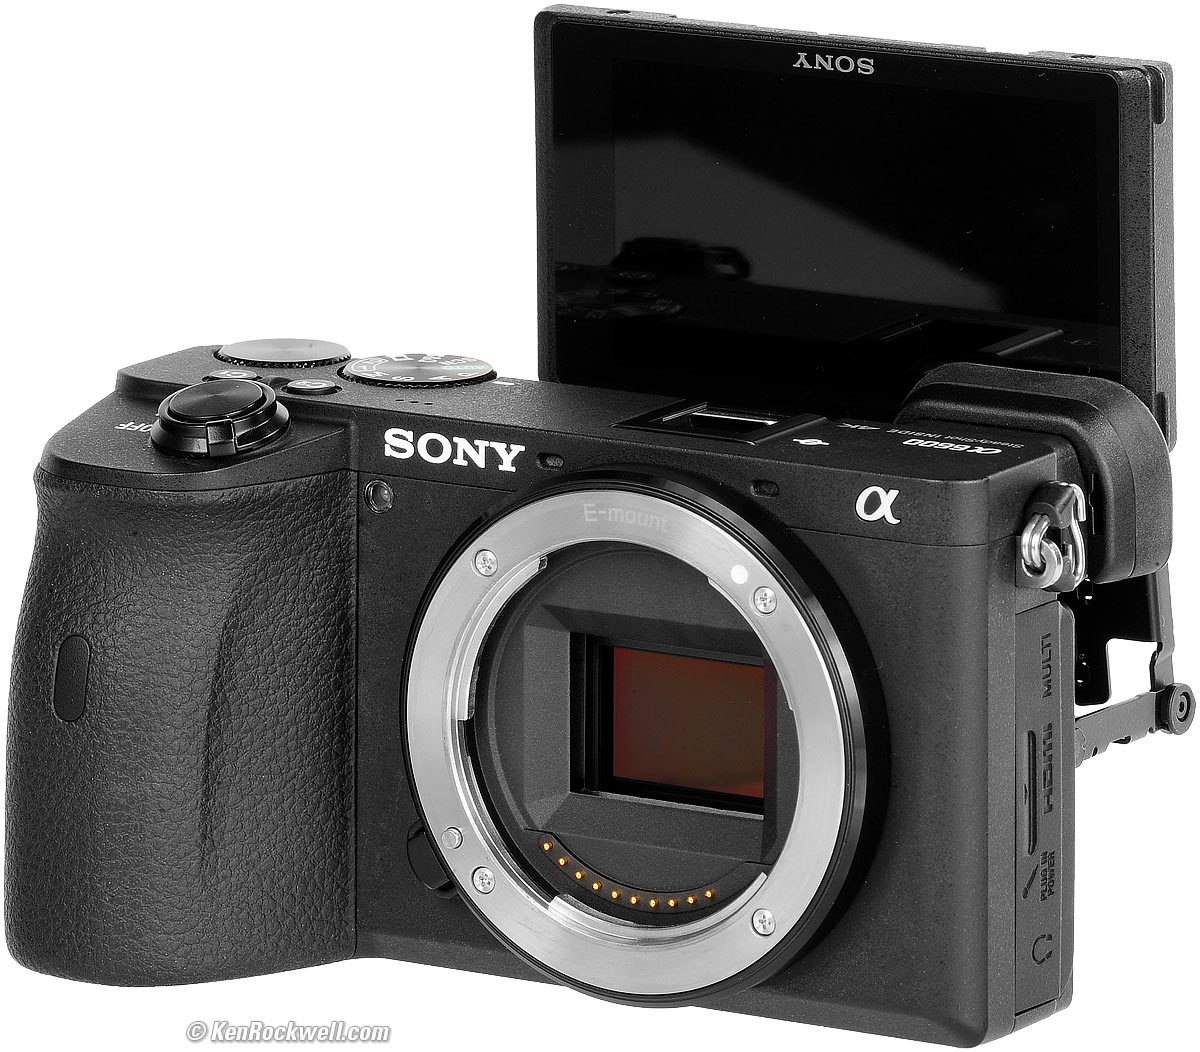
The LCD flips up and down.
It doesn't flip left or right, but it does flip far up enough for self-portraits.
Playback
The LCD is dim in daylight. You could try to find the Daylight option in the menus (MENU > SUITCASE > Monitor Brightness > Sunny Weather), but I just use the superb finder in daylight instead.
Use the top dial to swap among images while zoomed.
Flash Mode
The flash won't fire in Silent mode.
There is no warning message; you have to know to turn off the Silent mode(MENU > CAMERA 2 > page 4/9 > Silent Shooting) to get the flash to fire.
Where to get your A6600
I'd get my A6600 at Adorama, at Amazon, at B&H or at Crutchfield.
Unlike a bottle of milk or a roll of toilet paper, Sony doesn't seal its boxes in any way, so you have no idea if you're getting a used, returned, incomplete or damaged product if you risk buying at retail. Never buy at retail. Use only my personally approved sources for the best prices, service, return policies and selection— and they ship from secure remote warehouses where no customers or salesmen can get their sticky hands on your new camera before you do.
Thanks for helping me help you!
Ken.
© Ken Rockwell. All rights reserved. Tous droits réservés. Alle Rechte vorbehalten.
Help me help you top
I support my growing family through this website, as crazy as it might seem.
The biggest help is when you use any of these links to approved sources when you get anything, regardless of the country in which you live. It costs you nothing, and is this site's, and thus my family's, biggest source of support. These places have the best prices and service, which is why I've used them since before this website existed. I recommend them all personally.
If you find this page as helpful as a book you might have had to buy or a workshop you may have had to take, feel free to help me continue helping everyone.
If you've gotten your gear through one of my links or helped otherwise, you're family. It's great people like you who allow me to keep adding to this site full-time. Thanks!
If you haven't helped yet, please do, and consider helping me with a gift of $5.00.
As this page is copyrighted and formally registered, it is unlawful to make copies, especially in the form of printouts for personal use. If you wish to make a printout for personal use, you are granted one-time permission only if you PayPal me $5.00 per printout or part thereof. Thank you!
Thanks for reading!
Mr. & Mrs. Ken Rockwell, Ryan and Katie.