California's Route 66
Technical Details: How I did It
Presented in ultra-high resolution; outstanding on Retina displays.
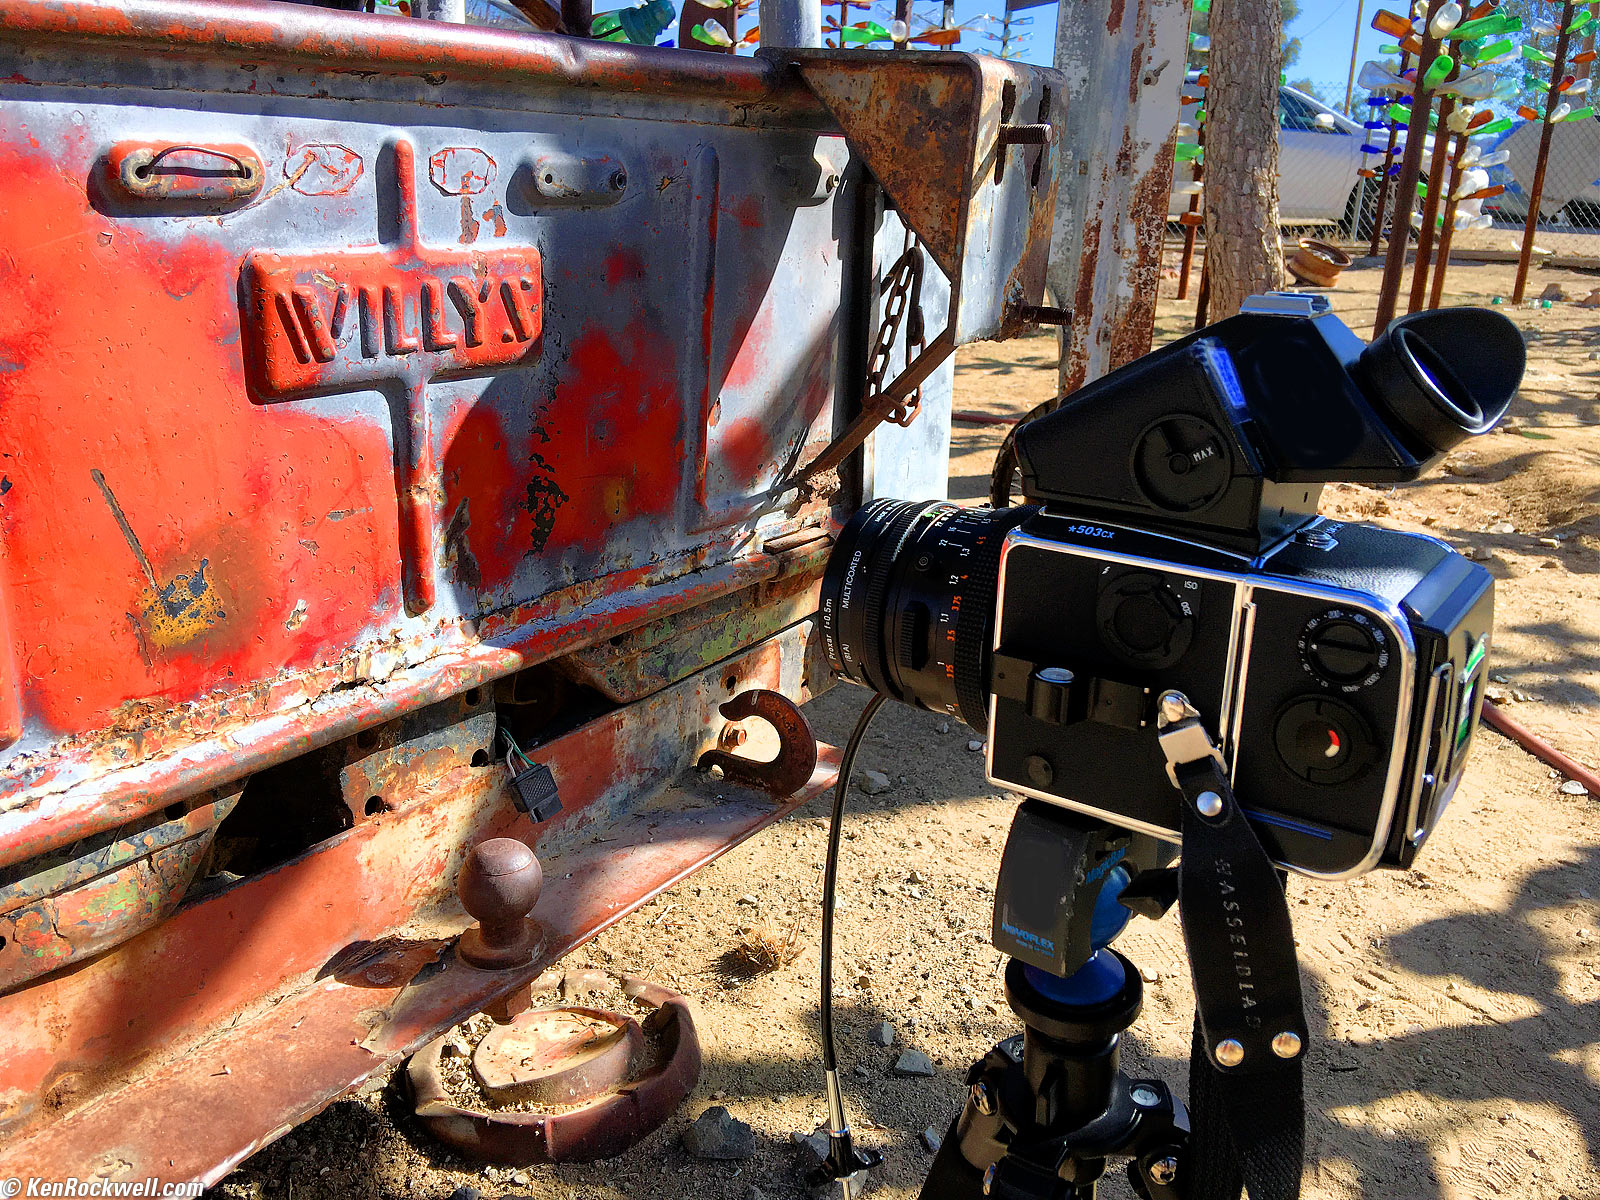
Hasselblad at the Bottle Tree Farm, Route 66, 07 February 2016, 10:34 A.M. 2015 iPhone 6s Plus, f/2.2 at 1/905 at Auto ISO 25. bigger.
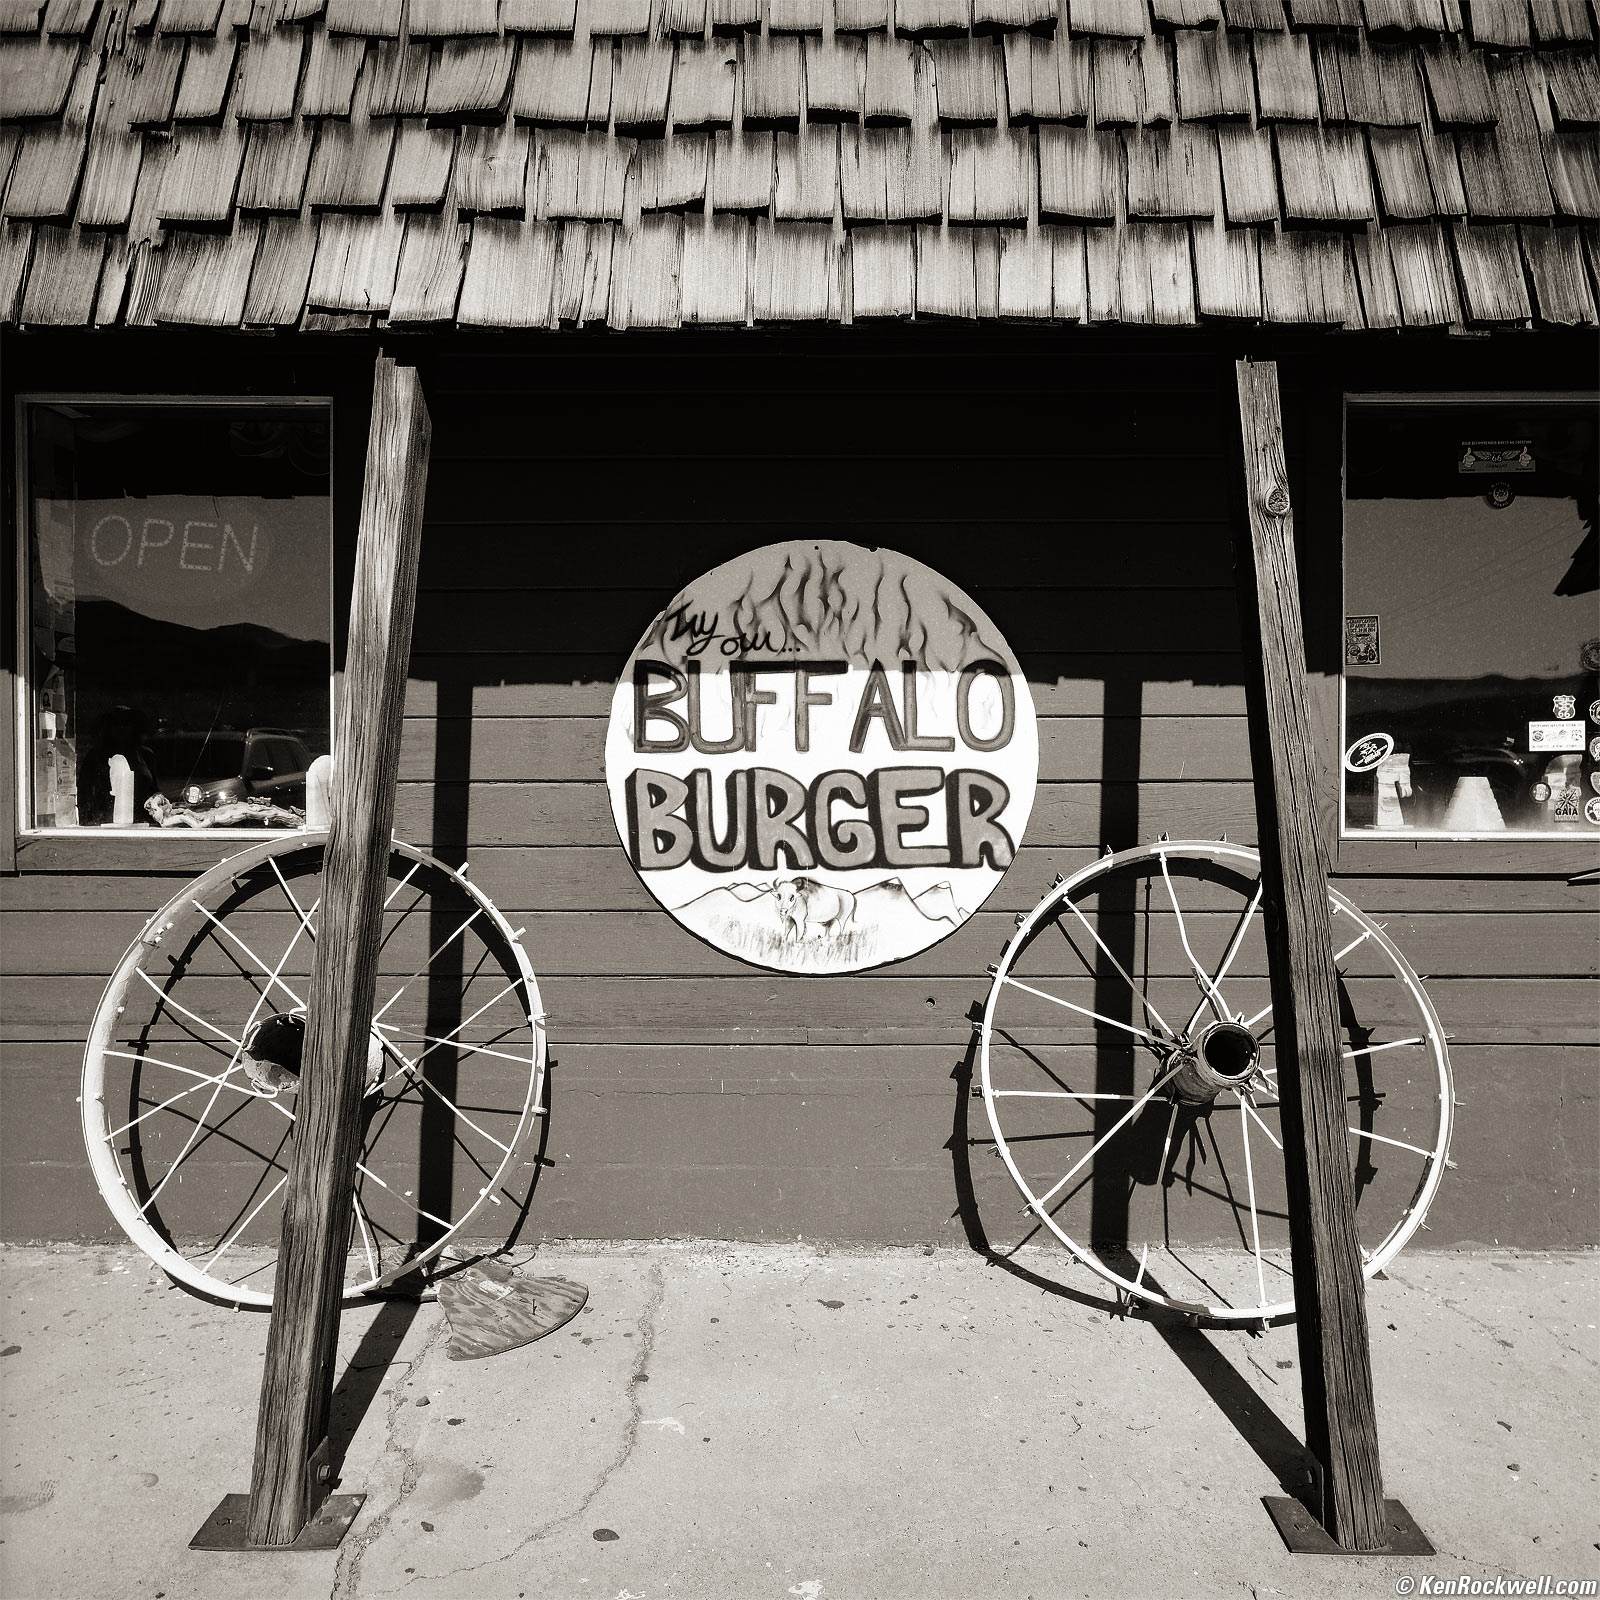
I created these photos while helping lead Dave Wyman's tour of California's Route 66.
I shot this all on my Hasselblad system on 2¼" film.
I got my complete Hasselblad system piece-by-piece over eBay for less than I paid for just my Canon 5DSR body — and that's including my exotic Hasselblad 903 SWC Super Wide. You can get a regular Hasselblad 500 C/M and 80mm lens for well under $1,000. No matter how much I shoot, I still can't spend more on film, processing and scanning than a digital back would cost me, and square 2¼" (6×6 cm) film uses all of my lens — no crops. My scans come back from the lab at 23 megapixels (4,800 × 4,800), all with no cropping, no foolish masks in my finder, no dopey cables, no batteries to charge and no memory cards or computers to wrangle.
I brought my 1989 Hasselblad 903 SWC, 1992 Hasselblad 503CX with 1985 PME metered prism finder, 1993 Zeiss Planar T✻ 80mm f/2.8 CF and 1987 Zeiss Sonnar T✻ 150mm f/4 CF lenses.
I shot with 120-size Kodak T-Max 100 in a 1993 Hasselblad A12 magazine. My T-Max was fresh from B&H in 5-roll pro packs.
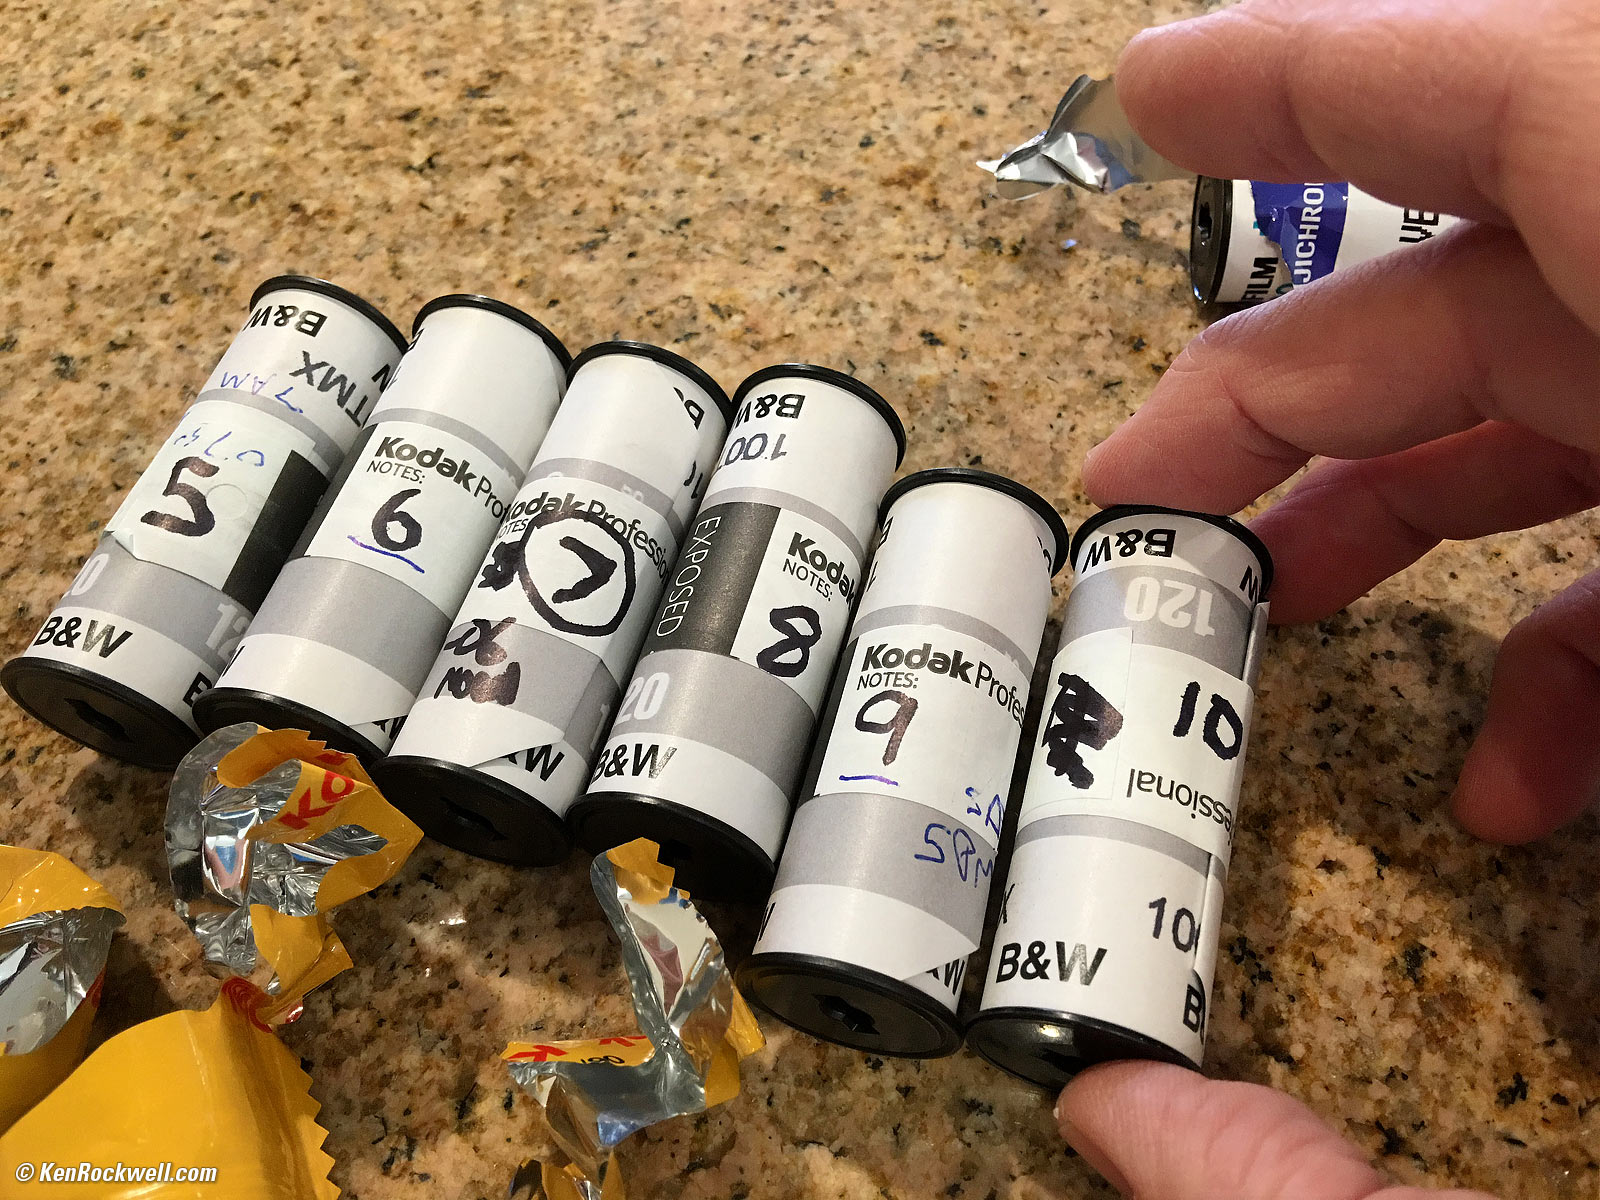
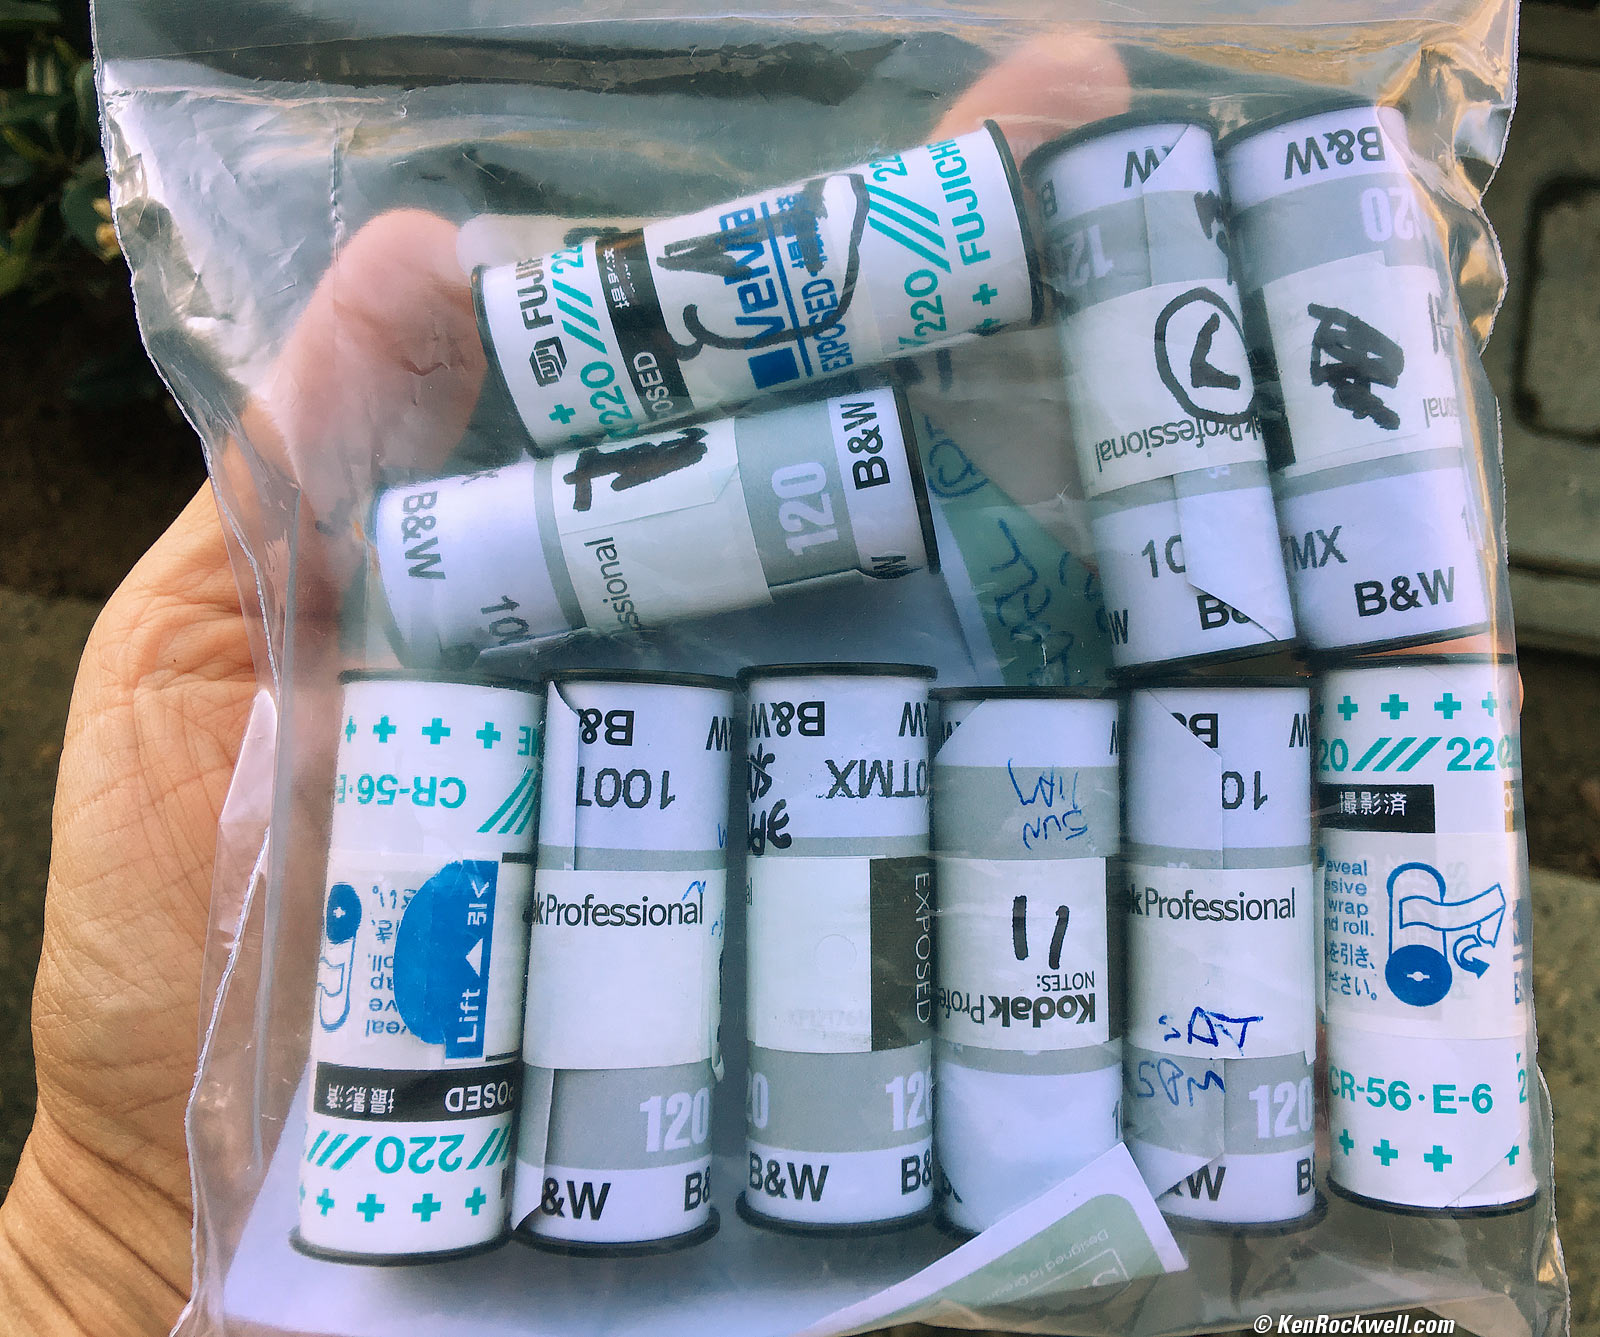
Some of my exposed Kodak T-MAX 100 film at our hotel, 07 February 2016, 9:22 A.M. 2015 iPhone 6s Plus, f/2.2 at 1/15 at Auto ISO 64. bigger.
I used B60 bayonet filters, including a B60 Heliopan Yellow, B60 Hasselblad Green 11, B60 Hoya Orange and B60 B+W 091 Deep Red 29.
I calibrated my film speeds and used these exposure indices with my PME metered prism finder, measuring through the filter:
No filter: EI 100 (EI 64 under tungsten).
Yellow or Green filter (both green 11 and green 58): EI 80.
Orange filter: EI 64.
Red 25A filter: EI 40.
Deep Red 29 filter: EI 20. Since the PME only goes to ASA 25, I set EI 25 and set an aperture a half stop wider on the PME to make up for that.
I use my PME meter prism with my 503CX. My PME has been calibrated for the Acute Matte screen I use.
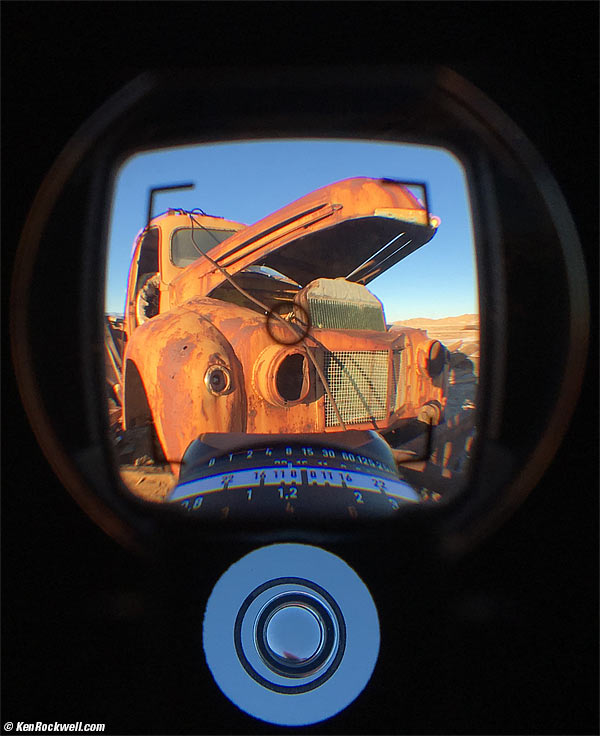
With my unmetered 903 SWC I use an app in my iPhone in good light, or I use my Gossen Luna-Pro SBC outdoors at night or when I'm wearing gloves. The app works well enough in daylight, while the SBC works much better outside at night or with gloves.
 |
 |
View through the SWC finder. bigger. |
When I report EV, exposure value, it's at the film's exposure index. When I report LV, light value, that means the EV for ASA/ISO/EI 100. For instance, if ISO 100 film needs EV 14, then that's LV 14. In this same LV 14 light, ISO 50 film needs EV 13; one stop more exposure. See Exposure Values for more.
For COLOR I shot 220-size Fuji Velvia in a 1996 Hasselblad E24 magazine. It's a dream getting 24 shots before having to reload or change magazines. I used original Velvia (not the newer Velvia 50 which is the same thing) from my strategic reserve that's been stored at -10ºF since it was new; its expiration date was June 2006. Looks pretty good for ten-year-old film, huh?
I used a B60 Hasselblad CR 1,5 warming filter or B60 Heliopan KR 6 warming filter for most color shots. I used a B60 B+W F-DAY or Series 8 Tiffen CC40M filter for shots made under fluorescent lighting.
I carried all this in a Think Tank Retrospective 30 shoulder bag.
I shot nearly everything on a lightweight $100 Dolica carbon fiber tripod that's light and fast to set up, but used it with an expensive German-made Novoflex Mini Magic Ball head. I used a Hasselblad quick release plate to make it easy to slide my 903 SWC or 503CX on and off.
The tripod helped me see my pictures more precisely as I composed them, even in daylight. Just as with my 4x5" camera, I paid careful attention to my composition and made slight adjustments as needed.
The only digital cameras I brought were my Apple iPhone 6s Plus and a crazy Ricoh Theta S 360º camera. I make better pictures by not distracting myself with digital while I'm trying to concentrate on my pictures, so these rarely came out of my pocket.
I love shooting film because it frees me to concentrate on my pictures instead of on my camera and battery charging and menus and ISOs and AF settings and all the other things that distract me from concentrating on the only thing that matters: what's actually in my picture. With my Hasselblad, I can concentrate on just my picture. The olny batteries it uses are for the light meters (my PME finder or my Gossen Luna-Pro SBC) and those last for years; I just shoot.
I love my Hasselblads because they aren't just cameras; the Hasselblad is a complete modular system. I can shoot both my 903 SWC and 503CX right after each other on the same roll of film, or I can swap between B&W and COLOR from one shot to the next on the same camera. It doesn't matter; cameras, lenses, filters, finders, backs and everything all interchange across over 50 years of Hasselblad products.
All my Hasselblad gear works great while wearing gloves. While I can't even unlock my iPhone while wearing gloves, I can do everything with the Hasselblad system: change lenses and backs, set and meter exposures, and even load and unload rolls of film from magazines — all while wearing my Pho-Tog gloves. Ditto for my Gossen Luna-Pro SBC meter: it's just as easy to use with gloves as without.
I also love my Hasselblads for another strong reason Ansel Adams did: the big square format, bigger than any digital sensor. With big 2¼" square negatives (6 × 6 cm) there is plenty of room to crop the image into any shape you want — and you never have to distract yourself rotating a camera between horizontal and vertical trying to "find" your shot.
The square format is the strongest: subjects fill the big square frame and command attention. My subjects don't wind up hiding someplace in the middle of some arbitrary rectangular shape that's usually too wide or too tall.
Exposed film to drop off at North Coast Photo, 07 February 2016, 3:20 P.M. 2015 iPhone 6s Plus, f/2.2 at 1/120 at Auto ISO 25. bigger.
I had my film developed and scanned at NCPS.
I cataloged the scans in Phase One Media Pro so I could see what I had and pick out the best.
I dragged the good shots into Photoshop CS6 to add subtle but significant artistic input, and to format them for publication. For instance, many shots are edge-burned, deliberately darkening the corners to keep your attention focused where I want it.
Most shots were processed with the Athentech Perfectly Clear version 2 Photoshop plug-in, which usually makes them look even better.
I use no rote application of formulae; I see my image in my mind's eye and do whatever I have to to get it to look as I want it to in print.
All my black-and-white works are split-toned.
I shot all this in less than 48 hours, but it took me a week to write up how I did it. You need to be fluent with your tools before you can be effective at creating good photos. You have to be able to do all the things I've explained without thinking so you can have your attention focused on looking for your pictures, and refining them as you do find them (FARTing). You can't be trying to look everything up as you need it; that's too late and you'll miss seeing your pictures or the light will change on you.
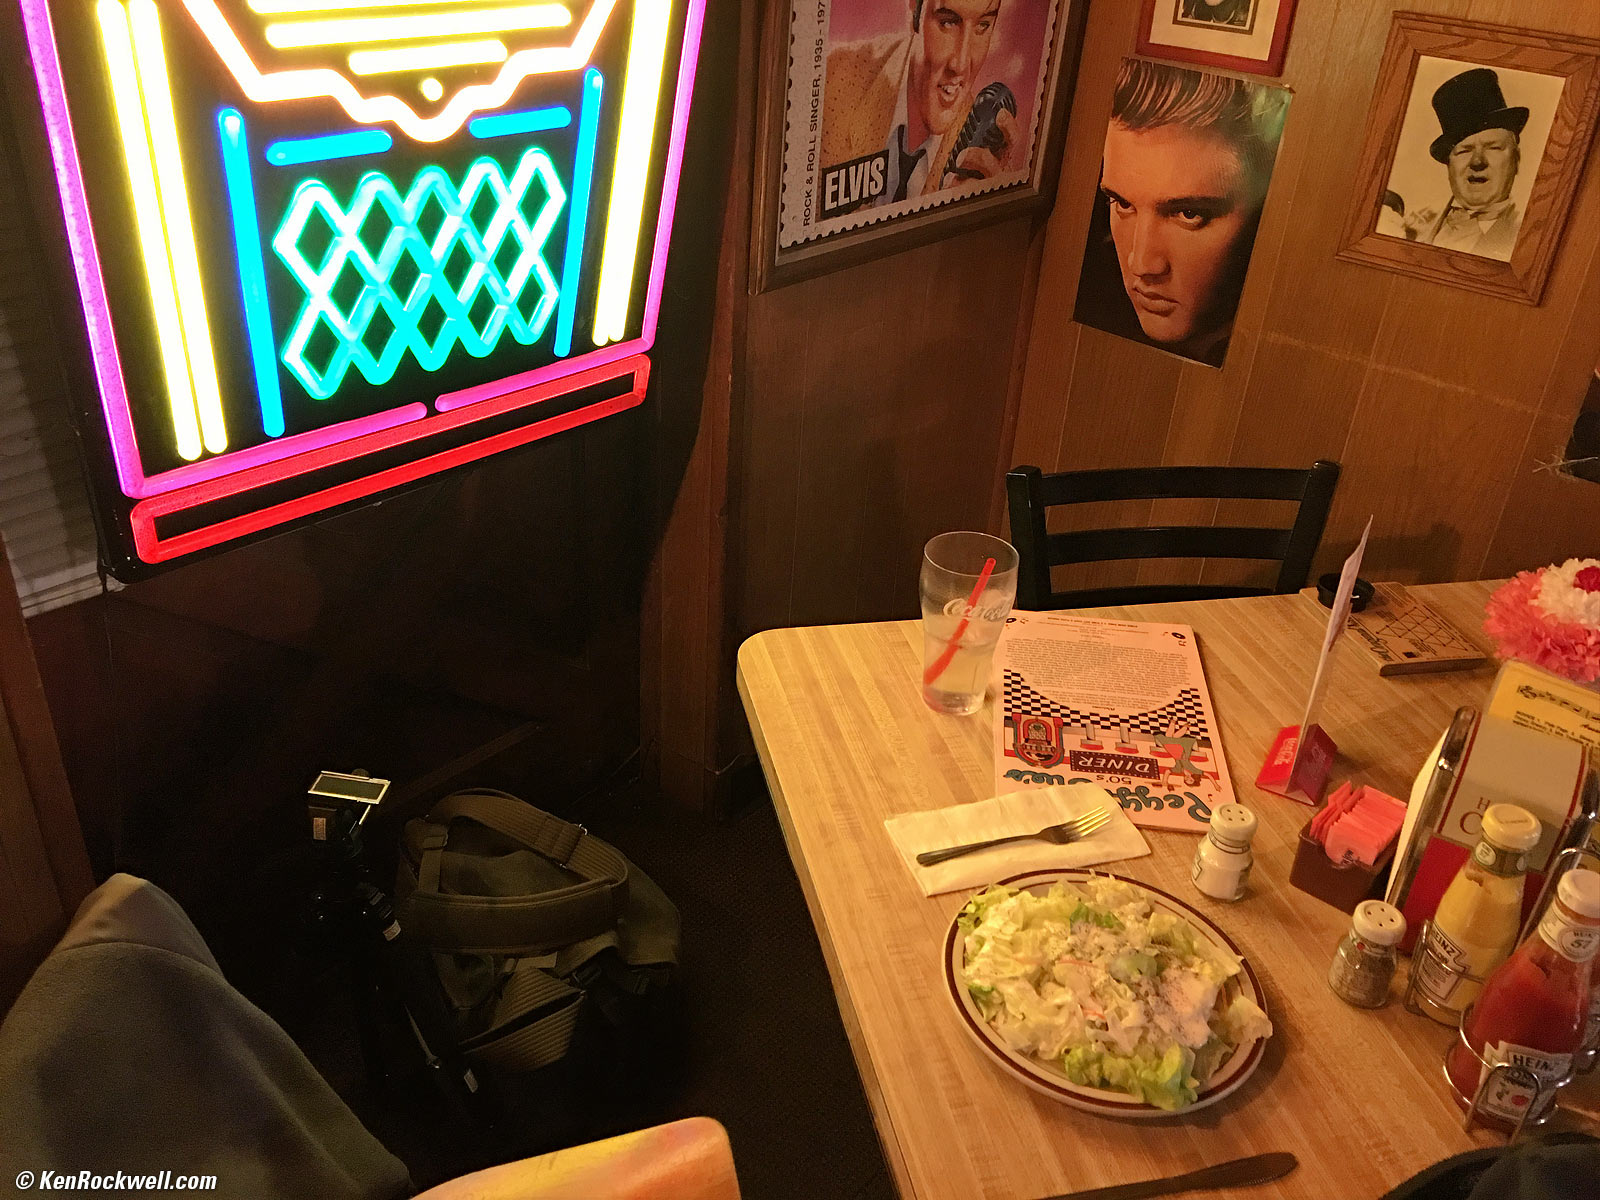
Dinner at Peggy Sue's, Yermo, 06 February 2016, 7:34 P.M. 2015 iPhone 6s Plus, f/2.2 at 1/4 second at Auto ISO 100. bigger.
see the gallery photos