Home Donate New Search Gallery Reviews How-To Books Links Workshops About Contact
California's Pacific Coast Highway
18 19 20 21 22 23 24 25 January 2014
These are snaps from a family road trip along California's PCH that I did to demonstrate the capabilities, quality and flexibility of the Fuji X100S. I needed to make this trip to create a gallery of X100S shots as I did last year for the X100.
I needed to take my X100S on a trip to demonstrate what it can do, and we had forecasts of snow days (a foot in NYC) and a couple of federal holidays thrown in, so the kids had off from school for a week. My wife looked online and found some killer last-minute deals on fantastic hotels that we couldn't ordinarily afford, so BINGO!, instant emergency luxury family ROAD TRIP!
We flew out to California and drove up to San Francisco to see family, then drove the Pacific Coast Highway (PCH) south to Hearst Castle, elephant seals, San Luis Obispo and Santa Barbara. We took the week to slow down, goof off, play and do absolutely nothing.
What cameras and lenses did I bring for this once-in-a-lifetime luxury opportunity to see family and sights? Nothing but my tiny Fuji X100S, and my iPhone 5 for video. With the X100S, I brought a charger, a spare battery in my pocket, a spare SD card in my wallet, my JB Designs half case on the bottom of my sturdy, lightweight camera and I was done. Time to hit the road with no camera bag, no laptop, and no problems. Did I miss anything? Not a thing. As I keep telling people, the Fuji X100S is the world's best digital camera. It worked flawlessly in every situation from blinding sun to deepest, darkest night, and didn't weigh me down like a dork with a DSLR with a fat lens and flash. DSLRs have their uses, which are not family vacations.
I don't need telephoto lenses because I simply can crop from the X100S' high resolution images (I can increase the resolution from 4 MP back to 16 MP without taking my eye from the finder). If I need wider, I use the 180º cylindrical panorama mode, also set without taking my eye from the finder — try that on a DSLR! The X100S' one lens is the only lens I need for a week of shooting everything.
I brought no tripods because they encourage boring pictures, and are a pain to carry around and use. People who waste their time with them always shoot from about 5 feet off the ground at predictably easy angles, resulting in predictably boring pictures.
I shot my Fuji in SMALL NORMAL JPG mode for reasonable file sizes. This makes sharp, 4 MP images which are good enough for anything, and don't clog up my memory card (I set my X100S to LARGE for a couple of landscape-only shots). I set Color to +2 for more vivid colors. I set PROGRAM exposure mode, Auto Dynamic Range and Auto ISO, with a max ISO of 6,400 and a minimum speed of 1/125 to keep my kids from becoming blurred. Everything else was left at defaults.
While I report the f/stops etc. for these shots, it was the X100S that chose the f/stop, shutter speed, ISO and dynamic range (not listed here) for each shot. I programmed my camera as above, and from there the X100S just knows how to do what I would have done if I set it manually — but if I had stopped to have set it manually, I would have missed half these shots. Another thing that makes the X100S stand out from DSLRs and LEICAs is that it gets these shots right the first time; I never have to do-over with exposure changes.
Once I had all my JPGs copied from my one SD card I used all week (3GB total), I used iView Media Pro 3.1.3 to identify and losslessly rotate all my JPGs from all sources. I used Phase One Media Pro to select which of these images I wanted to publish. (I would have rotated the images in Phase One Media Pro, but it's pretty flaky doing rotations, so I've given up and now do it in iView Media Pro 3.1.3 instead.) I dragged each image to be published from Phase One Media Pro into Photoshop CS6 for optimization and formatting. Once in Photoshop, most shots were processed with the Athentech Perfectly Clear plug-in which usually makes them look even better. I cropped each image to perfection and other artistic input as needed.
I then created and edited these pages from scratch and uploaded it all with Macromedia Dreamweaver 8 from 2006.
Not that these are fantastic photos, but they should give you an idea of how the X100S can handle anything.
18 January 2013, Saturday top
Today we flew overnight to LAX, got our car and drove up Interstate 5 to the San Francisco Bay area.
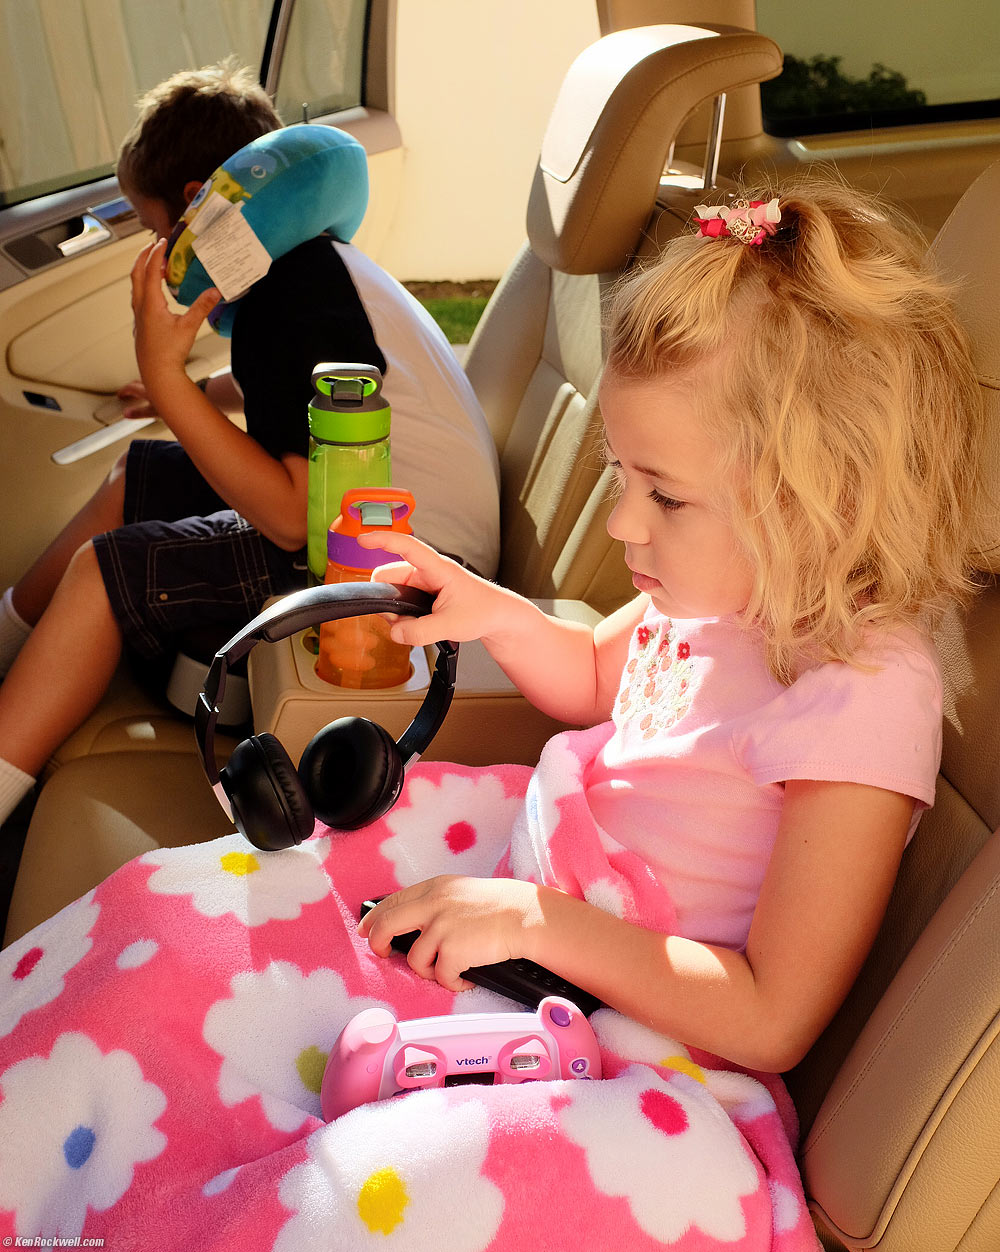
Readying for the Long Drive, 10:03 AM. (Fuji X100S, f/5.6 at 1/400 at ISO 400.)
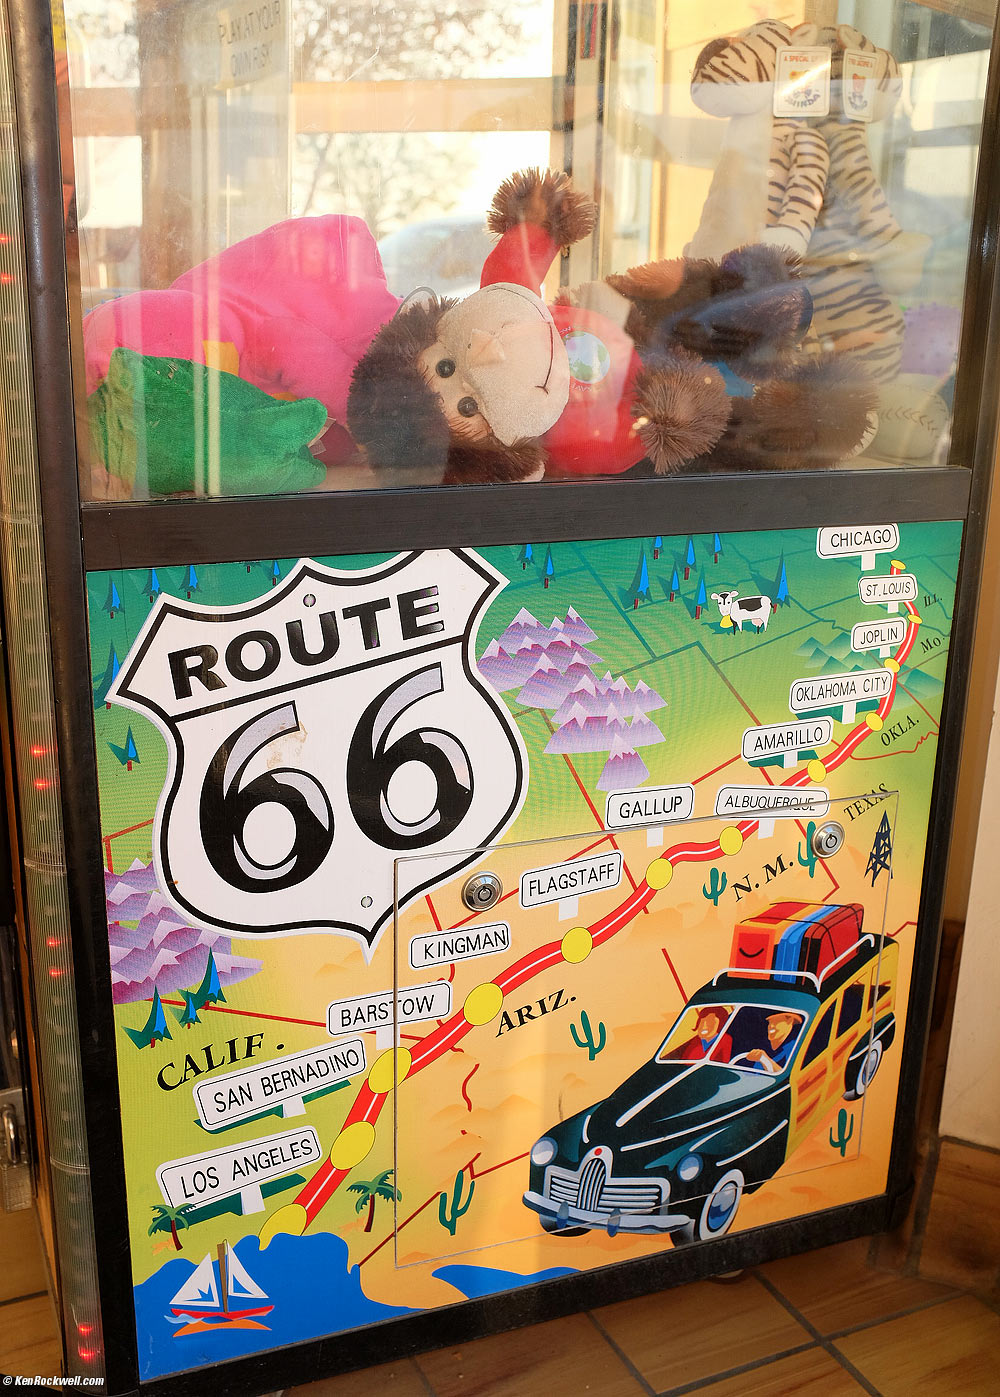
Route 66 As Seen At An I-5 Truckstop, 4:17 PM. (Fuji X100S, flash ON, f/5.6 at 1/5 at ISO 400.)
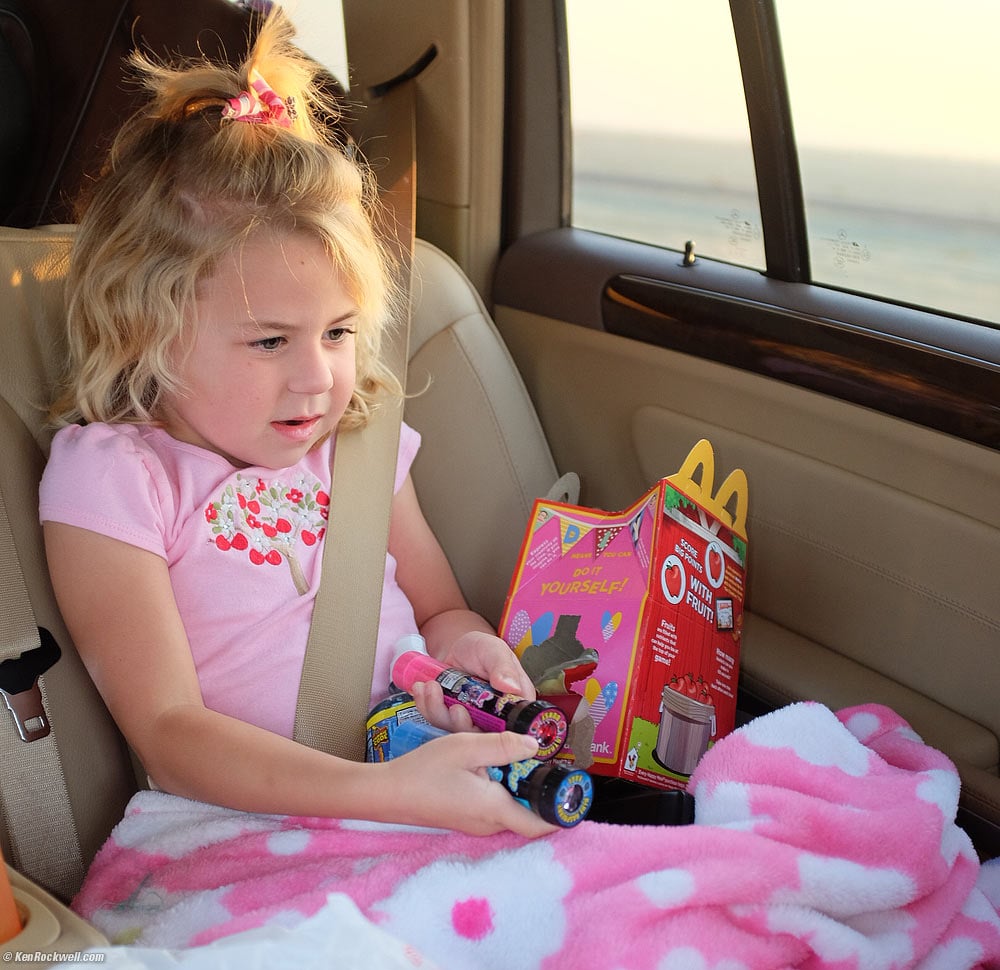
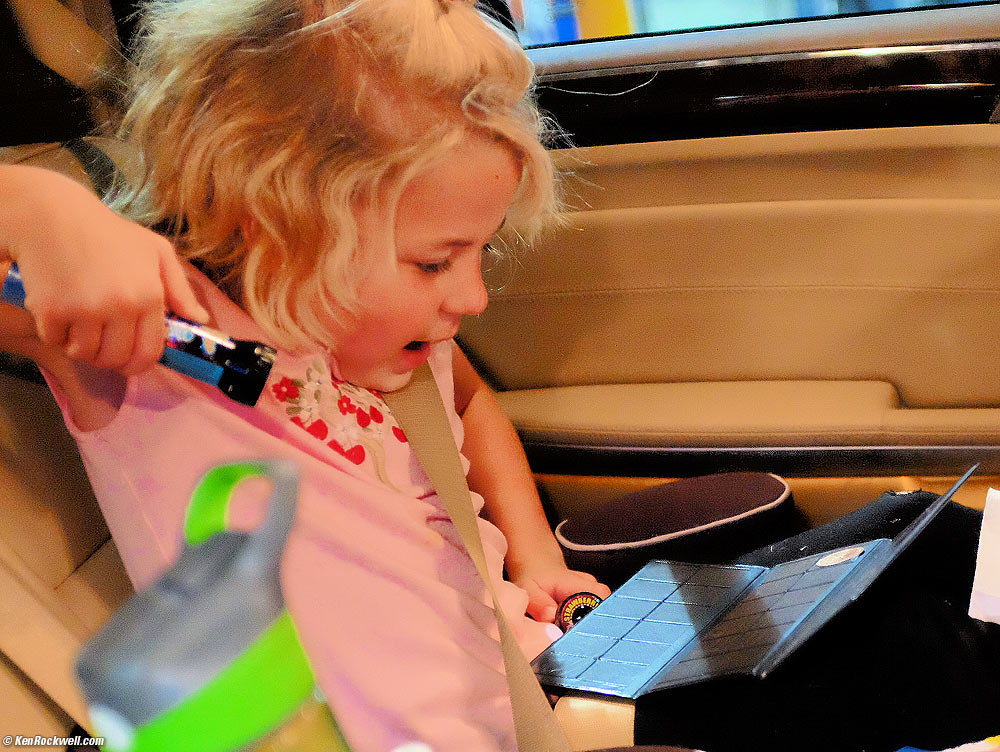
Katie Scored a Laser Pop, 4:45 PM. (Fuji X100S, flash ON, f/2 at 1/125 at ISO 800.)
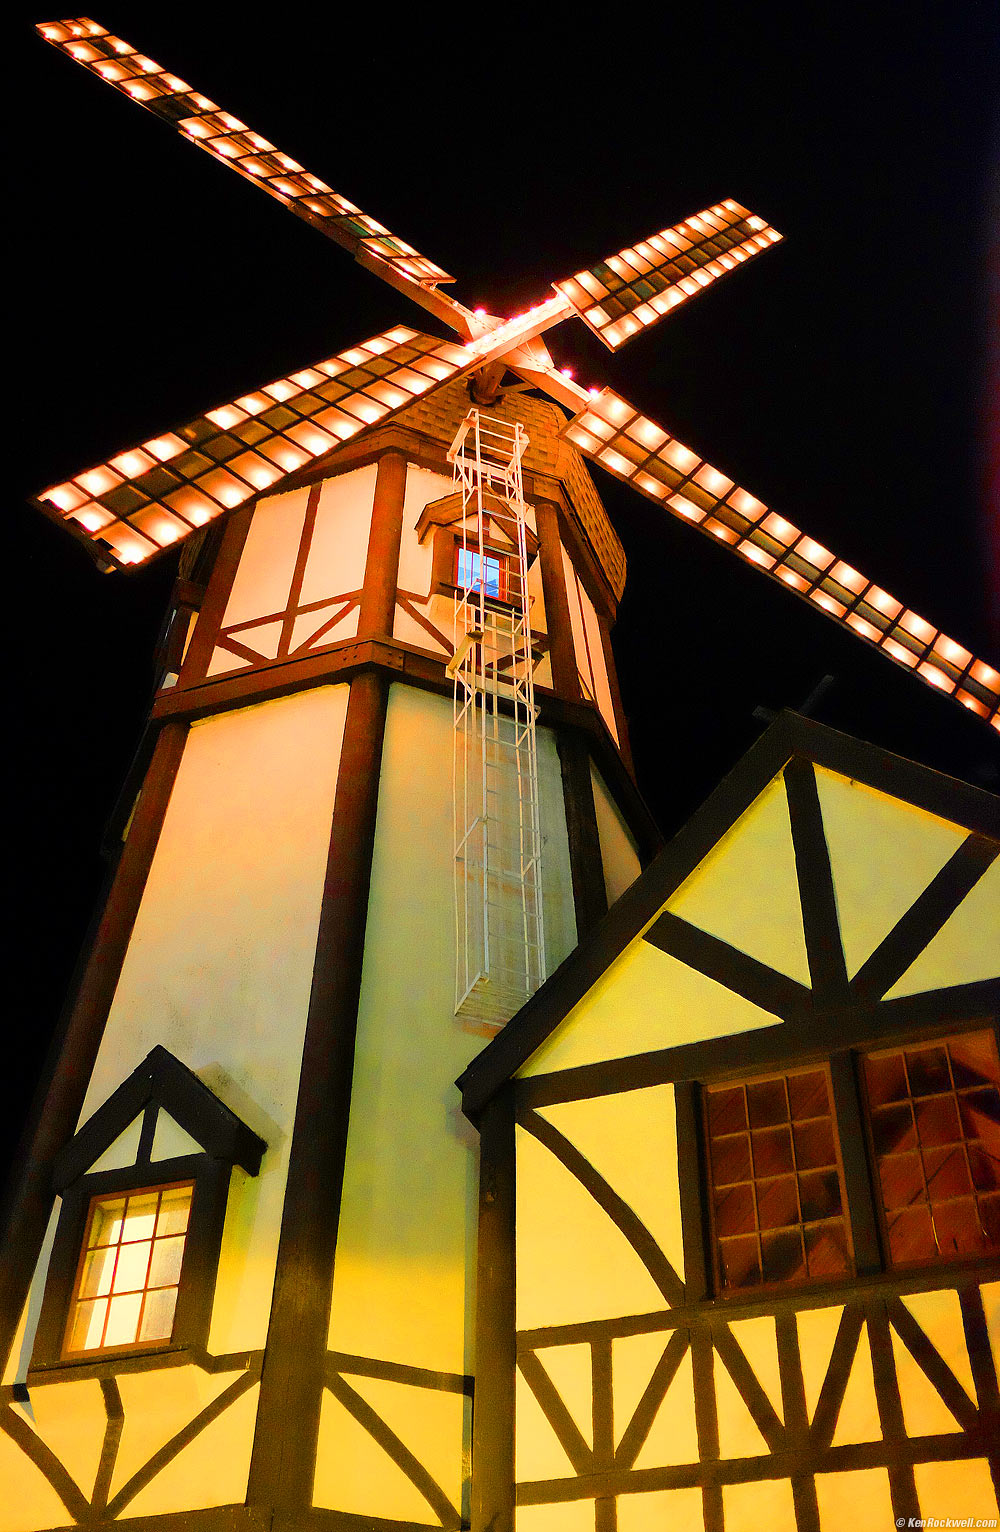
Pea Soup Anderson's, Santa Nella, 6:14 PM. (Fuji X100S, f/2 at 1/60 at ISO 6,400.) Clean, sharp and colorful at ISO 6,400, no worries here!
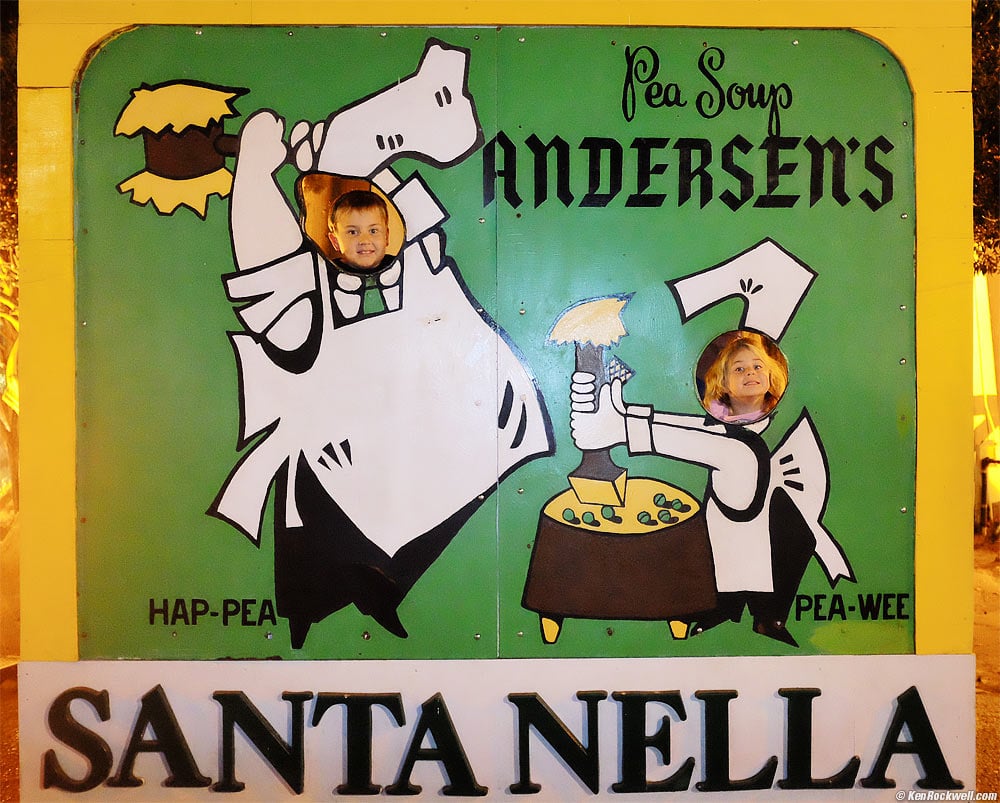
Ryan and Katie in the Pea Soup Anderson's Sign, 6:15 PM. (Fuji X100S, flash ON, f/2 at 1/90 at ISO 6,400.)
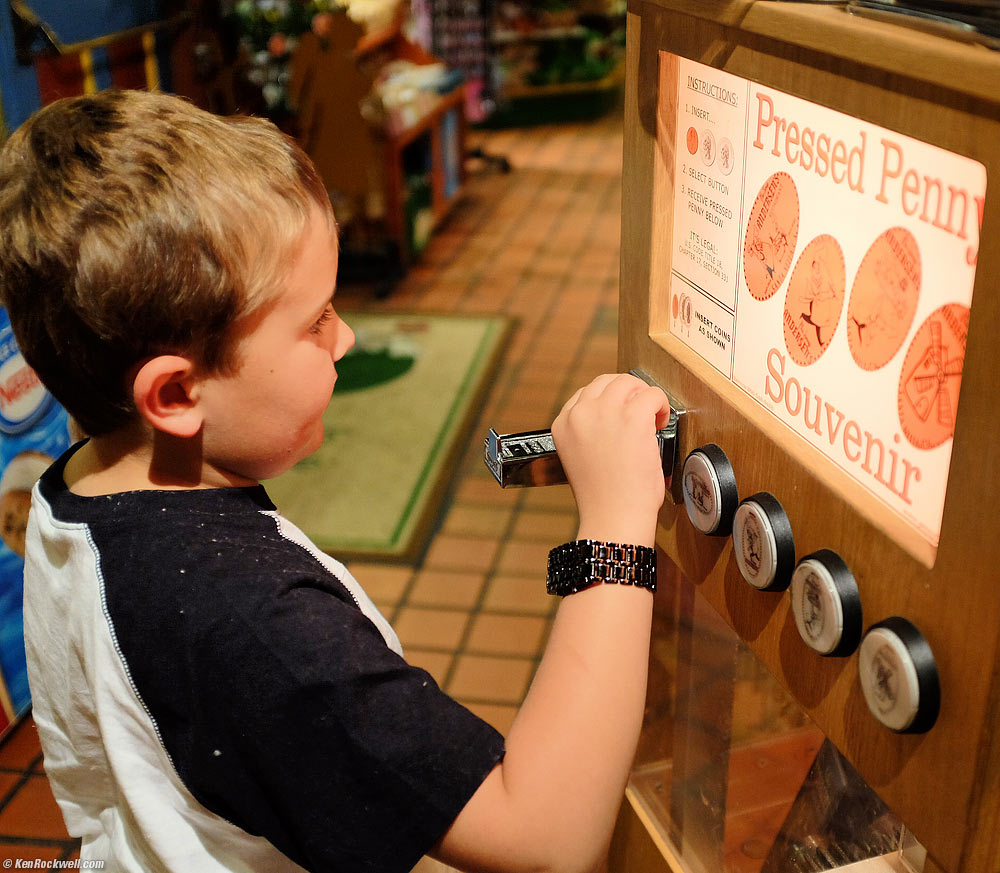
Ryan Makes a Souvenir Penny, 6:26 PM. (Fuji X100S, f/2 at 1/125 at ISO 1,600.)
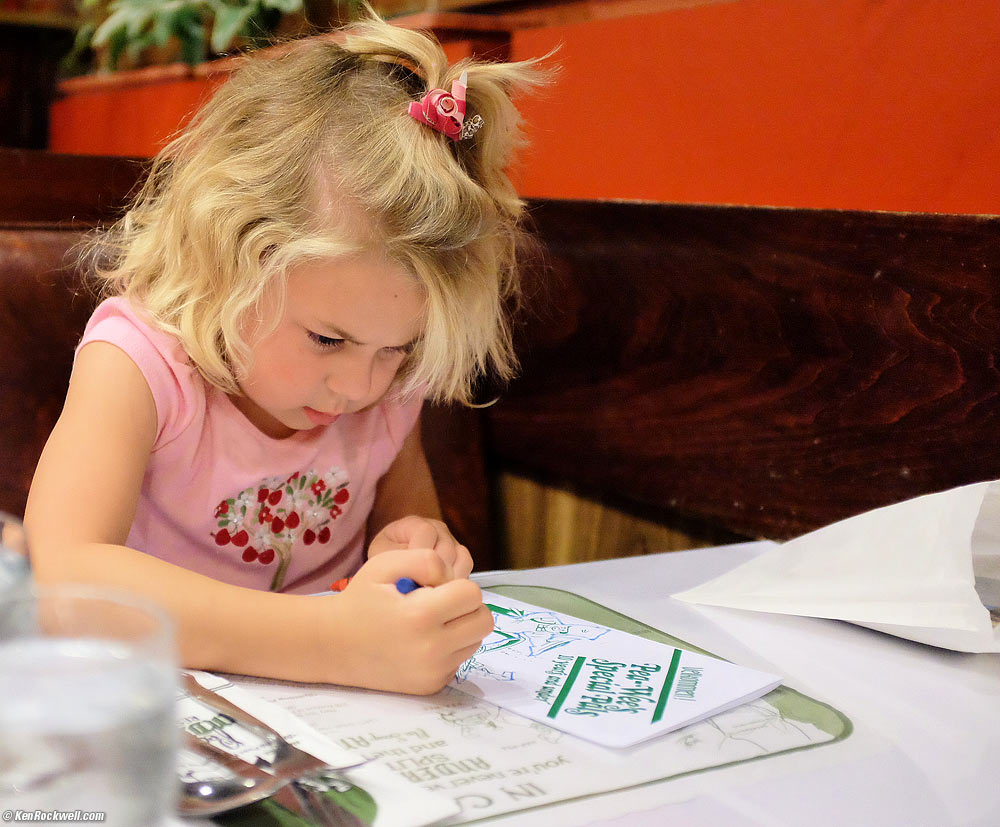
Katie Colors Her Kid's Menu, 6:39 PM. (Fuji X100S, f/2 at 1/125 at ISO 5,000.) I set the white balance manually on a white menu; the lighting was crappy fluorescent.
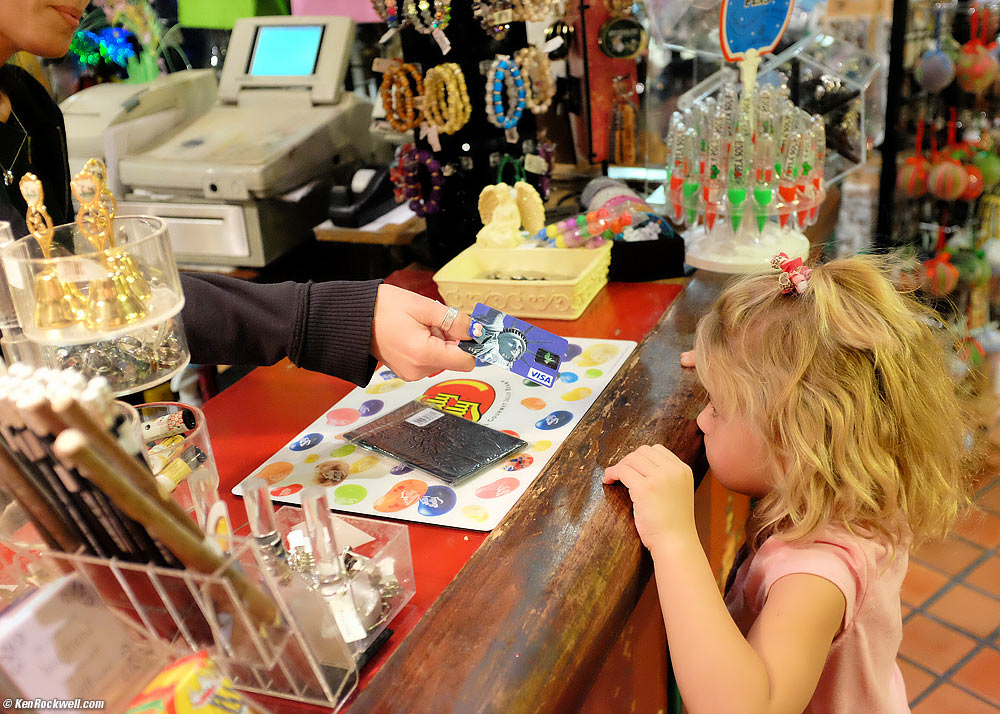
Katie Buys Her Cherished Penny Wallet, 7:42 PM. (Fuji X100S, f/2.8 at 1/120 at ISO 6.400.)
Katie LOVES her Laser Pop and Penny Wallet! 7:52 PM. (Fuji X100S, f/2 at 1/85 pushed to ISO 12,800 in Photoshop.)
We drove the rest of the way to Los Gatos and hit the hay.
That's all for today. NEXT ->> 19 January 2014, Sunday
Home Donate New Search Gallery Reviews How-To Books Links Workshops About Contact