View Camera Movements:
Why Tilt and Shift?
© 2008 KenRockwell.com. All rights reserved.


April 2008
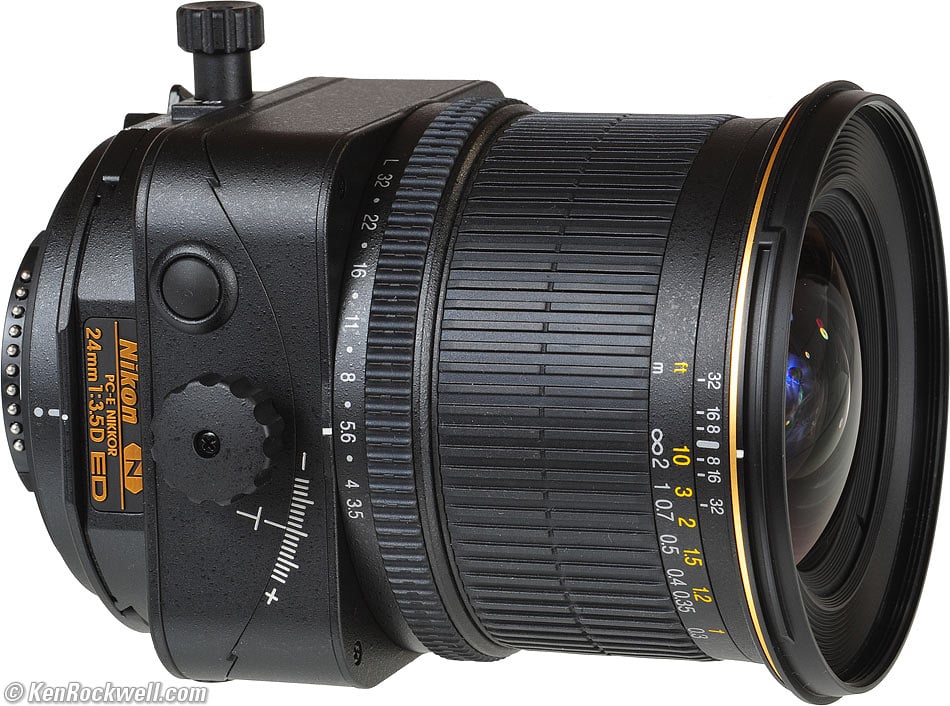
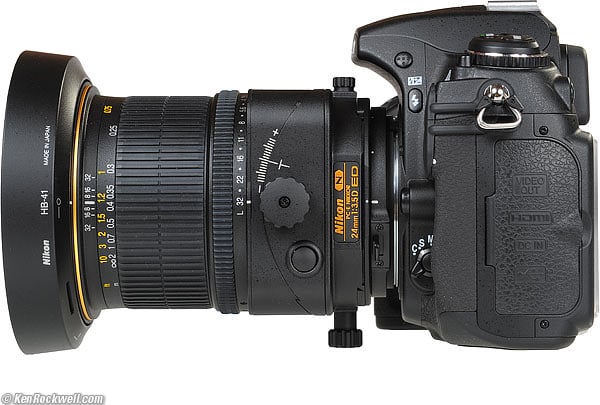
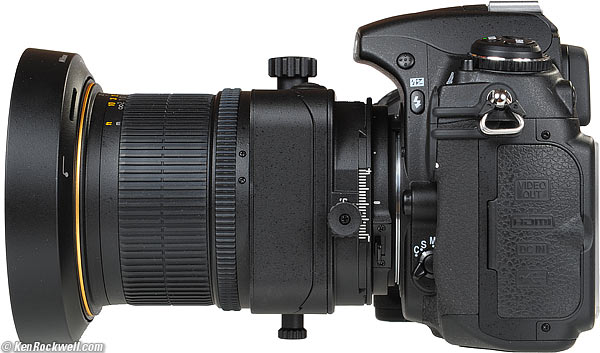
These tricks apply to every view camera, and to special tilt-shift and perspective control lenses made by Canon and Nikon.

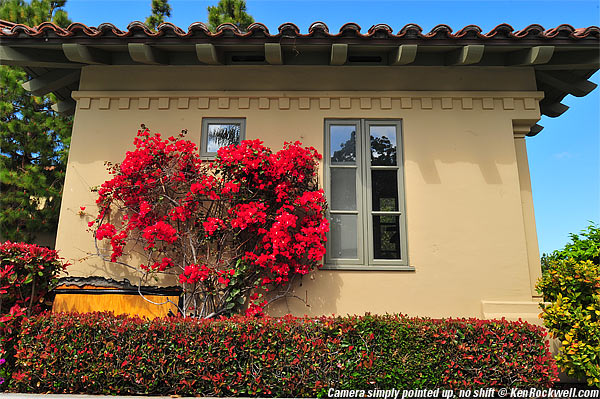
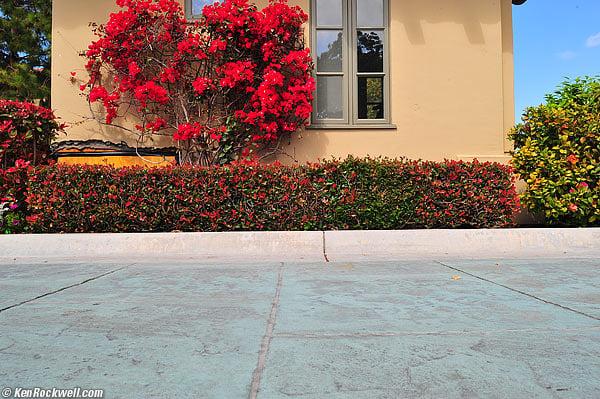
Nikkor 24mm PC-E at f/3.5. Roll mouse over to see effects of forward tilt.
See how I got everything perfectly sharp, wide open, just by tilting the lens? I was only inches from the closest flower!
In case you didn't see it above, here are crops from 100% images, which would print 40" (110cm) wide at this magnification:

Crop from 40" (1.1m) print. Roll mouse over to see effects of forward tilt.
This was not stopping down! Your depth-of-field is irrelevant, because you can tilt your field to be any flat plane you desire. In this case, I swung the lens down to make the plane of the flowers the plane of best focus.
Roll your mouse over to see the lens swing down 8.5 degrees.
On a view camera, simply tilt the lens board forward, or the rear film holder backwards.
How Tilt Works
Lenses give perfect focus in one flat plane. Lenses that don't tilt only give perfect focus in a plane parallel to the film or sensor.
When a lens is swung or tilted, we also swing or tilt the plane in which we have perfect focus.
I can shoot at any large aperture and everything in a plane is in focus. If it's windy I can use a fast shutter speed, and the larger apertures eliminate any sensor dust.
The only limitation is that the best focus is still along a flat plane, so some depth of field is still needed if a flower or the top of a glass on a table-top pops above the main plane of focus. Even with an errant object above or below that plane, it's still much less of a problem than needing depth of field to bring everything into focus.
Tilt lenses are easy to adjust: just tilt forward until it's all sharp in the finder. Since every lens on a 4x5" camera is a tilt lens, that's one of the reasons landscapes shot on 4x5" can have such insanely perfect near-far focus.
You can't duplicate this in Photoshop. Out of focus images remain out of focus.
How to Use Tilt: Easy!
1.) Set all the lens (or view camera) settings to their zero, or neutral positions. This keeps you from going crazy in the next step.
2.) Set up the camera and frame your photo.
3.) If using an SLR lens like the Canon or Nikon, be sure to measure your exposure and hit the AE lock (or use manual exposure) before you make any movements.
4.) Tilt or swing the lens until everything is in focus. You'll usually have to play with the focus as you do the tilting. Swing the lens towards the same plane as your subject. If you have a field, tilt the lens down. If you want to bring an entire wall into focus, swing the lens towards the wall.
5.) Tilt, framing and focus adjustments usually interact. Keep moving everything little by little and you'll get there fast.
Roll mouse over to see effects of lens shift.
The camera was pointed up for the first shot, and pointed horizontally for the second. The camera was on the ground; this is a small building.
You can fix this in Photoshop, but you lose some of the photo.
Roll mouse over to fix bad image in Photoshop.
If you remember to include extra area and don't mind a loss of resolution from the resampling, it's perfectly OK to fix this convergence issue in Photoshop. Photoshop makes the older Nikon PC lenses, which only shifted but offered no tilt, obsolete.
Roll your mouse over to see the lens rise 11 millimeters.
On a view camera, simply lift the lens board, or lower the rear film holder.
How Shift Works
For parallel lines to remain parallel, the film or sensor needs to remain parallel to the subject.
Parallel lines move when you tilt your camera up to see the top of a building, or tilt it down to see the ground. The lines don't move if you move lens with the camera left alone.
If you lift or drop the lens instead, the camera can stay parallel to the subject.
For buildings, point the camera perfectly horizontal and then move the lens to frame the subject. Here's how that shack looked with the camera horizontal before I lifted the lens:
Camera horizontal with no lens shift.
How to Use Shift: Easy!
1.) Set all the lens (or view camera) settings to their zero, or neutral positions.
2.) Set up the camera and make it level. In the shot above, I'm holding it only inches above the patio.
3.) If using an SLR lens like the Canon or Nikon, be sure to measure your exposure and hit the AE lock (or use manual exposure) before you make any movements.
4.) Look through the finder or ground glass, and move the lens up and down, left or right, to frame your subject. It's easy: move the lens in the direction you need to look. In the example above, obviously you need to move the lens up. Easy!
More Information
To understand the technical side of these movements better, read "Using the View Camera" by Steve Simmons.
PLUG
If you find the time I spend sharing this helpful, feel free to help me continue helping everyone.
Thanks for reading!
Ken
Home Search Gallery How-To Books Links Workshops About Contact