How to Correct Perspective in Photoshop
This all-content, junk-free website's biggest source of support is when you use those or any of these links to approved sources when you get anything, regardless of the country in which you live. Thanks for helping me help you! Ken.
May 2024 Better Pictures Canon Nikon Sony Fuji OM SYSTEM LEICA Zeiss HASSELBLAD All Reviews
Correcting Lateral Chromatic Aberration and Color Fringes
Corrected for keystoning (-58 vertical and -2 horizontal) as well as barrel distortion (+5.00). Capri by the Sea, Pacific Beach, California, 10:34 AM, Saturday, 18 April 2004, Radiant Photo software used to perk up the contrast in 2024.) bigger.

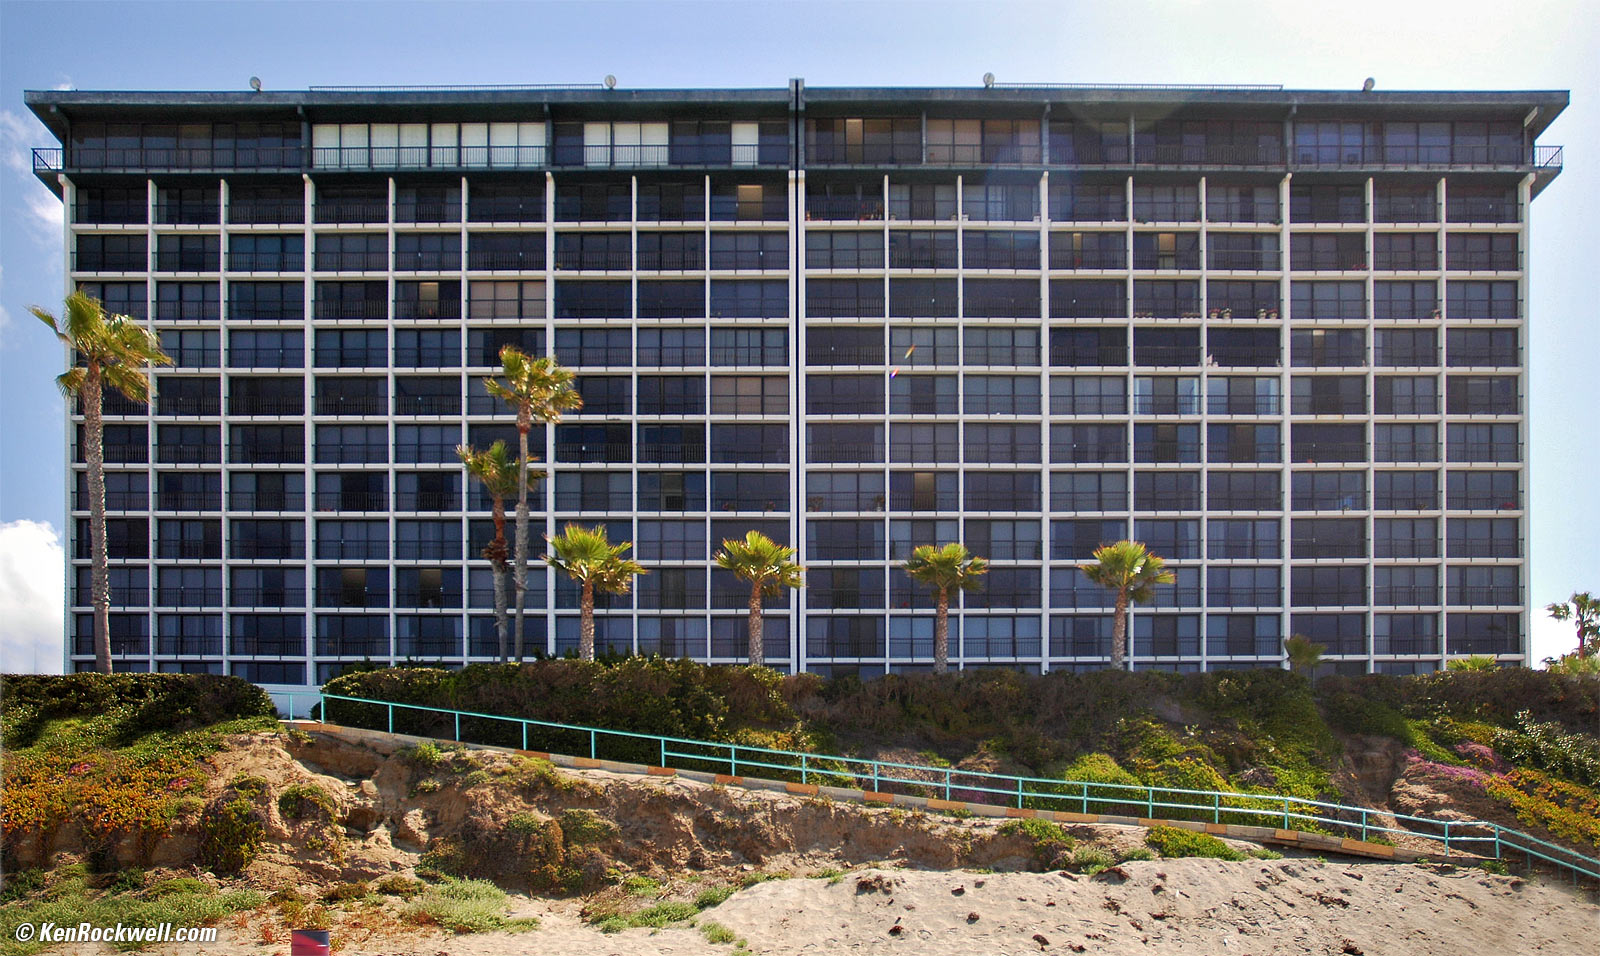
Original image. bigger.
INTRODUCTION

I buy only from these approved sources. I can't vouch for ads below. |


We usually want rectangular objects to look like rectangles. If your camera is not perfectly parallel to the subject you will get trapezoids with weird angles instead.
I had my camera pointed up to include the whole building. This made it look like it's falling over backwards. Complex large-format cameras and exotic perspective control (PC) and tilt-and-shift (TS) lenses used to be needed to correct this.
It's trivial to correct in Photoshop CS2 (2005) through the newest version. It's a little tougher in earlier versions — but it's not 1998 anymore.
This works with any image, JPG, raw or scanned film.
Photoshop CS2 ~ CC 2024
In Photoshop use the Lens Distortion Correction filter by selecting FILTER > DISTORT > LENS CORRECTION. You get a big new window with a preview and control sliders.
In the Transform box (towards the bottom) just move the Vertical Perspective and Horizontal Perspective sliders until your image looks great.
For this image I simply slid the Vertical Perspective slider until it looked right, which was at -58:

Versions before Photoshop CS2 (2005):
Use the Crop tool (just press "C") and select most of the image. You will lose some of the sides of the image in this process.
After you've clicked, dragged and released the Crop tool you'll notice a new option to click along the top bar on your screen called Perspective. I overlooked this for years, since it only pops up after you've made your crop selection and disappears after you've hit "Return" to make the crop.
Check "Perspective" and now move the edges of the crop box to follow the lines you want to have parallel in the final image. Once you've done this just hit "Return" and lo and behold, a corrected image! This image here had all the lines angled in towards the top on my film since I had to point the camera up, and after this trick they are all vertical as if I had lugged my view camera to France.
All Versions
You won't always have enough picture left on one side or top or bottom after the tool stretches and squeezes your image. By stretching the top and squeezing the bottom I had an image that was fatter on the top and skinnier on the bottom. I had to clone some of the bottom back into the blank areas that were created by the squeeze. An observant eye will notice that there is more fence going off to the right in the corrected image than there is in the original image. I wound up with more sky than I needed and too little dirt at the bottom.
Of course I cropped it neatly in the example you see above.
© Ken Rockwell. All rights reserved. Tous droits réservés. Alle Rechte vorbehalten. Alla rättigheter förbehållna. Toate drepturile rezervate. Ken Rockwell® is a registered trademark.
Help Me Help You top
I support my growing family through this website, as crazy as it might seem.
The biggest help is when you use any of these links when you get anything. It costs you nothing, and is this site's, and thus my family's, biggest source of support. These places always have the best prices and service, which is why I've used them since before this website existed. I recommend them all personally.
If you find this page as helpful as a book you might have had to buy or a workshop you may have had to take, feel free to help me continue helping everyone.
If you've gotten your gear through one of my links or helped otherwise, you're family. It's great people like you who allow me to keep adding to this site full-time. Thanks!
If you haven't helped yet, please do, and consider helping me with a gift of $5.00.
As this page is copyrighted and formally registered, it is unlawful to make copies, especially in the form of printouts for personal use. If you wish to make a printout for personal use, you are granted one-time permission only if you PayPal me $5.00 per printout or part thereof. Thank you!
Thanks for reading!
Ken.