Home Search Gallery How-To Books Links Workshops About Contact
Canon 20D User's Guide
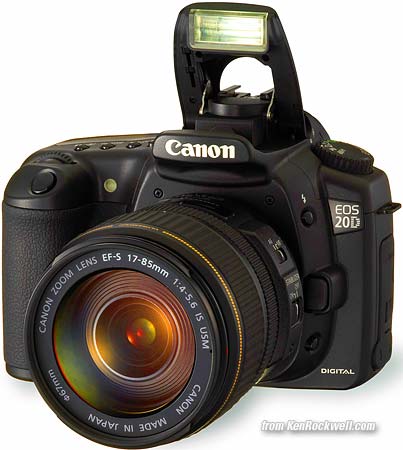
This one came from here. I'd also get it here and here. INTRODUCTION Skip to Controls Menus Custom Functions This is how I use and set up a Canon 20D. Want free live phone support? In the USA, call (800) OK-CANON from 10AM - Midnight M-F, 10AM - 8PM Saturday, Eastern Time. They're closed Sundays. You can download Canon's user manuals here. Looking for something specific? Use my Search page. Be sure to mention the 20D in your search. I start off explaining things so my mom can understand, and get on to deciphering every menu item for advanced users at the bottom. This article will teach you to be an expert on the 20D's controls and menus. It also includes a lot of tips, tricks, and the settings I prefer to use. To get great photos you still need to get yourself to the right place at the right time and point the camera in the right direction, which is a lot harder than mastering the 20D. Right out of the box at default settings the 20D does a great job. Making a great photo involves locations, timing, patience and a whole lot more. I cover general photography issues here. For more examples of why you'd want to change these settings and why, also see my Maui Photo Expedition page. Below are the basics. Explicit details follow in later pages linked at the bottom. BASICS: CAMERA Back to top. Many of these adjustments require you to be in be in the P, Tv, Av or M exposure modes. You set that on the top dial. The cute preset modes often lock out some adjustments. I never use these preset scene modes and won't cover them. I leave most settings at their defaults and use the Program exposure mode. I never use the cute little preset icon modes because I prefer to set anything special myself. Power: I always leave the power switch ON or set to the line (explained at Controls). The 20D ignores all the other buttons except the shutter once it goes to sleep a minute after you ignore it. The only way to get the 20D to respond to other keys, like playback or MENU, is to tap the shutter button to wake it up. I don't bother turning it OFF, since it doesn't use the batteries while sleeping. I only turn it off if it's going in a case where the shutter might get tapped unintentionally. ISO: I use 100 in daylight. If the light gets dim and my images would get blurry from slower shutter speeds I increase the ISO to 400, 800 or 1,600. I never bother with in-between settings like 250 or 640. Unlike film, the 20D looks great at high ISOs, so I use them anytime I need them. I'd much rather have a slightly grainy but sharp image than a less grainy and blurry one. See examples of the noise and grain on my noise comparison page. I explain how to set these on my Controls page, and I explain ISO (sensitivity to light) on my ISO page. White Balance: I use AUTO. I explain how to set these on the 20D at Controls. See my White Balance Examples page and my White Balance page for why you'd want to change them. Quality: I shoot Large JPG NORMAL, which shows as L and a stair-step icon on the rear and top LCDs. Large is 3,504 x 2,336 pixels image size. I don't bother with RAW. See RAW vs. JPG and file format examples from a Nikon D200 for explanations and examples of the various settings. I explain how to set these at Menus. For parties or sports where' I'll be shooting hundreds and hundreds of images, I shoot Medium Normal (M and stair step icon) to save file space. The images still look great! I've made 12 x 18" prints of the same shot and seen no difference among the file types. Don't worry! I never use FINE, which is the quarter circle in place of the stair step icon. It looks the same to me and takes up twice the file space. Parameters: I prefer the vivid color I get from Fuji's Velvia 50 film, so I tweak the 20D to give color as vivid as I can get. To do this, press MENU, spin the knob clockwise to get to Parameters (the last red entry), press SET to get to the Parameters menu, rotate the dial 3 clicks clockwise to get to the Saturation setting, press SET to allow you to adjust the Saturation setting, spin the dial 2 clicks clockwise to the maximum Saturation, and press SET again to record the change. That last press of the SET button is critical to make the change. After changing the Saturation setting in the menu, if instead you press the shutter, MENU, INFO, JUMP or PLAY, the 20D ignores the change and you have to start over again! I explain all this later at Parameters. FOCUS: I use AI Focus. This clever mode automatically selects either of the two other focus modes . The other two focus modes are ONE SHOT, which means the 20D locks and holds the focus for you to compose still subjects, or AI Servo, which keeps the focus active to track moving subjects. I explain how to set these on my Controls page. METERING: Evaluative (the solid dot and circle in a rectangle icon). I never use the old Center-Weighted (empty rectangle), or center-only (circle in rectangle, called "Partial" by Canon) modes. These modes are leftovers from before the invention of evaluative metering in 1985. I explain how to set these on my Controls page. LENS Back to top. I leave the AF - MF switch set to AF, for Autofocus. Is the lens has an Image Stabilizer, I leave it ON. Some telephoto and macro lenses may have a switch to limit the range over which the lens can focus. I leave these set to the widest range. If your lens is taking too much time to hunt around and get focused, you might want to select a more restricted range, in which case the lens only looks at those ranges and will save itself from hunting. PLUG Back to top. My 20D User's Guide continues below. No one pays me anything to write this site. If you find it as helpful as a book you might have had to buy or a workshop you may have had to take, feel free to help me share more. Thanks! Ken Back to top. CONTROLS < < NEXT |
Home Search Gallery How-To Books Links Workshops About Contact