Home Donate New Search Gallery Reviews How-To Books Links Workshops About Contact
Nikon
D800 and D800E User's Guide:
Custom Setting Menu: Shooting/display
© 2012 KenRockwell.com. All rights reserved.

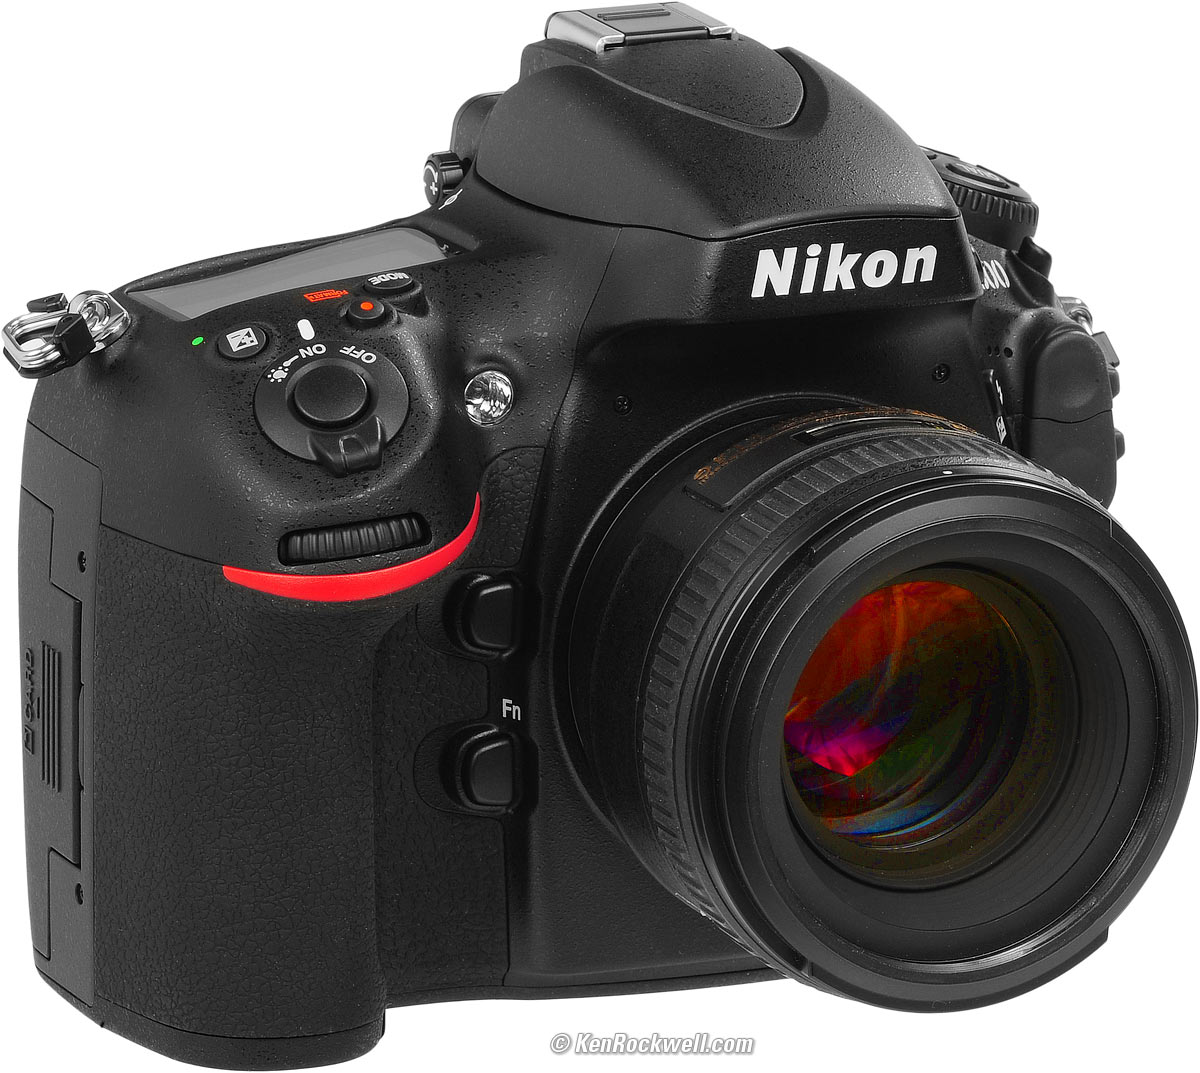
Nikon D800 and 50mm f/1.4 G. enlarge.
July 2012 D800 and D800E Review Nikon Reviews Nikon Lenses All Reviews
Top of D800 and D800E User's Guide
Help me help you top
I support my growing family through this free website. The biggest help is when you use any of these links when you get anything, regardless of the country in which you live.
If you find this page as helpful as a book you might have had to buy or a workshop you may have had to take, feel free to help me continue helping everyone.
While free to read online, this page is formally registered and copyrighted, so it is unlawful to make copies, especially in the form of printouts for personal use or saving these pages or files. If you wish to make a printout for personal use, you are granted one-time permission to print from your browser (there is no PDF) only if you PayPal me $5.00 per printout, file save, or part thereof, unless of course you bought your D800 through one of my links. This is how I justify spending weeks away from my family writing and sharing all this for free online.
Thank you and thanks for your support!
Custom Settings
Menu:
Shooting/display
Want free live phone support? In the USA, call (800) NIKON-UX, 24 hours a day, 365 days a year.
d1 - d12 Shooting/display
How to Get Here
Press MENU, go to the left and select up and down to the pencil icon. You'll then see CUSTOM SETTING MENU on the color LCD.
Click down to d SHOOTING/DISPLAY and click to the right.
What it Does
This menu is a random jumble. These ideally belong in other menus.
What I Change
I change d2 and leave the rest alone.
I'm sorry that Nikon put a menu called Shooting inside a menu called Custom Setting, since it has nothing to do with the larger Shooting Menu. This is something else that needs to be reorganized. Sorry.
d1 Beep top
Leave this OFF, its default.
If turned on, it's the idiotic and annoying focus confirmation beep.
d2 CL mode shooting speed top
This selects the maximum frame rate of the CL (continuous low) frame advance setting.
It defaults to 2 FPS; I prefer 3 FPS.
No big deal, but know that maximum is only 4 FPS in CH.
Don't be fooled by the optimistic 5 FPS option; it only goes that fast in DX crop mode.
d3 Max. continuous release top
This selects the maximum number of continuous shots you can make in the CL or CH continuous release modes.
It defaults to 100, and I have no reason to set it to be less. If I want fewer shots, I take my finger off the shutter release.
d4 Exposure delay mode top
This is a mirror lock-up mode much better than the obvious Mirror Up mode.
While the formal Mirror Up mode demands a cable release, this mode simply locks up the mirror and then shoots after 1, 2 or 3 seconds later.
Press the shutter button yourself, or use a release, and the camera goes off a second or so later without vibration.
This defaults to OFF. Set it to 1, 2 or 3 seconds and it's active.
Be sure to turn this off when you're done, since if you don't, it will drive you nuts next time.
This is also good as a practical joke.
d5 File number sequence top
This ensures your file numbers keep counting up. Leave this at its default of ON.
If you change it to OFF, you'll start from DSC_0001 every time you reformat. Over time you'll have hundreds of photos on your computer all called DSC_0001. It will drive you crazy and it will be too late to do anything about it.
If you ever do want to reset to DSC_0001, use the Reset option.
d6 Viewfinder grid display top
This activates hairlines in the finder.
Set them ON to help keep everything straight and level, or OFF to clean up the finder.
d7 ISO display and adjustment top
This lets you select what's shown in the top LCD's frame count display, and adds an easy way to set manual ISOs.
At OFF, the top LCD shows the frame count.
At SHOW ISO SENSITIVITY, the top LCD shows the ISO instead of the frame count.
At SHOW ISO SENSITIVITY/EASY ISO, the top LCD shows the ISO instead of the frame count and you can set the manual ISO with the rear dial.
d8 Screen Tips top
This provides more information as you select settings at the INFO screen.
d9 Information display top
This controls when and which of two versions of the INFO screen display: one normal one (dark letters on light blue), or the dark one (gray letters on dark blue).
Auto
Auto lets the D800 and D800E light up the rear LCD with your shooting data in dark letters on light blue in daylight, or gray letters on dark blue at night.
I use this default.
Manual
Manual lets you fix it at either kind of display.
d10 LCD illumination top
At default, the top LCD only lights up when you spin the light button located with the power switch. I leave this setting this way.
If you choose ON, the top LCD lights up even in daylight with the meter on.
d11 MB-D12 battery type top
This tells the camera what kind of batteries you're using in the MB-D12 grip so it can display the battery level more accurately.
It defaults to AA Alkaline; change it if you're using Ni-MH or AA Lithium.
d12 Battery order top
If you're using the grip, this selects if you use the grip or camera batteries first.
By default, it runs down the grip first,
If you change this and you're using the grip, this lets you run down the battery in the camera first, so you have to remove the grip to change it.
Leave this setting alone, so it runs down the battery in the grip first, and only then uses the battery in the camera. This makes much more sense, since it's a lot easier to change the battery in the grip, and when you pull the grip, the battery in the camera is going to have a lot more charge.
Top of D800 and D800E User's Guide
AUTOFOCUS
Setting the D800 and D800E's Autofocus System
KNOBS and BUTTONS
MENUS
e Bracketing/Flash < < NEXT
Home Donate New Search Gallery Reviews How-To Books Links Workshops About Contact