Home Donate New Search Gallery Reviews How-To Books Links Workshops About Contact
How
to Get Great Colors
© 2006-2012 KenRockwell.com
German Translation

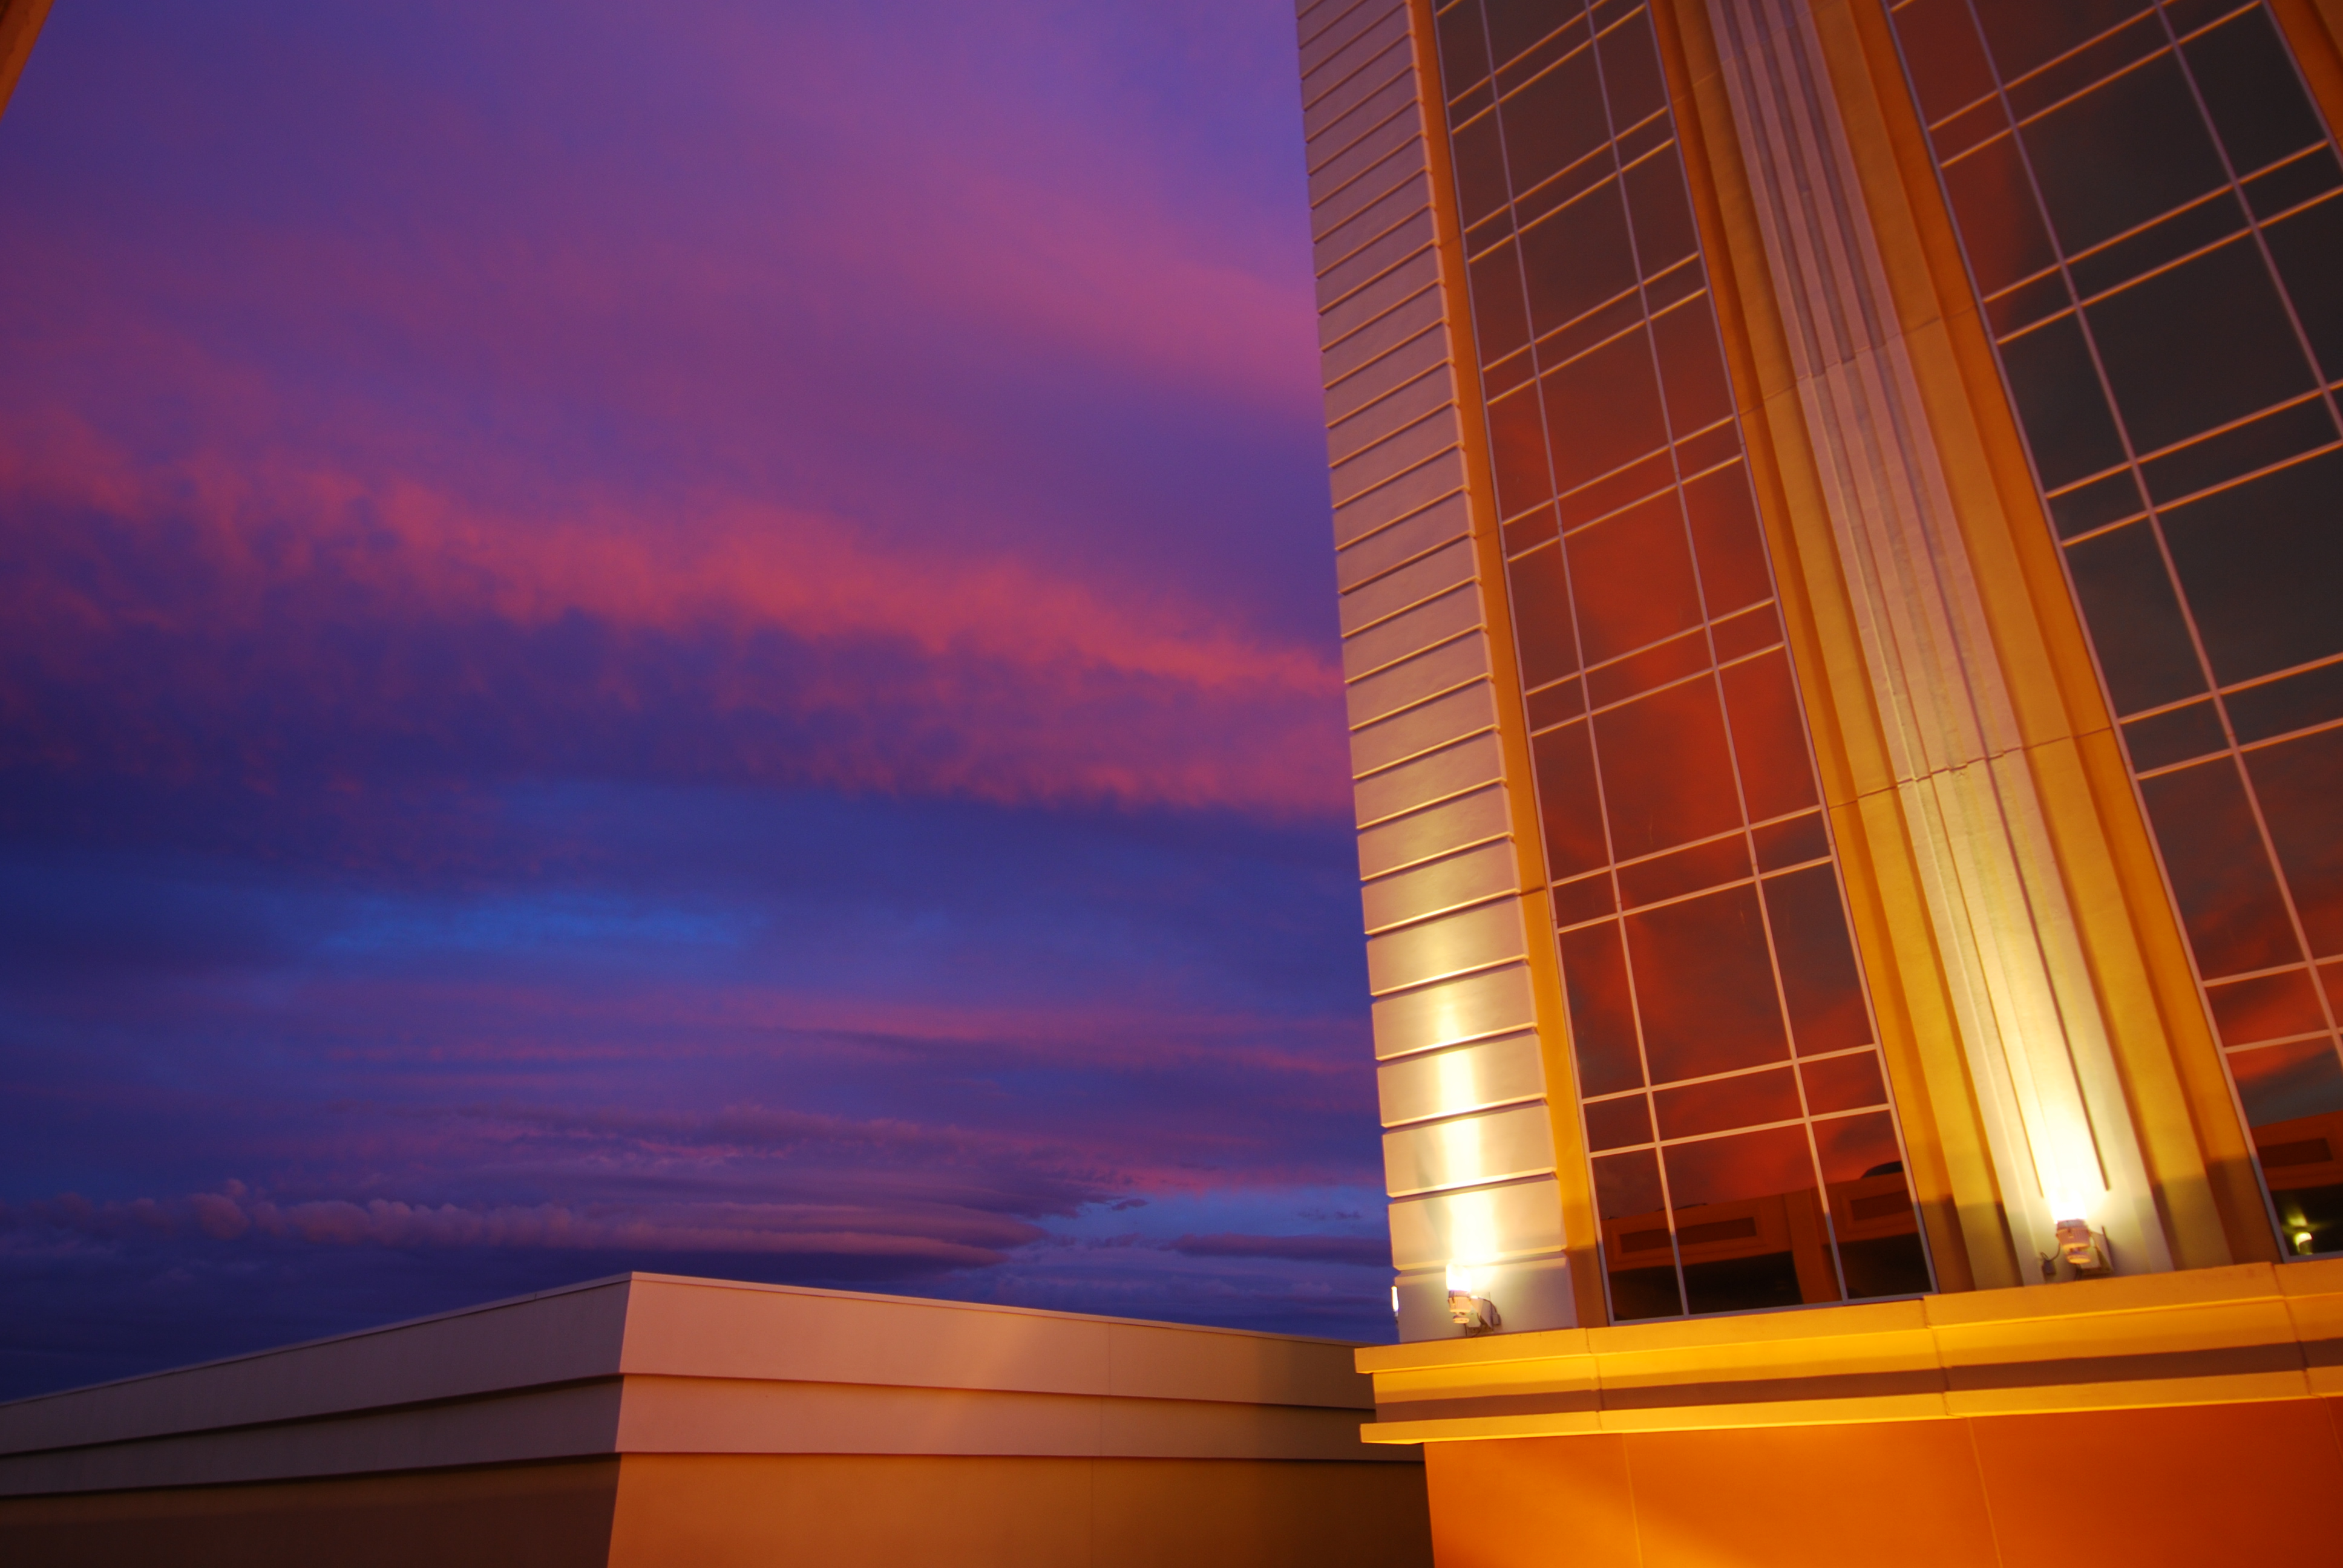
Sunset, Las Vegas, 04 October, 2006, exactly as-shot. full-size.
My biggest source of support is when you use any of these links when you get anything, regardless of the country in which you live. Thank you! Ken.
INTRODUCTION

Adorama pays top dollar for your used gear.
I use these stores. I can't vouch for ads below.
|
I snapped from a parking garage on my way out for something else. It's exactly as the JPG came from my D80. Here's the original 2.3MB file.
People see my work and wonder how I get such saturated colors. Here's how.
Most people never see colors like this because they live indoors, work in an office, drive to and from work, and live in a house. These colors happen outdoors in nature. The peak color, which are the shots I show, only exists for 60 seconds at most, if it happens at all, any given day. I'll make series of images, and only one of them is at peak color.
I take a long time to find colorful things at which to point my camera. This takes an artist's eye and a Saint's patience. No amount of equipment or playing in Photoshop can duplicate it. It takes me a long time to find things that look wild.
Spend as much time as I do out there hoping for great conditions and you too will see the wild colors that less experienced (or more sane) people have never seen in nature. That's how I get my photos: patience, not technology. I was getting these crazy colors long before Photoshop was invented.
Photography is the power of observation, not the application of technology.
CURIOUSITY, PATIENCE AND FORTITUDE
I spend a lot of time and effort searching out times and places where colors explode. It takes a lot of patience and planning to wait for nature to do her thing. Like a nectar-crazed insect, I spend my photographic efforts looking for wild colors in nature.
Color is my subject. I'm not a nature or portrait or landscape or sports or architectural photographer. I'm a photographer of color. I don't care about the apparent subject so long as it's in glorious light or is vividly colorful. Why do I photograph toilets as often as trees? Simple: if they are vivid and have an interesting play of color, they're my subject.
Most people have never experienced the colors I photograph. This is why they think something's fake. Other photographers get the same feedback, which is why Galen Rowell's gallery has a light table with original transparencies as examples. Galen was also doing this long before Thomas Knoll wrote Photoshop.
Glorious light only happens for 60 seconds or less any particular day, if it happens at all. If it happens at all, it usually happens sometime in a window 15 minutes before or after sunrise or sunset. See actual examples at The Importance of Timing.
Glorious light doesn't happen in the day. It happens at sunrise and sunset. We call this "magic hour" in Hollywood.
Most people sleep through sunrise. They lose half their potential shots. I have to get up at 3 AM, get out at 3:30 AM, get to the location at 4:30 AM, set up by 5 AM and wait for a 6 AM calculated sunrise. I'm crazy. Are you?
Sunset is as tough. Most people are eating dinner while I'm out shooting. I have to jerk around my schedule, as well as the schedule of normal people with whom I travel, to be out at sunset. Photographers have dinner at 4 PM so they can be shooting at 6 PM.
Even photographers fake themselves out. A bunch of us were photographing at sunset, and I thought something interesting might happen. The rest of my photography group took off for dinner while I stayed around in the dark. I got this shot, one of my all time favorites, while they were having dinner.
If you sleep at sunrise and eat at sunset you'll miss the only light that shows things the way I, and many others, like to see them. That's why most people have never seen colors I show and think I'm making all this up in Photoshop. If I could get these results artificially I would, however one still has to trudge out and get this from nature the hard way.
PERSEVERANCE
These colors don't happen every day. They may happen once a month, once a decade, or once in a lifetime. This shot got the orange color in the sky 20 minutes after the sun set because of ash in the upper atmosphere from the eruption of Mt. Pinatubo in 1991. This shot took on a magenta cast for the same reason. This colorful natural disaster has not repeated itself. Galen Rowell was unhappy with colors at sunset after the eruption, however the colors were pushed back until 15 minutes after sunset each day.
9 times out of 10 the sunrise is dull and a complete waste of time. While everyone else is eating dinner I'm out setting up hoping for great light at sunset, and again usually I get nothing. That's why this takes patience.
You can't predict nature, even 5 minutes before. I can try, but I never know what's going to happen. I have to be out there and set up every time. Sometimes what I expect to be dull turns out to be explosive, and sometimes what I expect to be incredible never happens. Nature changes minute to minute.
You can't expect God to create miraculous color any particular day just because you took that day off for vacation in Yosemite. You need to be out every single day.
You don't need to be in Yosemite: most of my shots are from my own neighborhood. It's all about the light and color, not the subject. Ansel just happened to live in Yosemite and waited for clearing storms. It's not Yosemite; it's that he was there every day.
Michael Fatali calls this "waiting for the light," which he lists for each of his shots. Sometimes he has to wait for months for the right light. Click on his images in his portfolios and then select "Field Notes."
Predicting sunrise and sunset times is easy. Almost any $75 GPS will do it for you anyplace on Earth. Many websites, like the US Naval Observatory, can give you the same data presuming you tell it where you're going to be. These devices predict sunrise and sunset at a virtual horizon, ignoring any mountains or buildings.
NIGHT
An easy way to get wild colors is to photograph at night.
Our eyes are much less sensitive to color at night. Digital cameras and film retain the same sensitivity. Therefore photos made at night have much vivider colors than what we see under the same conditions. This makes it easy to get wild colors.
Photograph before the sky turns completely dark, typically a half hour after sunset, to get a sky instead of a black hole. Skies at night turn funny colors from whatever street lights are miles away. Make your shots while there is still light in the sky for better results.
Photograph any neon or artificial lighting. Artificial lighting, either as an object in your photo or as a source of illumination, adds wild colors. Every kind of light, mercury, sodium, fluorescent, tungsten, renders as a different weird color in photographs. I use this to my advantage.
Here's a cheat sheet:
Sodium: looks yellow or orange to us. Looks gold or orange or yellow in photos.
Tungsten: Looks white to us, looks orange in photos unless you select Tungsten film, an 80A filter or tungsten White Balance.
Mercury: Looks bluish-white to us. Looks green in photos.
Fluorescent: Looks white to us. Looks greenish in photos.
DAY INTO NIGHT
There is a sweet spot of only a minute or so when the sky and land have just the right balance as day fades into night. With practice you'll learn when conditions are the most spectacular.
As an assignment, set up your camera and make shots of a landscape every minute during and after sunset. You'll be astounded at how things change from minute to minute, and how some of these images are so much stronger than others in the same sequence. You won't see this while you're shooting, which is why it's so important to do this exercise. It becomes obvious when you play back the photos.
Photograph a landscape from sunset (or before) until it's completely black, which is about an hour after sunset. Also try this photographing an actual sunset. Sunsets vary from second to second. Pay rapt attention!
Doing this has shown me that as the sun rises I make photos before the sun comes up, but I never like the results compared to when the sun has risen above the horizon.
SCHEDULE
0 dark 30 (predawn): Typically I have to get up well before dawn. This gives me enough time to get to wherever I need to be at dawn. I'm showered and fed from last night.
Dawn: shoot.
8AM: Have breakfast on my return at a reasonable hour. Shower for the day. If I'm tired from being up since 3 AM I'll nap.
Day: Scout new locations, goof off.
Afternoon: Have lunch and/or dinner.
Sunset: Shoot.
After Dark: later dinner.
After dinner: Shower and get to sleep early. This way I can arise well before dawn tomorrow, all showered and fed.
TECHNIQUE
Technique is the easy part. 90% of my work is being at the right place at the right time. If you're there, then technique is easy: just make the picture. Since I'm there I make a lot of pictures and pick the best later. You never know if the light is going to get better, or if haze is going to roll in and kill the party.
If you missed the sunrise by 5 minutes then no amount of photoshop jerking around will replace the shot from the other guy who woke up on time.
Shooting - Digital Cameras
I set my digital camera's saturation to whatever looks right, usually "plus" on SLR cameras like my D200 and D70. See How I set my D70. I set my Canon point-and-shoots (like my A70) to "Vivid." My Casios are saturated already, so I leave them at "0."
Exposure is tough with digital cameras. The slightest overexposure destroys saturation.
The best way to determine correct exposure is to look at the color image on the LCD. Ignore any single-channel histograms. Be sure your bright reds are red, and have not started to blow out towards yellow, orange or pink. If you need a lighter image, lighten it later in Photoshop. If you lose your highlights you can never get them back.
It's fine to underexpose and lighten later.
It's futile to attempt recovery of an overexposed color image. There is no highlight latitude in digital. If you blow it (hee hee) you'll have to revert to painting color back into the highlights the hard way! Photoshop's Image > Adjustments > Shadow/Highlight is the most practical way to attempt recovery of blown highlights, but it's not going to restore lost color.
Histograms are useless unless they include separate red, green and blue curves. Single-channel (curve) histograms, like those in the Nikon D50, D70s and Canon 20D, are worse than useless because they will indicate correct exposure while saturated colors are overexposed!
Saturation, by definition, is when the three RGB channels have different values. The greater the saturation, the greater the differences. Single channel histograms usually only show the green channel (not the sum), so they ignore the red and blue! I love saturated reds and yellows, and the histograms in the D1X and D70 and D100 are completely blind to any saturation in the red channel! Your histogram may say everything is fine while your red is completely blown out. Blowing out the red channel both desaturates and shifts the color! With these cameras look at the image itself on the playback LCD.
The newest cameras, like the Nikon D200, Canon 30D and all my Casios have four-color histograms. I use these histograms. Be sure none of the graphs for any of the colors run off the right-hand side of the graph. See my page on RGB Histograms. When you use these you'll see one or another channel has much greater values than the others. Don't worry that some of the channels appear much lower. That's good and means you have saturation!
Shooting - Film
I prefer the look of Fuji's Velvia 50 professional slide film over every other film, including the new Velvia 100s. Choose a film that sees things they way you want to see them. If you want bold hit-you-in-the head color, then use Velvia as I do.
Almost everything you see on this site was photographed with Velvia 50, without filters and without playing in Photoshop. I get similar results in digital; however you folks ask for articles like this which keeps me too busy to keep my Gallery up to date. As of 2006 I shoot both film and digital.
Printing
I scan my film. I print digital and film images the same way.
I use the glossiest paper I can get. Glossy prints retain vivid color. Matte prints lose it. I prefer Fuji paper over Kodak, and prefer Fuji Super Gloss polyester-base paper to the usual Fuji paper. Super Gloss only comes from professional places, you won't get it unless you look. Super Gloss' base has a pearlescent 3-D look. You can see depth, just like a pearl! Super Gloss always looks like it's still wet.
I send everything up to 12 x 18" to Costco to print on regular Fuji glossy paper, and bigger prints in Super Gloss to Calypso.
Inkjets went obsolete in 2003. Current HP. Epson and Canon inkjets are bad because the gloss of their prints varies from light to dark! Look at an inkjet print at an angle to se the gloss and you'll see it vary all over the image. There is expensive polyester based film for inkjet printers which can look good, but costs 4 times what a real print does. See my pages on printing.
A transparency, slide or computer screen glows with color and can be more vivid than a reflective print.
Artists make their tools do whatever they need to to create the final image. An artist directs his or her efforts to create based on what's available. Casual photographers have the misimpression that they are at the mercy of whatever tools they have. Snapshooters don't realize that it's up to them to take charge and make the tools do what they want, not the other way around.
You can't get these colors from print film unless you make your own prints. If you have a lab make your prints the colors are usually interpreted incorrectly. Prints from negative film usually come out the wrong colors unless you print them yourself.
SUMMARY
Being there is 90% of getting great color. If you don't see great colors when you make a shot, no amount of photoshop is going to fix it. Cranking saturation or contrast in Photoshop makes an image more vivid, but won't make a so-so image sing. You have to go out and seek color. You can't make it, unless you're a painter.
Help me help you top
I support my growing family through this website, as crazy as it might seem.
The biggest help is when you use any of these links when you get anything, regardless of the country in which you live. It costs you nothing, and is this site's, and thus my family's, biggest source of support. These places have the best prices and service, which is why I've used them since before this website existed. I recommend them all personally.
If you find this page as helpful as a book you might have had to buy or a workshop you may have had to take, feel free to help me continue helping everyone.
If you've gotten your gear through one of my links or helped otherwise, you're family. It's great people like you who allow me to keep adding to this site full-time. Thanks!
If you haven't helped yet, please do, and consider helping me with a gift of $5.00.
As this page is copyrighted and formally registered, it is unlawful to make copies, especially in the form of printouts for personal use. If you wish to make a printout for personal use, you are granted one-time permission only if you PayPal me $5.00 per printout or part thereof. Thank you!
Thanks for reading!
Mr. & Mrs. Ken Rockwell, Ryan and Katie.
Home Donate New Search Gallery Reviews How-To Books Links Workshops About Contact