Home Donate New Search Gallery How-To Books Links Workshops About Contact
Tech Details: New York
25 May - 02 June 2010
25 May 26 27 28 29 30 31 May 01 & 02 June 2010 Tech Details
I was having so much fun with the light-weight Canon 5D Mark II in the Spring of 2010 that I brought it to New York for a week of important business.
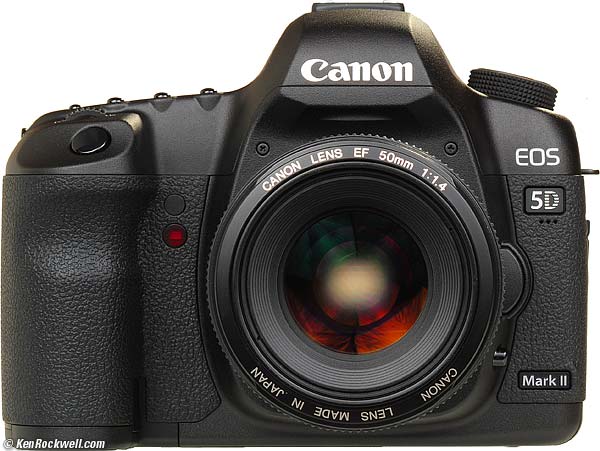
Canon 5D Mark II.
I usually take a pocket camera, like the Canon S90, when I travel, but since I anticipated also wanting shots of people in motion, I took the 5D Mark II instead. I've become quite comfortable carrying it everywhere, since it weighs so much less than any other full-frame DSLR.
I took only three fixed fast, small and light lenses: the Canon 50mm f/1.8, Canon 28mm f/1.8 and Canon 100mm f/2. Each is sharper and faster than any of Canon's zooms, as well as smaller, lighter and less expensive. I left my zooms locked up in my studio; they aren't for travel. As expected, I used the 50mm most of the time, and rarely used the 28mm or 100mm at all.
I shot this all on one Lexar 32GB 600x UDMA CF card.
I took the camera and lenses I did because they give me unbeaten technical quality for stills in any light, great autofocus for family and action photos, and are small and light enough to be take everywhere for fun. Zoom lenses or FX Nikons would have been to heavy.
I carried all this, and a five-year-old Panasonic PV-GS120 3-CCD DV camcorder, in a comfortable Think Tank Speed Demon waist pack all week. It's a little tight to jam-in the 5D Mark II at the same time as the other two lenses and the camcorder, but that's perfect because the camera is supposed to be around my neck all week, not hidden away in a case. The 5D Mark II only got jammed in the case when it got X-rated (sic) at the airport.
Most of these shots are exactly as the JPGs came out of the Canon 5D Mark II. If I played with them, I'll mention it, if not, it's what came out of the camera.
Since my second SanDisk Extreme IV Firewire 800 CF card reader died on me during the trip, I loaded all the files into my Apple 13" MacBook Pro via USB from the camera, and had to use Canon's EOS Utility software to do it.
I cataloged everything I shot using my authentic 2006 copy of iView 3.1.3, which is now called Expression Media and sold by Phase One as of 2010.
iView lets me see everything I shot. I used it to select the good shots. I dragged each to Photoshop CS4 from iView. I used a previously saved action to make each image 768 pixels wide, smart sharpen at 141% at 0.2 pixels, and add my © KenRockwell.com bug with its usual exclusive font and the same drop-shadowing I've been using for years. I Saved-for-Web at 51% quality from Photoshop CS4 to make the images you see here.
After the web-ready images were created, I then used Macromedia Dreamweaver 8 to make these pages and drop-in the images. (Adobe Dreamweaver CS2 was so awful that I've never tried any other newer version, and instead use my pre-Adobe version of Dreamweaver. The best version of Dreamweaver I've used is Dreamweaver 3 on Windows back in 1999; the Mac versions have never been much good.)
These images and these pages are entirely photographed, written, produced and distributed on Long Island and New York City, New York. I had this done and published from my laptop before I moved on to my next assignment.
Because I set my camera to give me exactly the results I want, I didn't have to do any editing or manipulation; I simply used my preset action in Photoshop to make my final web-ready image in one click. What you're seeing is what came out of the camera without having to waste any time correcting anything. The 5D Mark II's LCD is phenomenal: what I see on-camera is what I got, so I make my critical color adjustments at the best time to do it: as I'm shooting.
Camera Settings top
Unless mentioned otherwise by each image, this is how my Canon 5D Mark II was set for every shot.
White Balance top
I used Auto White Balance and Amber 5 (A5) WB SHIFT for almost all of my shots.
I prefer warmer (more orange) results than Canon's defaults, so setting "Amber 5" gives me exactly what I want. Nikon is just as good in providing an adjustment like this, but the pricey LEICA M9 can't do anything close.
Picture Style top
I always used STANDARD, however saturation was set to +3 most of the time, or +2 when making snaps of people.
The reason the saturation is so easy to set by subject is that I set my three C1, C2 and C3 positions to do different things, and thus the ISOs and picture control settings all changed together as I chose one or the other.
File Type top
I shoot JPG.
I set the quality down from the default of FINE (the quarter-circle) to NORMAL (the stair-step icon), because NORMAL takes up much less file space, and looks identical to me.
Total Recall (C1, C2 and C3) Modes top
I set C1 for general snaps in any light. I set it to LARGE JPG and AUTO ISO. I set saturation to +3, optimum for snaps of anything but people.
I set C2 for snaps of my family. I use SMALL JPG, which are files more than big enough for 20 x 30" prints. I set saturation only to +2, about optimum for people in any sort of light, and I set AUTO ISO.
I set C3 for shots in good light. I force ISO 50, saturation to +3, LARGE JPG and I set exposure compensation to -2/3 to keep any colorful highlights from overexposing.
Highlights and Shadows top
Automatic shadow lightening (Automatic Lighting Optimizer) was set to STANDARD for every shot. This is Canon's default. It lightens shadows that are too dark. It helps shots that need it, and leaves others alone, so I always leave it at STANDARD.
Highlight Recovery (Highlight Tone Priority) was ON at ISO 200 and above, and OFF at ISO 50. It only works at ISO 200 and above.
Peripheral Illumination Correction top
I set this to ENABLE.
My 5D Mark II had data for the 50mm and 28mm lenses, but not for the 100mm lens which doesn't need it anyway.
25 May 26 27 28 29 30 31 May 01 & 02 June 2010 Tech Details
Home Donate New Search Gallery How-To Books Links Workshops About Contact