|


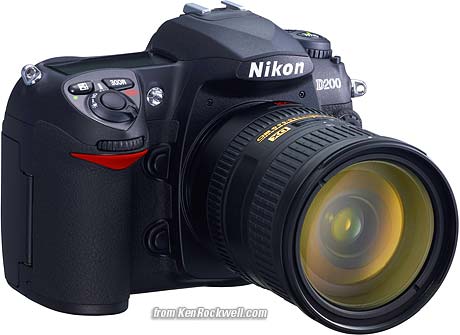
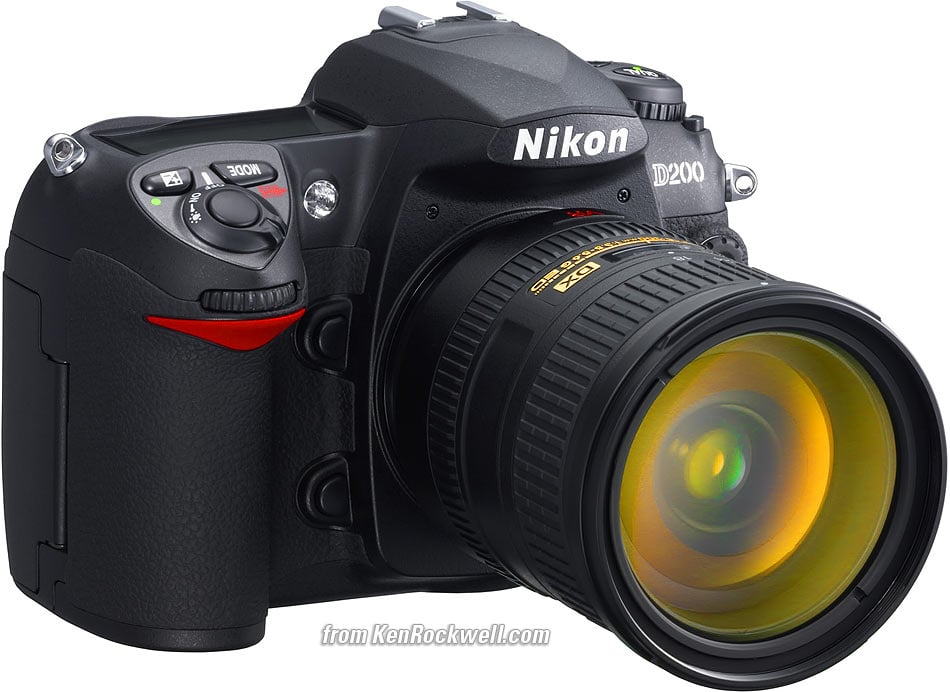
Nikon
D200 User's Guide
© 2006 KenRockwell.com

I bought mine from Ritz here. I bought another D200 from Adorama here. Also try Amazon here. Adorama usually has D200/18-70 kits in stock here. It helps me keep adding to this site when you click these links to get yours.
SET UP MENU (wrench icon)
Want free live phone support? In the USA, call (800) NIKON-UX, 24 hours a day, 365 days a year.
How to Get Here
Select the Set Up Menu by pressing MENU, moving to the left and then up or down to select the wrench icon. You'll then see SET UP MENU on the color LCD.
What it Sets
This sets the usual housekeeping like rotation, the clock and file numbering.
What I Change
This menu contains the secret message mode I use to encode my © and contact information into every file shot with my D200.
I also read the Battery Info often. You can't change it, just read it.
Format duplicates the function of the two red FORMAT buttons.
I format my card every time I put it in my D200, and every time I go out shooting.
It's always best to be using a freshly formatted card.
To be safe, always reformat the card in the D200 after the D200 has been connected to any computer.
Of course formatting completely wipes any photos off your card. Be sure to have these photos transferred and backed up to at least two locations before formatting. See my Field Workflow page for more.
LCD Brightness changes the midtones on the LCD. It doesn't appear to change the intensity of the backlight. It seems to be a gamma (contrast) control.
For the adjustment to take effect you must remember to hit OK after making a selection.
I leave mine at 0.
Mirror Lock-up isn't. It's not a lock up for telephoto lenses on tripods.
This setting is used to lock up the mirror to clean the CCD. I never use this, since I find it easier to set the camera to Bulb and hold open the shutter.
Video Mode sets the format of the video output.
Use NTSC (525 lines, 59.94Hz) in the Americas and Japan, and PAL (625 lines, 50Hz) in Europe.
This output will always look much worse on a TV or projector than images do on a computer or projected through a computer. Read Why Images Look Awful from the Video Output for more.
World Time is where you set the date and time.
There is a nice map for finding time zones. You can swap among time zones without having to reset the seconds, a boon for me who keeps his D200 set to the exact second.
Language sets English or other languages.
Set yours to Swedish and see if you can navigate back to English. Fun!
Image Comment lets you add a secret text message into every file. Mine is set to (c) KenRockwell.com with my phone number! You see this text looking at the EXIF data in software on a computer. Sadly Nikon provides no real © symbol.
You set this by going to MENU > Set Up Menu > Image Comment > Input Comment > (add your message like you did on 1970s video games) > Enter. You must hit ENTER or it will forget everything you just did!
To edit or remove a character, select it in the Input Comment screen by holding the checkerboard button and clicking the big thumb selector. Select a new character with the same selector and press the center of the selector to add it. Press the Trash button to delete a character.
When you get your text message spelled out, go to Attach Comment and hit SET so a small checkmark shows. Now go to and select DONE. If you forget to check Attach it won't attach, and if you forget to hit DONE it will also forget everything you just did. Sorry, I don't write the firmware.
It's great having everything you shoot have your contact info embedded. It also allows you to prove ownership in a third-world country when catching a thief with your camera. Help the cop go through the menus and read your personal ID information.
Auto Image Rotation sets a flag in vertical images which keys most software to display the image vertically. It does not actually rotate the images; it just sets a flag. Someday the camera's firmware will work properly and rotate the image itself, but no camera does this yet.
I turn this off for serious work and rotate the images later in iView.
For fooling around I leave it on to save myself the trouble of rotation later.
Recent Settings lets you delete or lock the entries in the Recent Settings Menu. I leave these alone.
USB selects how the camera behaves when plugged into a computer via USB.
I leave it at mass storage, which means the D200 shows up as an external hard drive from which you can copy images and folders in your Mac OSX Finder or Windows Explorer.
PTP is used if you want to control your D200 as an external device, for instance, via Nikon Capture for remote camera control. PTP makes the D200 look like a device instead of like a drive.
Use whichever works best with your computer and workflow.
Dust Off Ref Photo is used to take a picture of the dust on your sensor. If you pay Nikon another $100 for Nikon Capture software you can use this to erase the dust more easily from your images shot in raw. You people know who you are. I don't do this!
I've made 24,000 shots on my D200 and have no problems with dust. Thankfully the D200 sensor has a filter far enough removed from the imaging surface to throw dust sufficiently out of focus.
Battery Info I use all the time.
Bat. Meter reads the battery charge to the nearest one percent. This is the same battery data shown on the top LCD display, but the top gauge only has 5 bars to read to the nearest 20%.
Pic. Meter shows how many images have been shot on this charge.
Charg. Life shows the battery's health. A new one reads 0 and an almost dead one reads 4.
I've made 24,000 shots by alternating between two batteries, and they both still show "new." The trick is not to run them all the way down before charging. Read Getting Great Battery Life to see how I do it.
Firmware Version lets you confirm if your camera is up-to-date with Nikons' free firmware updates.
Mine reads A 1.01 and B 1.00.
PLUG
My D200 User's Guide continues below.
It took me two months to write this D200 User's Guide. No one pays me anything. If you find it as helpful as a book you might have had to buy or a workshop you may have had to take, feel free to help me share more.
Thanks!
Ken
Back to Top of D200 User's Guide
KNOBS and BUTTONS
MENUS
RECENT SETTINGS MENU < < NEXT